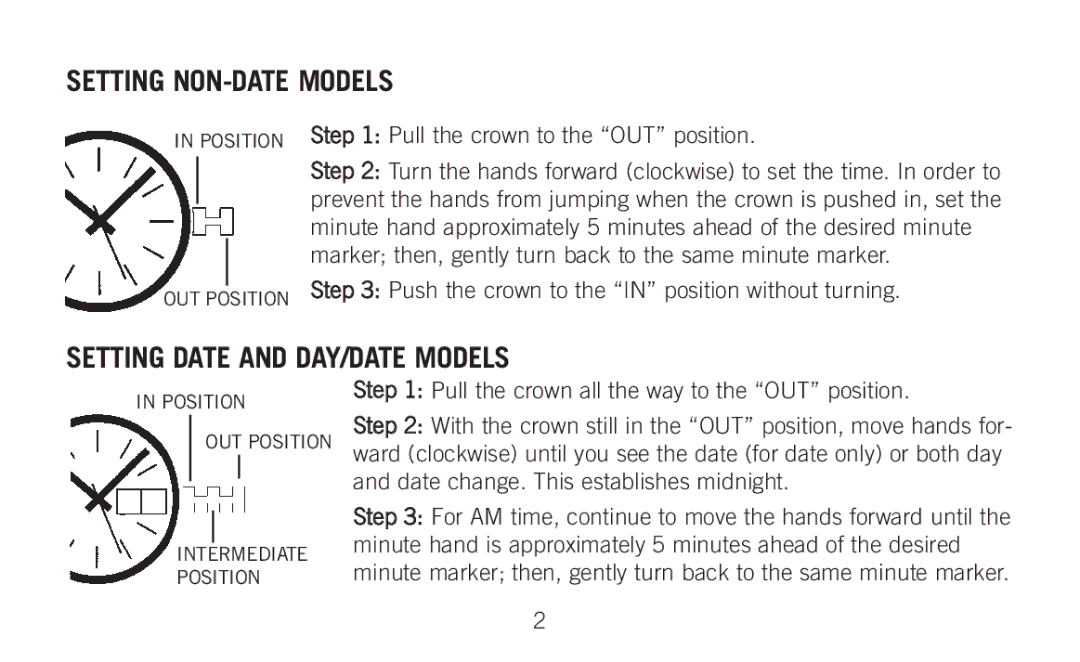
SETTING NON-DATE MODELS
IN POSITION
OUT POSITION
Step 1: Pull the crown to the “OUT” position.
Step 2: Turn the hands forward (clockwise) to set the time. In order to prevent the hands from jumping when the crown is pushed in, set the minute hand approximately 5 minutes ahead of the desired minute marker; then, gently turn back to the same minute marker.
Step 3: Push the crown to the “IN” position without turning.
SETTING DATE AND DAY/DATE MODELS
IN POSITION
OUT POSITION
INTERMEDIATE
POSITION
Step 1: Pull the crown all the way to the “OUT” position.
Step 2: With the crown still in the “OUT” position, move hands for- ward (clockwise) until you see the date (for date only) or both day and date change. This establishes midnight.
Step 3: For AM time, continue to move the hands forward until the minute hand is approximately 5 minutes ahead of the desired minute marker; then, gently turn back to the same minute marker.
2