| | | | | | | | | | | | | | | Page 1 of 2 |
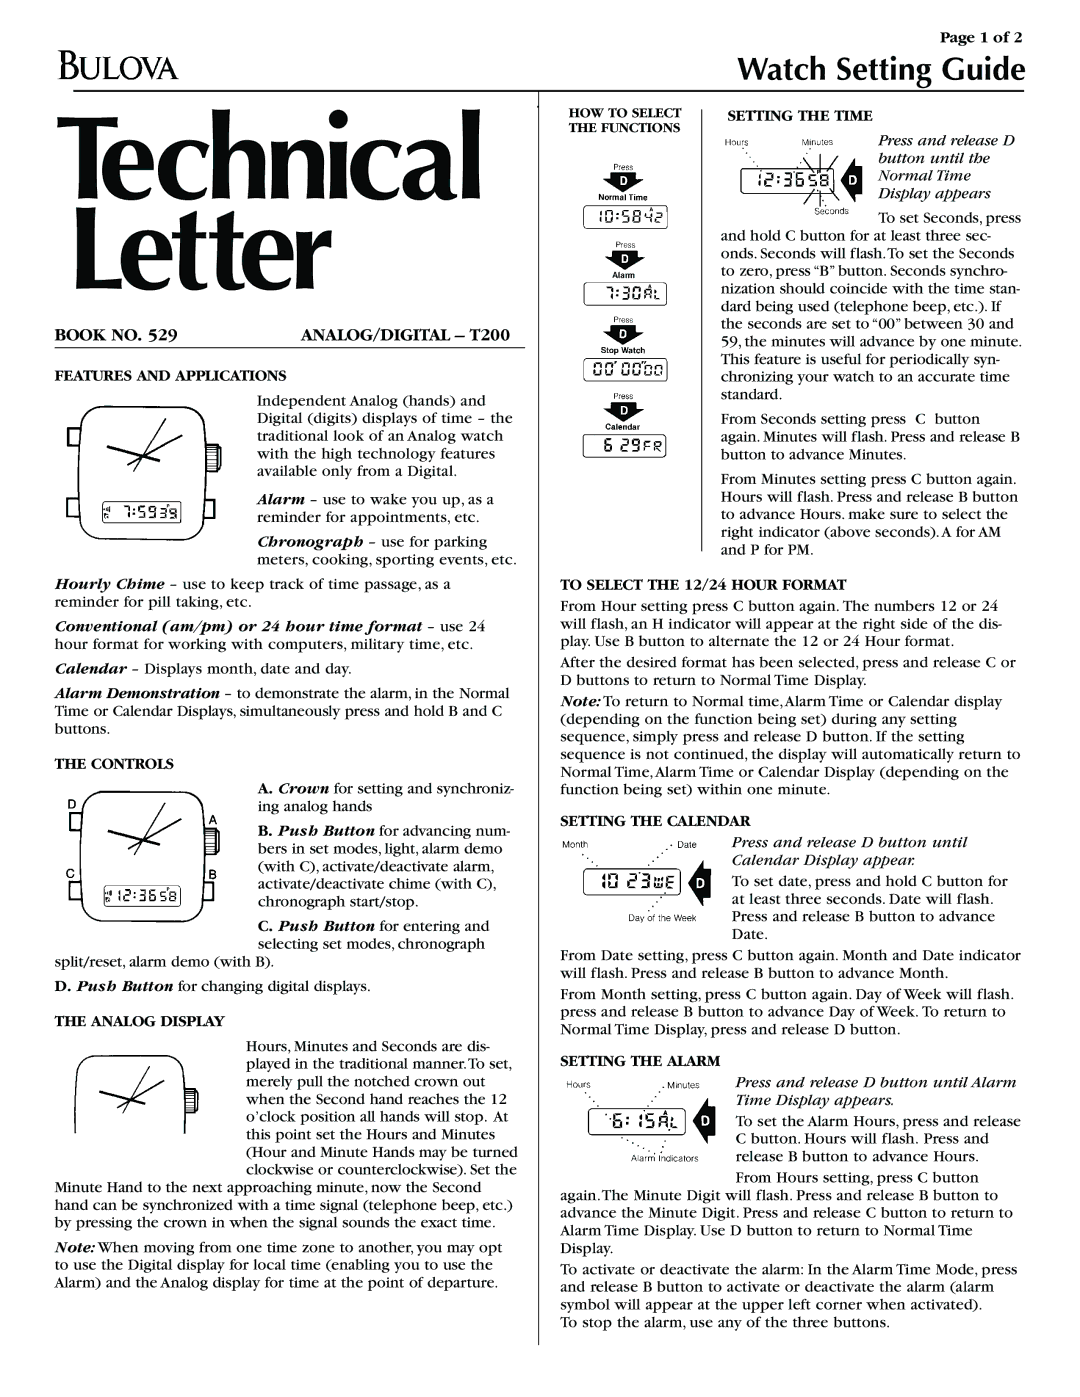
| | | | | | | | | | | | | | | Watch Setting Guide |
| | | | | | | | | | | | | | | |
| | | | | | | | | | | | | | | |
| | | | | | | | | | | | | | | |
| Technical | | | | HOW TO SELECT | | | | SETTING THE TIME |
| | | | | |
| | | | THE FUNCTIONS | | | | | | To set Seconds, press |
| | | | | | | | | | | | | | | Press and release D |
| | | | | | | | | | | | | | | button until the |
| Letter | | | | | | | | | | Normal Time |
| | | | | | | | | | Display appears |
| | | | | | | dard being used (telephone beep, etc.). If |
| | | | | | | | | | | | and hold C button for at least three sec- |
| | | | | | | | | | | | onds. Seconds will flash.To set the Seconds |
| | | | | | | | | | | | to zero, press “B” button. Seconds synchro- |
| | | | | | | | | | | | nization should coincide with the time stan- |
| BOOK NO. 529 | | ANALOG/DIGITAL – T200 | | | | | | | the seconds are set to “00” between 30 and |
| | | | | | | | 59, the minutes will advance by one minute. |
| | | | | | | | | | | |
| FEATURES AND APPLICATIONS | | | | | | | This feature is useful for periodically syn- |
| | | | | | | chronizing your watch to an accurate time |
| | | | Independent Analog (hands) and | | | | | | | standard. |
| | | | | | | | | | | | | |
| | | | Digital (digits) displays of time – the | | | | | | | From Seconds setting press C button |
| | | | traditional look of an Analog watch | | | | | | | again. Minutes will flash. Press and release B |
| | | | with the high technology features | | | | | | | button to advance Minutes. |
| | | | available only from a Digital. | | | | | | | From Minutes setting press C button again. |
| | | | | | | | | | | |
| | | | Alarm – use to wake you up, as a | | | | | | | Hours will flash. Press and release B button |
| | | | reminder for appointments, etc. | | | | | | | to advance Hours. make sure to select the |
| | | | Chronograph – use for parking | | | | | | | right indicator (above seconds).A for AM |
| | | | | | | | | | and P for PM. |
| | | | meters, cooking, sporting events, etc. | | | | | | |
| | | | | | | | | | | | | |
| Hourly Chime – use to keep track of time passage, as a | | | TO SELECT THE 12/24 HOUR FORMAT |
| reminder for pill taking, etc. | | | From Hour setting press C button again. The numbers 12 or 24 |
| | | | | | | |
| Conventional (am/pm) or 24 hour time format – use 24 | | | will flash, an H indicator will appear at the right side of the dis- |
| hour format for working with computers, military time, etc. | | | play. Use B button to alternate the 12 or 24 Hour format. |
| Calendar – Displays month, date and day. | | | After the desired format has been selected, press and release C or |
| | | D buttons to return to Normal Time Display. |
| Alarm Demonstration – to demonstrate the alarm, in the Normal | | |
| | | Note: To return to Normal time,Alarm Time or Calendar display |
| Time or Calendar Displays, simultaneously press and hold B and C | | |
| | | (depending on the function being set) during any setting |
| buttons. | | | | | |
| | | | | | sequence, simply press and release D button. If the setting |
| | | | | | | |
| THE CONTROLS | | | | | | sequence is not continued, the display will automatically return to |
| | | | | | Normal Time,Alarm Time or Calendar Display (depending on the |
| | | | A. Crown for setting and synchroniz- | | |
| | | | | | function being set) within one minute. |
| | | | ing analog hands | | | SETTING THE CALENDAR |
| | | | B. Push Button for advancing num- | | |
| | | | | | | | | | | | Press and release D button until |
| | | | bers in set modes, light, alarm demo | | | | | | | | |
| | | | | | | | | | | | Calendar Display appear. |
| | | | (with C), activate/deactivate alarm, | | | | | | | | |
| | | | | | | | | | | | To set date, press and hold C button for |
| | | | activate/deactivate chime (with C), | | | | | | | | |
| | | | chronograph start/stop. | | | | | | | | | at least three seconds. Date will flash. |
| | | | C. Push Button for entering and | | | | | | | | | Press and release B button to advance |
| | | | | | | | | | | | Date. |
| | | | selecting set modes, chronograph | | | | | | | | |
| | | | | | From Date setting, press C button again. Month and Date indicator |
| split/reset, alarm demo (with B). | | |
| | | will flash. Press and release B button to advance Month. |
| D. Push Button for changing digital displays. | | |
| | | From Month setting, press C button again. Day of Week will flash. |
| | | | | | | |
| THE ANALOG DISPLAY | | | | | | press and release B button to advance Day of Week. To return to |
| | | | | | Normal Time Display, press and release D button. |
| | | Hours, Minutes and Seconds are dis- | | |
| | | | | SETTING THE ALARM | | | | |
| | | played in the traditional manner.To set, | | | | | | |
| | | merely pull the notched crown out | | | | | | | | | | Press and release D button until Alarm |
| | | when the Second hand reaches the 12 | | | | | | | | | | Time Display appears. |
| | | o’clock position all hands will stop. At | | | | | | | | | | To set the Alarm Hours, press and release |
| | | this point set the Hours and Minutes | | | | | | | | | |
| | | | | | | | | | | | C button. Hours will flash. Press and |
| | | (Hour and Minute Hands may be turned | | | | | | | | | |
| | | | | | | | | | | | release B button to advance Hours. |
| | | clockwise or counterclockwise). Set the | | | | | | | | | |
| | | | | | | | | | | | From Hours setting, press C button |
| Minute Hand to the next approaching minute, now the Second | | | | | | | | | |
| | | again.The Minute Digit will flash. Press and release B button to |
| hand can be synchronized with a time signal (telephone beep, etc.) | | |
| | | advance the Minute Digit. Press and release C button to return to |
| by pressing the crown in when the signal sounds the exact time. | | |
| | | Alarm Time Display. Use D button to return to Normal Time |
| Note: When moving from one time zone to another, you may opt | | |
| | | Display. | | | | |
| to use the Digital display for local time (enabling you to use the | | | To activate or deactivate the alarm: In the Alarm Time Mode, press |
| Alarm) and the Analog display for time at the point of departure. | | |
| | | and release B button to activate or deactivate the alarm (alarm |
| | | | | | | |
| | | | | | | | symbol will appear at the upper left corner when activated). |
| | | | | | | | To stop the alarm, use any of the three buttons. |
| | | | | | | | | | | | | | | |
| | | | | | | | | | | | | | | |