INITIAL SETUP - SRU

CAUTION - The brewer must be disconnected from the power source throughout the initial setup, except when specified in the instructions.

IMPORTANT: Brewer must be level and installed on a sturdy structure.

Electrician's and Plumber's Instructions are provided. These instructions should be carefully followed before proceeding with initial setup.

Be sure all electrical and plumbing connections are tight.

1.Disconnect the brewer from the power source.

2.Remove the left side panel from the hood and rotate the control thermostat knob fully counterclockwise to the "OFF" position. Replace the side panel.

3.Connect the brewer to the power source and place the lighted ON/OFF switch in the "ON" position. Water will flow into the tank and should automatically stop after approximately 15 minutes.

NOTE - The lighted ON/OFF switch must be in the "ON" position to automatically refill the tank. The switch should be in the "OFF" position whenever the brewer is left unattended.

4.Disconnect the brewer from the power source.

5.Remove the left side panel from the hood and rotate the control thermostat knob clockwise to the 5 o'clock position. Replace the side panel.

6.Connect the brewer to the power source and wait for the water in the tank to heat to the proper temperature. This will take approximately 1-2 hours, depending on the incoming water temperature. Some water will flow from the overflow tube during this time due to expansion. Draw off a 1/2 gallon of water every 15 minutes during the initial heat-up to lessen the chance of hot water flow from this expansion.

7.Determine the water temperature by checking the water with a thermometer at the hot water faucet (red handle). The best brewing temperature is between 195˚ (91˚C) and 200˚F (93˚C). The temperature may be increased by turning the thermostat knob clockwise and decreased by turning the knob counterclockwise.

8.When the desired temperature is attained, place the funnel support, funnel, and funnel cover on top of the coffee reservoir. Center the discharge of the water swing spout over the opening in the top of the funnel cover.

9.Place the lighted ON/OFF switch in the "ON" position and momentarily press and release the start switch. Water should flow from the swing spout into the funnel assembly.

10.Drain and measure the water from the reservoir when the flow of water from this initial cycle stops. If it is three gallons, proceed to step 12. If it is more or less than three gallons, proceed to step 11.

11.Adjust the brew timer as required. See Adjusting Brew Volumes. Repeat steps 9 & 10.

12.The brewer is now properly adjusted to brew coffee.

Bunn-O-Matic recommends a bead of silicon sealant be placed around the base on the countertop after the initial operation instructions are completed. B.O.M. #M2509.1001 sealant is available.

Page 7

42769

012610


Page 7
Image 7
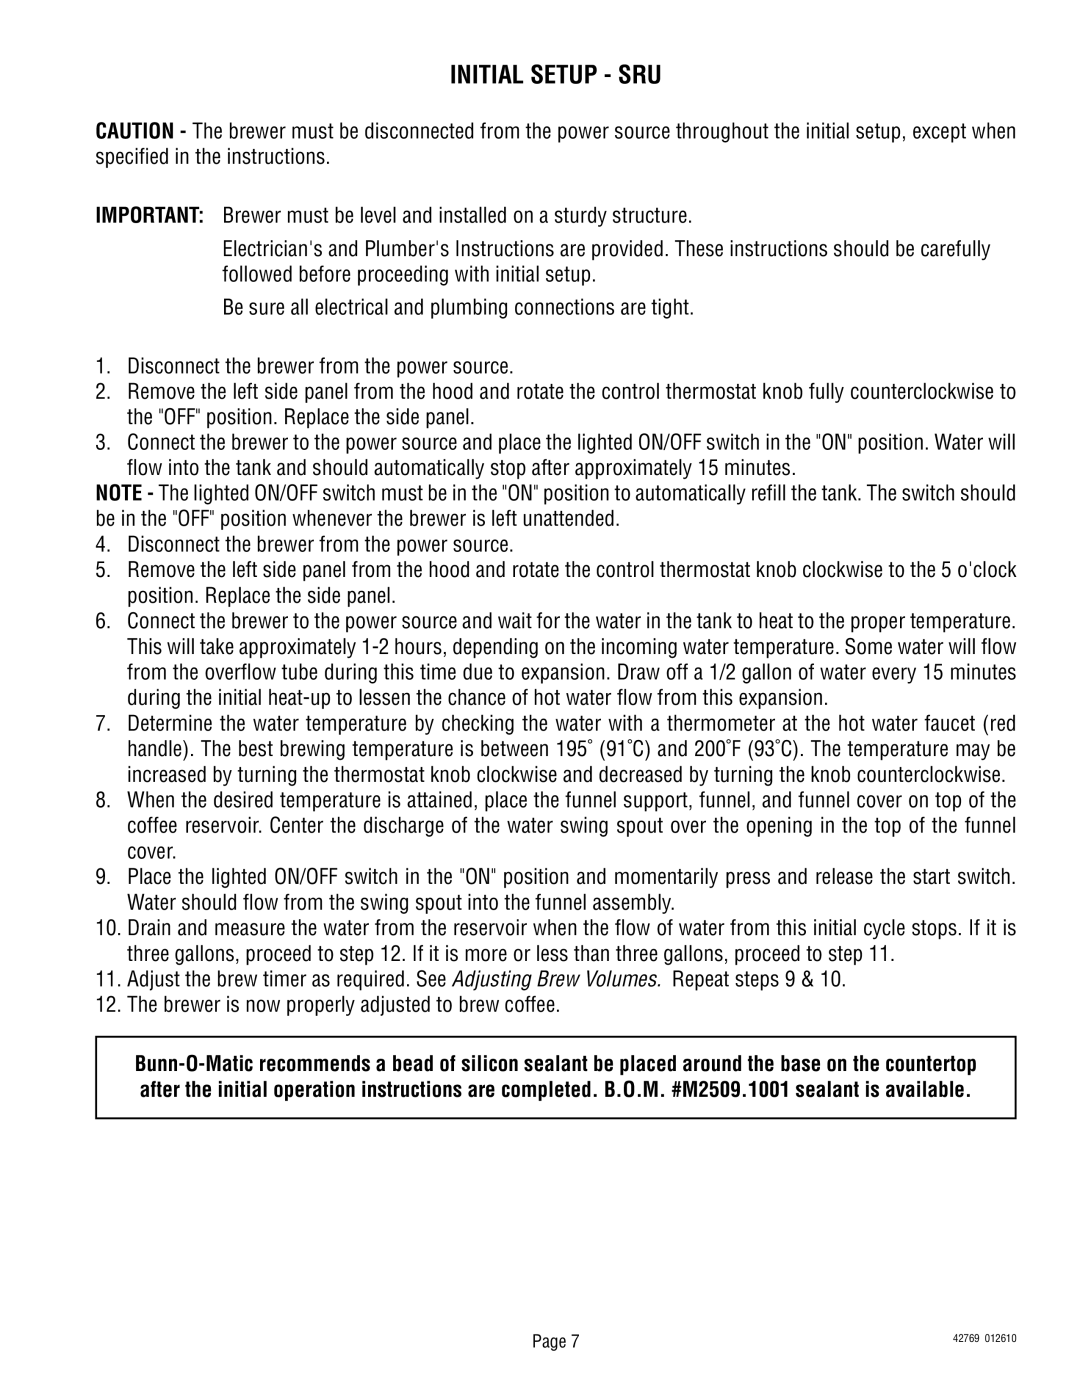
Bunn U3/SRU service manual Initial Setup SRU

U3/SRU specifications

The Bunn U3/SRU coffee maker is a well-regarded brewing machine known for its efficiency and quality in commercial settings. Designed primarily for use in cafés, restaurants, and other high-demand environments, the U3/SRU ensures that coffee lovers are treated to fresh, flavorful coffee consistently.

One of the most notable features of the Bunn U3/SRU is its capacity to brew large quantities of coffee simultaneously. It can produce three gallons of coffee per hour, making it ideal for establishments that require high throughput without sacrificing quality. This machine is equipped with an innovative brewing system that utilizes multiple brewing heads, allowing operators to serve different coffee blends or styles all in one brewbasket.

The U3/SRU comes with an advanced onboard water heating system that ensures optimal brew temperatures. This feature contributes to consistent extraction, which is crucial for achieving the best flavor profiles from coffee beans. The machine also employs an automatic refill capability, allowing it to maintain the ideal water level for brewing without manual intervention.

In addition to its efficiency, the Bunn U3/SRU incorporates user-friendly controls, making it simple to operate for both experienced baristas and novice staff. The interface is designed to be intuitive, with clear indicators for the brewing process. Furthermore, quick-release components facilitate easy cleaning and maintenance, crucial for busy environments where downtime must be minimized.

Durability is another hallmark of the Bunn U3/SRU. Constructed with high-quality materials, this coffee maker is built to withstand the rigors of commercial use. Its design features robust stainless steel components that resist wear and tear, ensuring a long service life.

Moreover, the Bunn U3/SRU allows for customization in brewing strength and volume, catering to diverse customer preferences. This versatility, combined with its capacity to brew multiple pots at once, makes it a reliable choice for establishments that want to offer a wide variety of coffee options.

In conclusion, the Bunn U3/SRU is a standout coffee brewing machine designed for high-volume commercial use. With its efficient brewing capabilities, user-friendly operation, and durable construction, it meets the needs of coffee shops and restaurants, delivering a consistent cup of coffee that keeps customers coming back for more.