OPERATIONAL SUMMARY
While looking through the monocular, depress the power button once to activate the inview display system (LCD). Aim the Yardage Pro X500 at a target at least 5 yards away, depress and hold the power button down until range reading is displayed. Release the power button.
Note: Once activated, the Yardage Pro X500’s LCD will remain active and display the last distance measurement for 30 seconds. You can depress the power button again at any time to distance to a new target. As with any laser device, it is not recommended to directly view the emissions for long periods of time with magnified lenses.
FEATURES
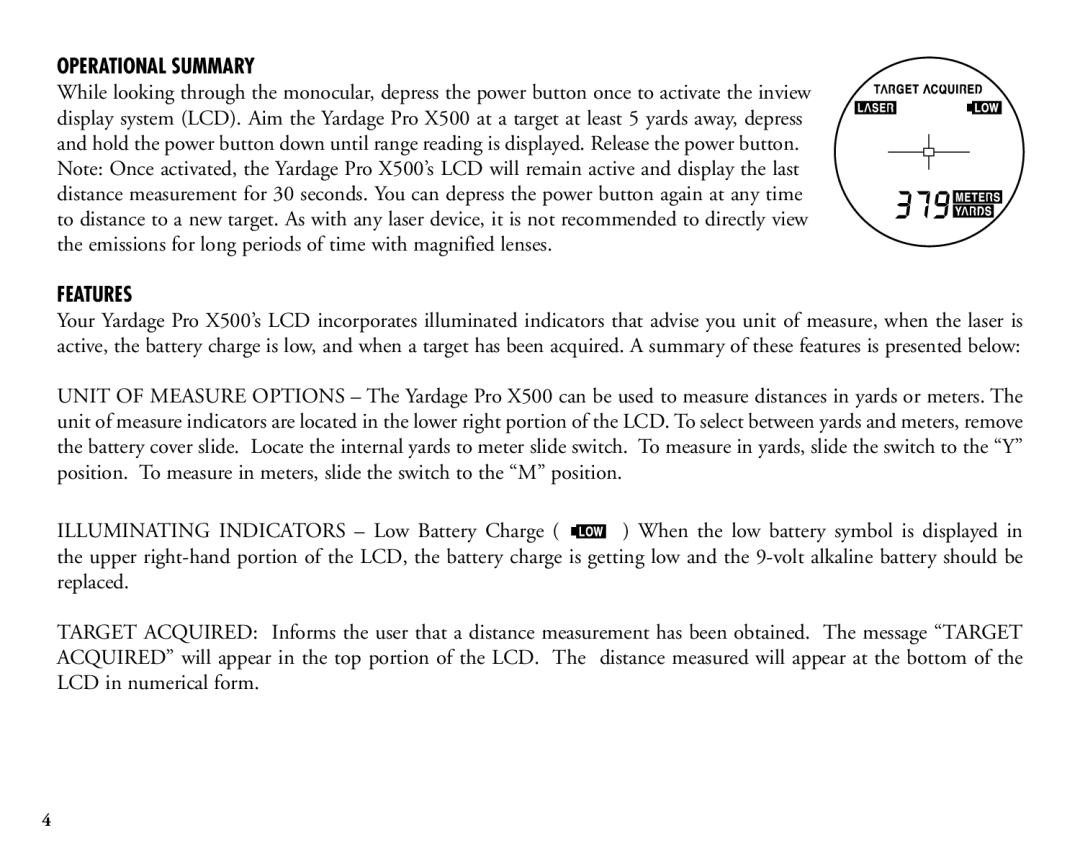
Your Yardage Pro X500’s LCD incorporates illuminated indicators that advise you unit of measure, when the laser is active, the battery charge is low, and when a target has been acquired. A summary of these features is presented below:
UNIT OF MEASURE OPTIONS – The Yardage Pro X500 can be used to measure distances in yards or meters. The unit of measure indicators are located in the lower right portion of the LCD. To select between yards and meters, remove the battery cover slide. Locate the internal yards to meter slide switch. To measure in yards, slide the switch to the “Y” position. To measure in meters, slide the switch to the “M” position.
ILLUMINATING INDICATORS – Low Battery Charge ( ![]()
![]()
![]()
![]() ) When the low battery symbol is displayed in the upper
) When the low battery symbol is displayed in the upper
TarGET Acquired: Informs the user that a distance measurement has been obtained. The message “TARGET ACQUIRED” will appear in the top portion of the LCD. The distance measured will appear at the bottom of the LCD in numerical form.
4
