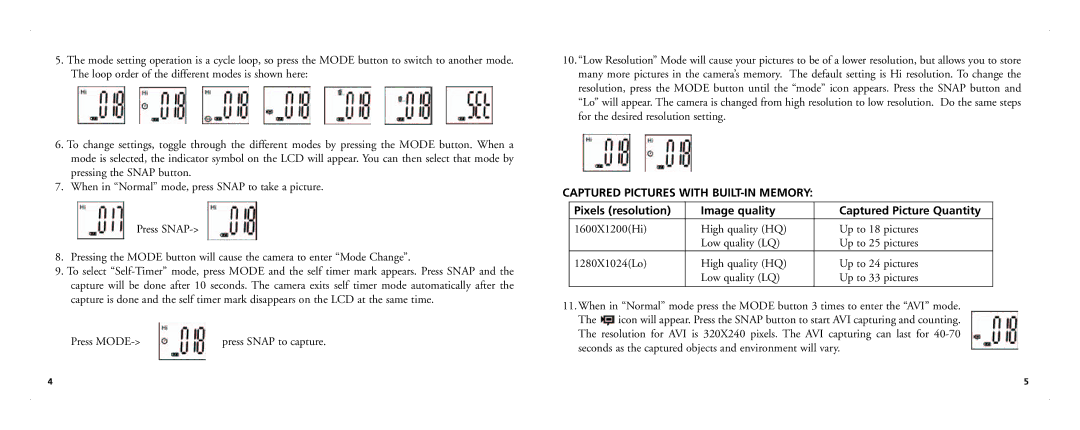
5.The mode setting operation is a cycle loop, so press the MODE button to switch to another mode. The loop order of the different modes is shown here:
6.To change settings, toggle through the different modes by pressing the MODE button. When a mode is selected, the indicator symbol on the LCD will appear. You can then select that mode by pressing the SNAP button.
7.When in “Normal” mode, press SNAP to take a picture.
Press
8.Pressing the MODE button will cause the camera to enter “Mode Change”.
9.To select
Press | press SNAP to capture. |
10.“Low Resolution” Mode will cause your pictures to be of a lower resolution, but allows you to store many more pictures in the camera’s memory. The default setting is Hi resolution. To change the resolution, press the MODE button until the “mode” icon appears. Press the SNAP button and “Lo” will appear. The camera is changed from high resolution to low resolution. Do the same steps for the desired resolution setting.
CAPTURED PICTURES WITH BUILT-IN MEMORY:
Pixels (resolution) | Image quality | Captured Picture Quantity |
1600X1200(Hi) | High quality (HQ) | Up to 18 pictures |
| Low quality (LQ) | Up to 25 pictures |
1280X1024(Lo) | High quality (HQ) | Up to 24 pictures |
| Low quality (LQ) | Up to 33 pictures |
|
|
|
11.When in “Normal” mode press the MODE button 3 times to enter the “AVI” mode.
The ![]() icon will appear. Press the SNAP button to start AVI capturing and counting. The resolution for AVI is 320X240 pixels. The AVI capturing can last for
icon will appear. Press the SNAP button to start AVI capturing and counting. The resolution for AVI is 320X240 pixels. The AVI capturing can last for
4 | 5 |
