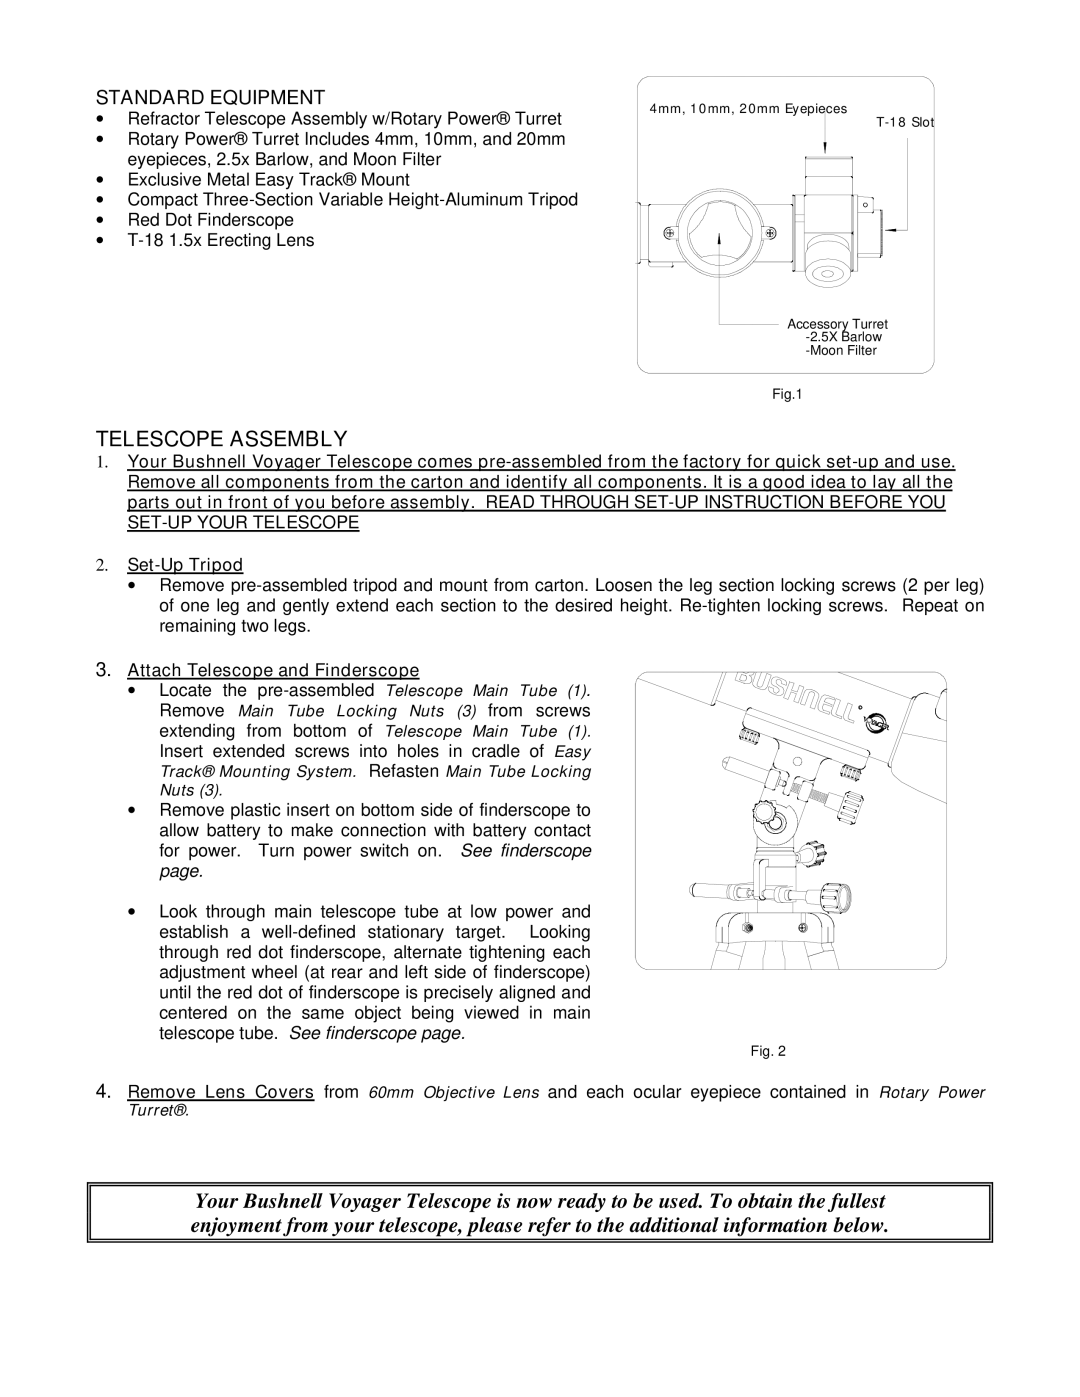
STANDARD EQUIPMENT
∙Refractor Telescope Assembly w/Rotary Power® Turret
∙Rotary Power® Turret Includes 4mm, 10mm, and 20mm eyepieces, 2.5x Barlow, and Moon Filter
∙Exclusive Metal Easy Track® Mount
∙Compact Three-Section Variable Height-Aluminum Tripod
∙Red Dot Finderscope
∙T-18 1.5x Erecting Lens
4mm, 10mm, 20mm Eyepieces
T-18 Slot
Accessory Turret
-2.5X Barlow
-Moon Filter
Fig.1
TELESCOPE ASSEMBLY
1.Your Bushnell Voyager Telescope comes pre-assembled from the factory for quick set-up and use. Remove all components from the carton and identify all components. It is a good idea to lay all the parts out in front of you before assembly. READ THROUGH SET-UP INSTRUCTION BEFORE YOU SET-UP YOUR TELESCOPE
2.Set-Up Tripod
∙Remove pre-assembled tripod and mount from carton. Loosen the leg section locking screws (2 per leg) of one leg and gently extend each section to the desired height. Re-tighten locking screws. Repeat on remaining two legs.
3.Attach Telescope and Finderscope
∙ Locate the pre-assembled Telescope Main Tube (1). Remove Main Tube Locking Nuts (3) from screws extending from bottom of Telescope Main Tube (1). Insert extended screws into holes in cradle of Easy Track® Mounting System. Refasten Main Tube Locking
Nuts (3).
∙ Remove plastic insert on bottom side of finderscope to allow battery to make connection with battery contact for power. Turn power switch on. See finderscope page.
∙ Look through main telescope tube at low power and establish a well-defined stationary target. Looking through red dot finderscope, alternate tightening each adjustment wheel (at rear and left side of finderscope) until the red dot of finderscope is precisely aligned and centered on the same object being viewed in main telescope tube. See finderscope page.
Fig. 2
4.Remove Lens Covers from 60mm Objective Lens and each ocular eyepiece contained in Rotary Power
Turret®.
Your Bushnell Voyager Telescope is now ready to be used. To obtain the fullest enjoyment from your telescope, please refer to the additional information below.