Cadco CBC-SDC warranty states only, How To Use

Models: CBC-SDC

1 2
Download 2 pages 47.88 Kb
Page 2
Image 2
states only.)

We recommend that you record the following information for warranty purposes: Model #________

Purchase Date:_____________Dealer:__________________________

Congratulations on your purchase of a Cadco Mobile Sampling/Demo Cart!

IMPORTANT SAFEGUARDS

To reduce the risk of personal injury or property damage when using electrical appliances,

basic safety precautions should always be followed, including the following:

1.

READ ALL INSTRUCTIONS BEFORE USE.

2.

Do not touch hot surfaces! Always Use Handles. Always use hot pads or pot holders until unit cools.

3.

To protect against electrical shock, do not immerse tray base, cord or plug in water or other liquid.

4.

Close supervision is necessary when any appliance is used by or near children.

5.

Unplug from outlet when not in use and before cleaning. Allow to cool completely before


putting on or taking off parts, and before cleaning or storing the appliance.

6.

Do not operate any appliance with a damaged cord or plug or after the appliance malfunctions


or has been damaged in any manner. Call the Cadco Factory Service Department at 860-


738-2500 for a Return for Repair Authorization, or for the nearest authorized service center.


(**See back page for Warranty info (Cart/buffet server warranty applies in 48 contiguous US


states only.)

7.

The use of accessory attachments not recommended by the appliance manufacturer may

2 Clear Lids (1 shown)

Built-in

2 Half Size Steam Pans

Range

(Separate

Pan Holder

cord/plug;

Handle

not shown.

Buffet Server Controls Area

Range

removable for

(see Fig. C for closeup)

service)

Cutting Board (removable)

Oven

3 Quarter Size Sheet Pans

(Separate

cord/plug,

2 Quarter Size

not shown;

Oven

Oven Baskets

removable)

Cord & Plug


Skirt

for Buffet Server

(removable)

Cord Storage Slot

Storage shelves


Fig. A


Casters/Wheels (Brakes on 2)

(Frying pan & utensils not included)


cause injuries.

8.

Do not use outdoors.

9.

Do not let cord hang over edge of table or counter or touch hot surfaces.

10.

Do not place on or near a hot gas or electric burner or in a heated oven.

11.

It is recommended that this appliance not be moved when it contains hot oil or other hot liquid.

12.

Do not clean with metal scouring pads. They can scratch and ruin the finish of your unit.

Pan Holder Notch on lower edge of Pan Holder

Pan Holder

Position Knob on front of cart

Fig. B

(Cutting Board)

ON

HI

ON


LOW

WARM

OFF

Fig. C

ON/OFF

Rocker Switch

Variable

Thermostat

Knob

Light

13.

Always attach plug to appliance first, then plug cord into the wall outlet. To disconnect, turn


any control to “Off,” then remove plug from wall outlet.

14.

Do not use appliance for other than intended use.

15.

DO NOT USE PLASTIC DISHES OR PLASTIC WRAP ON WARMING SURFACE .

SAVE THESE INSTRUCTIONS

NOTE: A 72”(6’) power supply cord (or cord set) (for cart/buffet server; range and oven have their own separate cords) has been provided to reduce the hazards resulting from becoming entangled in or tripping over a longer cord. Longer cord sets or extension cords may be used if care is properly exercised in their use. If a long cord set or extension cord is used, the marked electrical rating of the cord set or extension cord should be at least as great as the electrical rating of the appliance. The longer cord should be arranged so that it will not drape over the counter top or table top where it can be pulled on by children or tripped over accidentally.

The high-tech warming surface will remain unblemished for a long time with appropriate care. The warming surface and high-grade, long-life stainless chafing pans allow for an attractive alternative for keeping appetizers and other foods warm. For best results use nylon, plastic, wooden or rubber utensils. Metal utensils may be used with care but should not be used to cut food on the cooking surfaces.

HOW TO USE

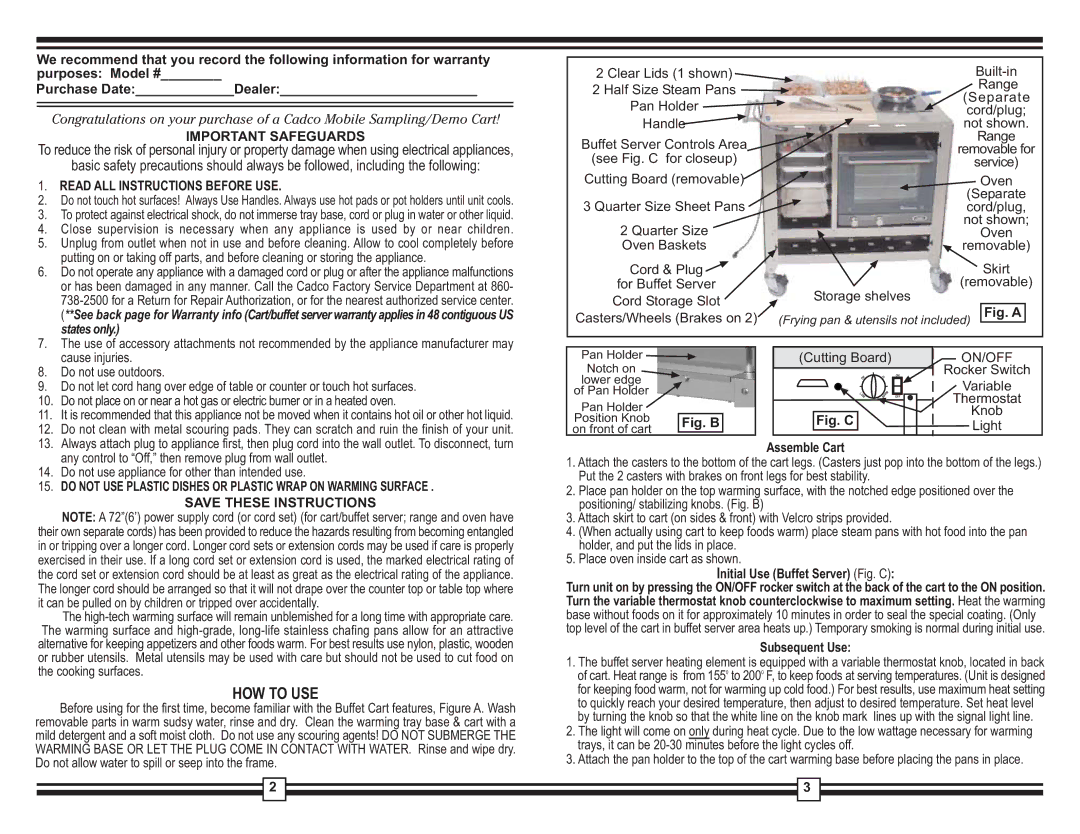
Before using for the first time, become familiar with the Buffet Cart features, Figure A. Wash removable parts in warm sudsy water, rinse and dry. Clean the warming tray base & cart with a mild detergent and a soft moist cloth. Do not use any scouring agents! DO NOT SUBMERGE THE WARMING BASE OR LET THE PLUG COME IN CONTACT WITH WATER. Rinse and wipe dry. Do not allow water to spill or seep into the frame.

2

Assemble Cart

1.Attach the casters to the bottom of the cart legs. (Casters just pop into the bottom of the legs.) Put the 2 casters with brakes on front legs for best stability.

2.Place pan holder on the top warming surface, with the notched edge positioned over the positioning/ stabilizing knobs. (Fig. B)

3.Attach skirt to cart (on sides & front) with Velcro strips provided.

4.(When actually using cart to keep foods warm) place steam pans with hot food into the pan holder, and put the lids in place.

5.Place oven inside cart as shown.

Initial Use (Buffet Server) (Fig. C):

Turn unit on by pressing the ON/OFF rocker switch at the back of the cart to the ON position. Turn the variable thermostat knob counterclockwise to maximum setting. Heat the warming base without foods on it for approximately 10 minutes in order to seal the special coating. (Only top level of the cart in buffet server area heats up.) Temporary smoking is normal during initial use.

Subsequent Use:

1.The buffet server heating element is equipped with a variable thermostat knob, located in back of cart. Heat range is from 1550 to 2000 F, to keep foods at serving temperatures. (Unit is designed for keeping food warm, not for warming up cold food.) For best results, use maximum heat setting to quickly reach your desired temperature, then adjust to desired temperature. Set heat level by turning the knob so that the white line on the knob mark lines up with the signal light line.

2.The light will come on only during heat cycle. Due to the low wattage necessary for warming trays, it can be 20-30 minutes before the light cycles off.

3.Attach the pan holder to the top of the cart warming base before placing the pans in place.

3

Page 2
Image 2
Cadco CBC-SDC warranty states only, How To Use