18
Preparing forYour New Inground Spa
Equipment Pack Plumbing Connections
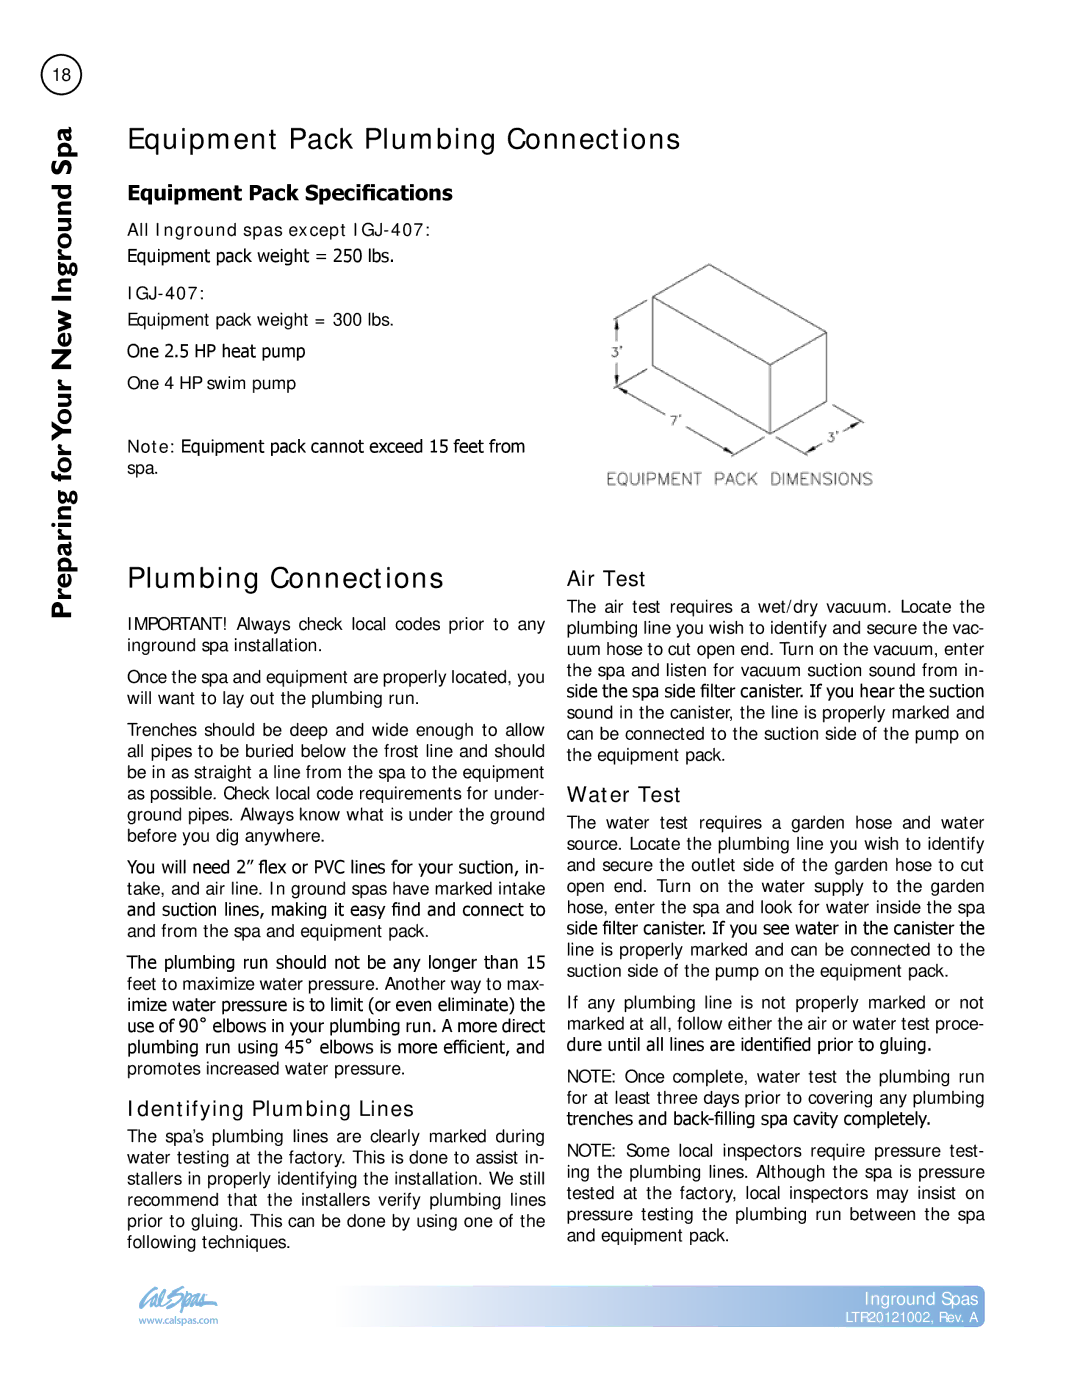
Equipment Pack Specifications
All Inground spas except
Equipment pack weight = 250 lbs.
Equipment pack weight = 300 lbs.
One 2.5 HP heat pump
One 4 HP swim pump
Note: Equipment pack cannot exceed 15 feet from spa.
Plumbing Connections
IMPORTANT! Always check local codes prior to any inground spa installation.
Once the spa and equipment are properly located, you will want to lay out the plumbing run.
Trenches should be deep and wide enough to allow all pipes to be buried below the frost line and should be in as straight a line from the spa to the equipment as possible. Check local code requirements for under- ground pipes. Always know what is under the ground before you dig anywhere.
You will need 2” flex or PVC lines for your suction, in- take, and air line. In ground spas have marked intake and suction lines, making it easy find and connect to and from the spa and equipment pack.
The plumbing run should not be any longer than 15 feet to maximize water pressure. Another way to max- imize water pressure is to limit (or even eliminate) the use of 90˚ elbows in your plumbing run. A more direct plumbing run using 45˚ elbows is more efficient, and promotes increased water pressure.
Identifying Plumbing Lines
The spa’s plumbing lines are clearly marked during water testing at the factory. This is done to assist in- stallers in properly identifying the installation. We still recommend that the installers verify plumbing lines prior to gluing. This can be done by using one of the following techniques.
Air Test
The air test requires a wet/dry vacuum. Locate the plumbing line you wish to identify and secure the vac- uum hose to cut open end. Turn on the vacuum, enter the spa and listen for vacuum suction sound from in- side the spa side filter canister. If you hear the suction sound in the canister, the line is properly marked and can be connected to the suction side of the pump on the equipment pack.
Water Test
The water test requires a garden hose and water source. Locate the plumbing line you wish to identify and secure the outlet side of the garden hose to cut open end. Turn on the water supply to the garden hose, enter the spa and look for water inside the spa side filter canister. If you see water in the canister the line is properly marked and can be connected to the suction side of the pump on the equipment pack.
If any plumbing line is not properly marked or not marked at all, follow either the air or water test proce- dure until all lines are identified prior to gluing.
NOTE: Once complete, water test the plumbing run for at least three days prior to covering any plumbing trenches and
NOTE: Some local inspectors require pressure test- ing the plumbing lines. Although the spa is pressure tested at the factory, local inspectors may insist on pressure testing the plumbing run between the spa and equipment pack.
Inground Spas
www.calspas.com | LTR20121002, Rev. A |