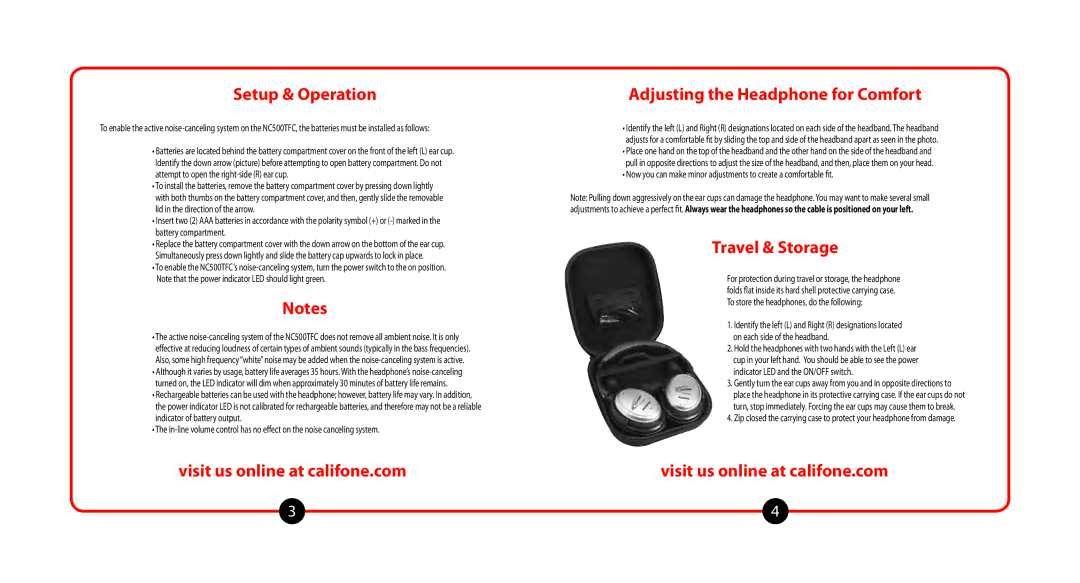
NC500TFC specifications
The Califone NC500TFC is an innovative and versatile headphone designed specifically for educational environments. Its robust construction and thoughtful features make it an ideal choice for classrooms, libraries, and learning centers, where durability and performance are critical.One of the standout characteristics of the NC500TFC is its noise-canceling technology. This feature is essential in crowded or noisy environments, allowing students to focus on their audio tasks without distractions. The over-ear design combined with the built-in active noise cancellation effectively reduces ambient sound, creating a more immersive learning experience.
Comfort is another priority with the NC500TFC. The headphones come equipped with cushioned ear pads that allow for extended use without discomfort. The adjustable headband ensures a snug fit for different head sizes, making them suitable for users of various ages. This ergonomic design enhances user experience, especially during long sessions of listening or interactive learning.
In terms of sound quality, the NC500TFC is engineered to deliver clear and balanced audio. With a frequency response tailored for educational content, these headphones offer rich sound reproduction that enhances understanding and retention of information during lessons, audiobooks, and language learning.
The NC500TFC also features a built-in microphone, enabling easy communication for collaborative projects. This is particularly useful in language learning settings, where proper articulation and comprehension are crucial. The microphone’s design minimizes background noise, ensuring that students’ voices are captured clearly without interference.
Connectivity is another important aspect of the NC500TFC. It is compatible with various devices commonly used in educational settings, including tablets, computers, and other audio equipment. The durable, tangle-free cord also ensures reliability, reducing wear and tear during daily activities.
Safety is paramount in educational products, and the NC500TFC is no exception. The headphones are designed to limit sound levels to prevent hearing damage, adding an extra layer of protection for young users.
Overall, the Califone NC500TFC is a comprehensive solution tailored for the educational market, blending comfort, sound quality, and safety features in a user-friendly design. Its blend of advanced technologies and practical characteristics ensures that it meets the needs of students and educators alike, making it an excellent investment for any learning space.

