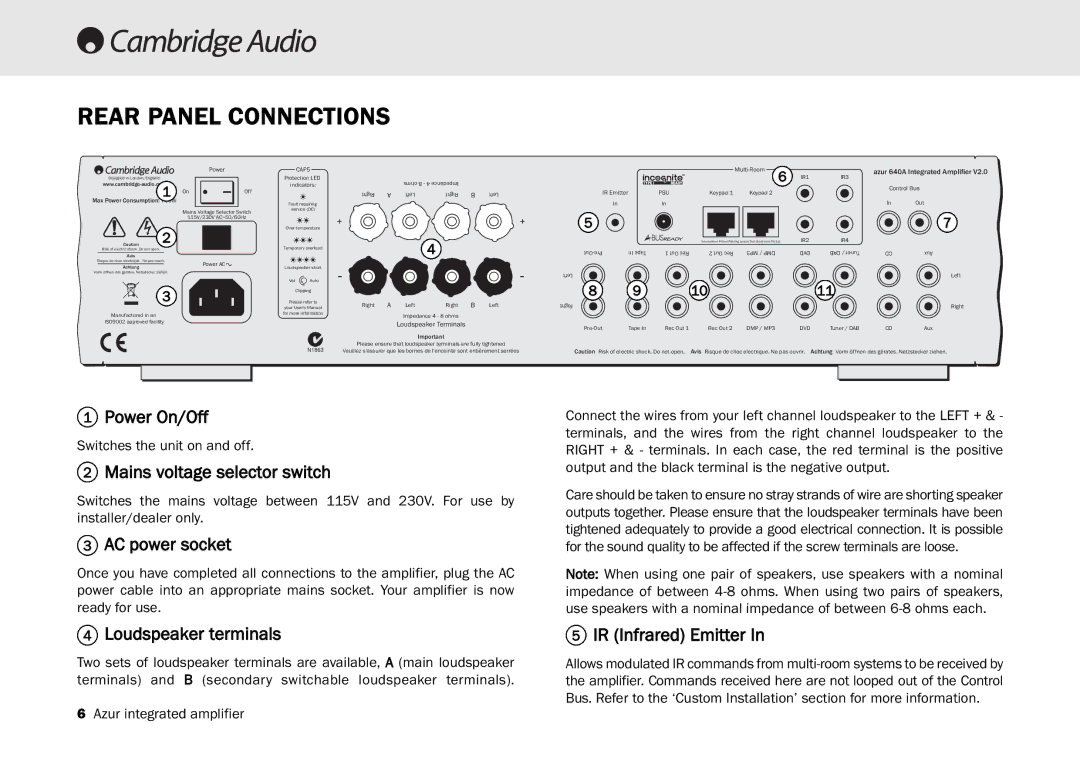
640A, 540A specifications
Cambridge Audio has established itself as a formidable force in the realm of high-fidelity audio equipment, and the 540A and 640A amplifiers exemplify the company's commitment to delivering exceptional sound quality at a competitive price point. These integrated amplifiers, known for their detailed sound reproduction and robust performance, cater to audiophiles who appreciate both quality and value.The Cambridge Audio 540A is part of the company's entry-level range, designed for music enthusiasts seeking an affordable yet high-performance amplifier. The 540A boasts a powerful 50 watts per channel output, allowing it to drive a variety of speaker types with ease. The design emphasizes simplicity and user-friendliness, featuring straightforward controls and a sleek finish that fits well in any audio setup.
One of the standout features of the 540A is its dual-mono circuit design. This architecture minimizes crosstalk and signal interference, allowing for a cleaner, more precise sound. It also incorporates high-quality components, including a toroidal transformer, which contributes to improved efficiency and reduced distortion. Additionally, the amplifier features a range of inputs, including multiple line-level options, making it versatile enough to accommodate various audio sources such as CD players, turntables, and streaming devices.
On the other hand, the 640A is an upgrade that builds upon the strengths of the 540A. With a more powerful output of 75 watts per channel, the 640A is designed for users who demand more from their audio systems. This amplifier incorporates an improved power supply and enhanced components, further refining the sound quality. The 640A also introduces features such as a high-quality phono stage, enabling direct connection to turntables without the need for separate equipment.
Both amplifiers incorporate Cambridge Audio's dedication to quality with a focus on analog circuitry. This is particularly evident in the warm, rich sound signature that these amplifiers provide, making them ideal for a range of music genres. The build quality is robust, with a solid chassis designed to reduce vibration and resonance, ensuring a stable platform for audio performance.
In summary, the Cambridge Audio 540A and 640A amplifiers offer a compelling combination of sound quality, versatile connectivity options, and robust design. Whether you are an entry-level audiophile or a seasoned listener looking for an upgrade, these amplifiers provide an engaging listening experience that highlights the nuances and details of your favorite music. With Cambridge Audio's unwavering focus on high-fidelity sound, both models are captivating choices that continue to impress users worldwide.

