close
close
open
open |
|
|
|
|
fig. 7A |
|
|
| fig. 7B |
Standard Binder |
|
| QR Binder | |
|
|
|
| min insert |
|
|
|
| mark |
|
|
| rt |
|
|
| e |
| |
| s |
|
| |
min | in |
|
|
|
|
|
|
| |
fig. 8
!
◆sit on the saddle;
◆place one heel on a pedal;
◆rotate the crank until the pedal with your heel on it is in the down position and the crank arm is parallel to the seat tube.
If your leg is not completely straight and just touching the center of the pedal, your saddle height needs to be adjusted. If your hips must rock for the heel to reach the pedal, the saddle is too high. If your leg is bent at the knee with your heel on the pedal, the saddle is too low.
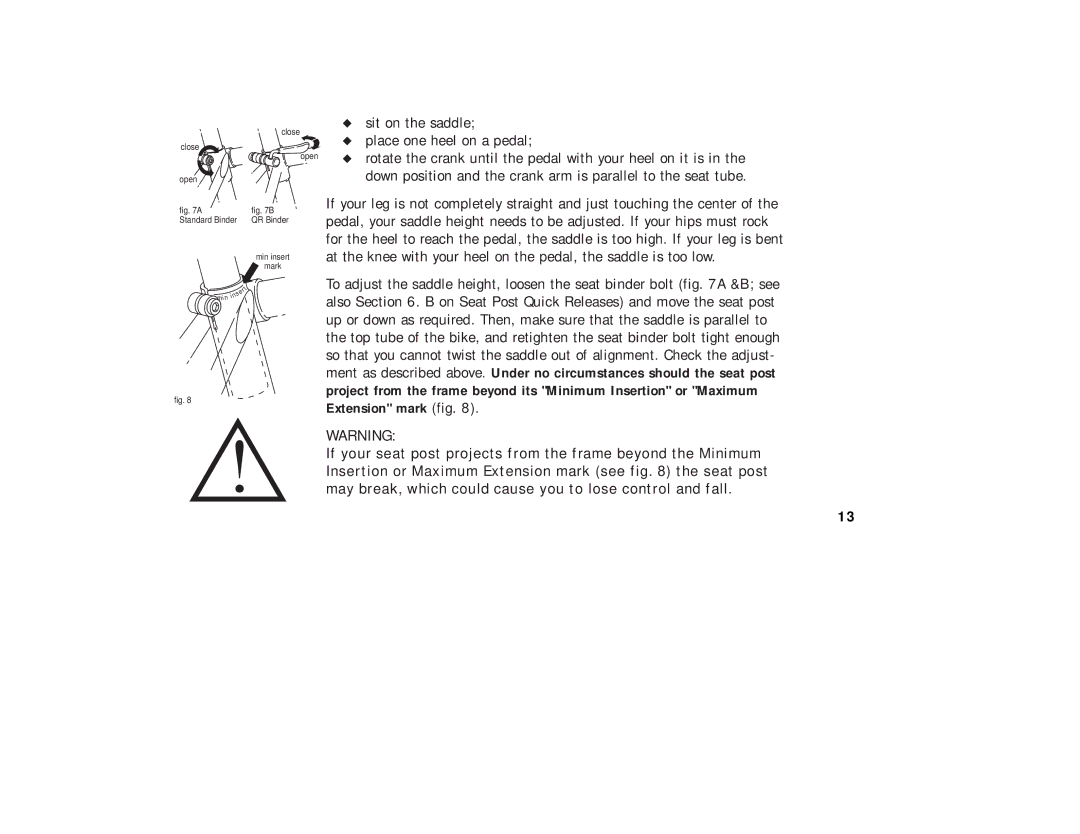
To adjust the saddle height, loosen the seat binder bolt (fig. 7A &B; see also Section 6. B on Seat Post Quick Releases) and move the seat post up or down as required. Then, make sure that the saddle is parallel to the top tube of the bike, and retighten the seat binder bolt tight enough so that you cannot twist the saddle out of alignment. Check the adjust- ment as described above. Under no circumstances should the seat post
project from the frame beyond its "Minimum Insertion" or "Maximum Extension" mark (fig. 8).
WARNING:
If your seat post projects from the frame beyond the Minimum Insertion or Maximum Extension mark (see fig. 8) the seat post may break, which could cause you to lose control and fall.
13
