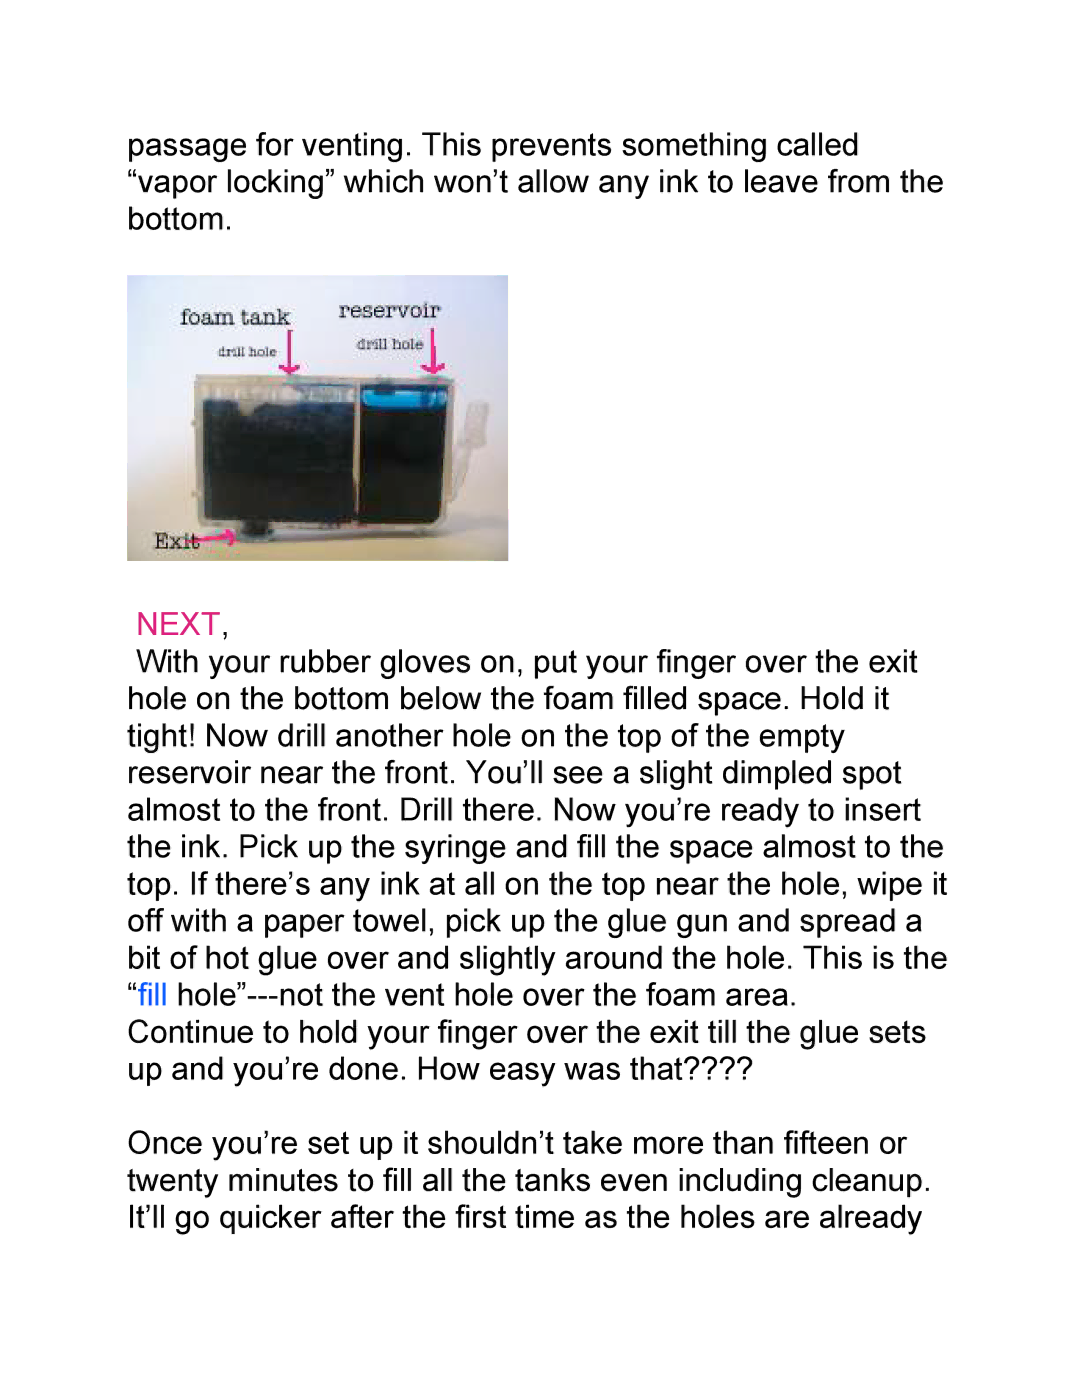
passage for venting. This prevents something called “vapor locking” which won’t allow any ink to leave from the bottom.
NEXT,
With your rubber gloves on, put your finger over the exit hole on the bottom below the foam filled space. Hold it tight! Now drill another hole on the top of the empty reservoir near the front. You’ll see a slight dimpled spot almost to the front. Drill there. Now you’re ready to insert the ink. Pick up the syringe and fill the space almost to the top. If there’s any ink at all on the top near the hole, wipe it off with a paper towel, pick up the glue gun and spread a bit of hot glue over and slightly around the hole. This is the “fill
Continue to hold your finger over the exit till the glue sets up and you’re done. How easy was that????
Once you’re set up it shouldn’t take more than fifteen or twenty minutes to fill all the tanks even including cleanup. It’ll go quicker after the first time as the holes are already