9900F specifications
The Canon 9900F is a high-performance flatbed scanner that's designed to meet the needs of both professional and amateur photographers, as well as archivists and digital imaging enthusiasts. Renowned for its exceptional optical quality, the 9900F offers a range of advanced features that set it apart in the realm of image digitization.One of the standout characteristics of the Canon 9900F is its impressive optical resolution of up to 4800 x 4800 dpi. This high resolution enables users to capture intricate details in films and photographs, ensuring that scans maintain the fidelity of the original images. The inclusion of a 48-bit color depth allows for a broader range of colors, enhancing the accuracy and richness of scanned images—crucial for photographers seeking to retain the nuances of their work.
Equipped with Canon's innovative FARE (Film Automatic Retouching and Enhancement) technology, the scanner can effectively eliminate unwanted scratches and dust from film scans, which is particularly beneficial for older film negatives. This automated process saves time and enhances the quality of the final output, making the 9900F a favorite for those who often work with archival materials.
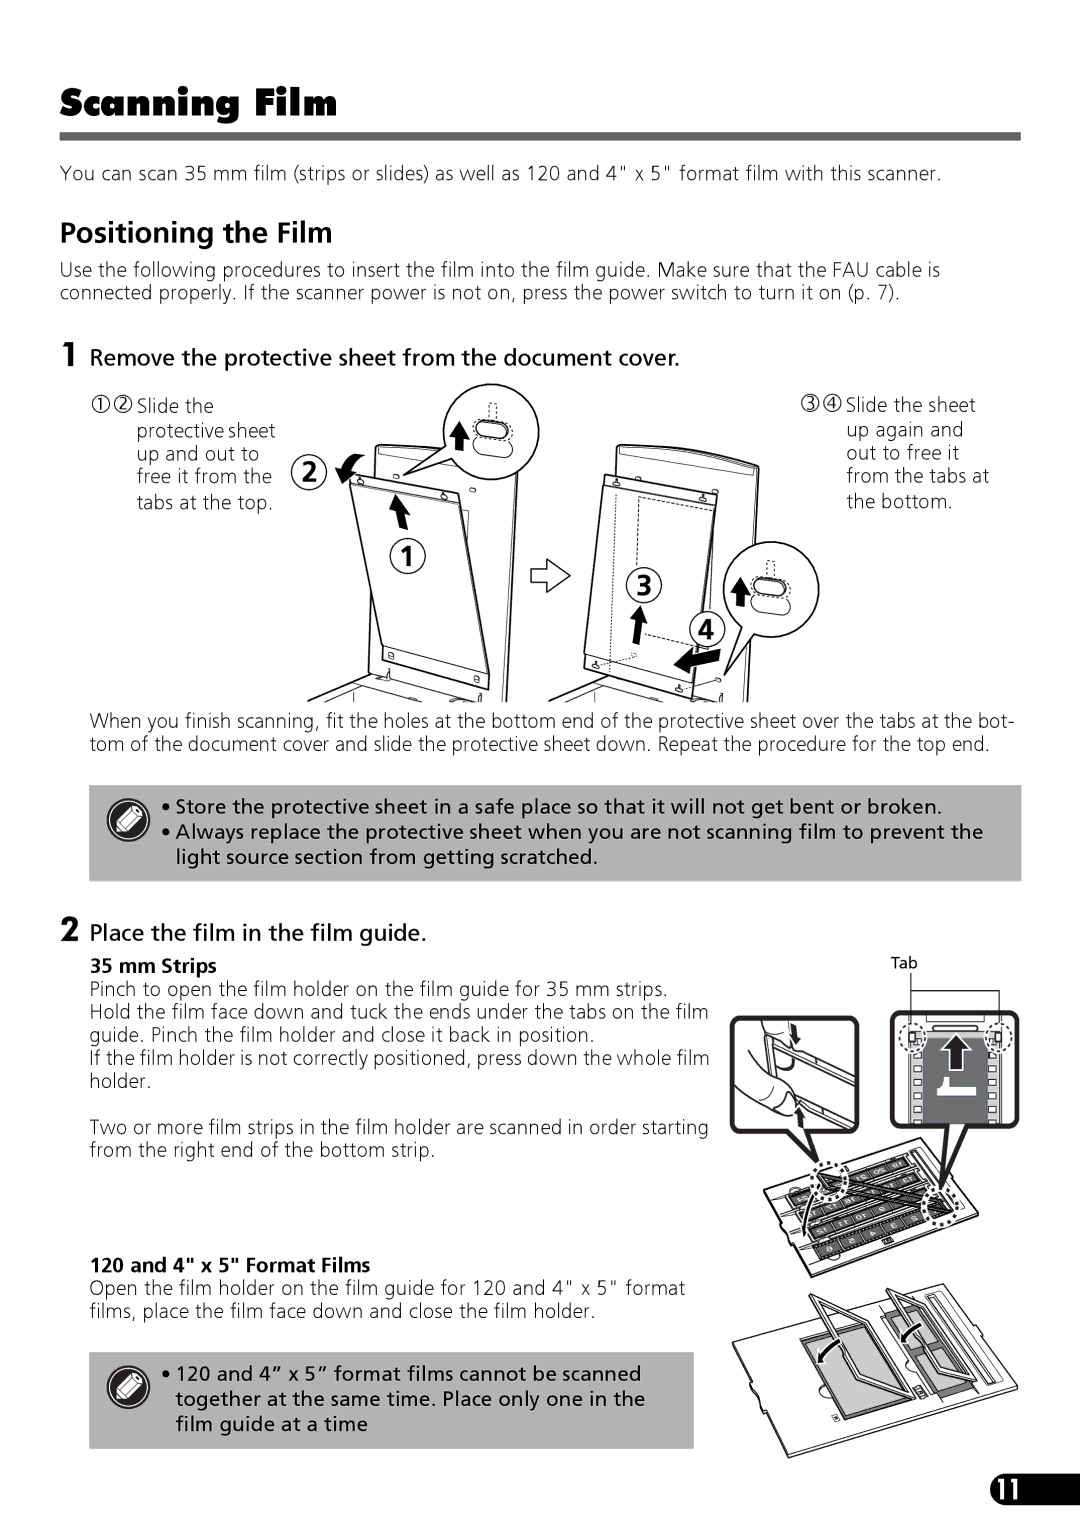
The 9900F also boasts a versatile scanning area, accommodating not only standard documents and photographs but also larger formats such as 35mm film, medium format, and even larger transparency mediums. This flexibility makes it an invaluable tool for professionals who deal with varying types of media.
Additionally, the Canon 9900F incorporates a range of connectivity options, including USB 2.0 for fast data transfer to computers. Its compatibility with various operating systems ensures that users can integrate it seamlessly into their existing workflow regardless of the platform.
Moreover, the scanner is accompanied by powerful software, which includes powerful image-editing capabilities. Users can easily enhance, crop, and manipulate scanned images directly from their desktops. The software suite also allows for easy batch scanning, facilitating the digitization of multiple images or documents in a single session.
In summary, the Canon 9900F stands out for its quality, versatility, and user-friendly features. Its high optical resolution, advanced retouching technology, and robust software make it an ideal choice for anyone looking to produce professional-grade scans with clarity and detail. Whether for preserving family memories or creating digital portfolios, the Canon 9900F remains a top contender in the scanner market.

