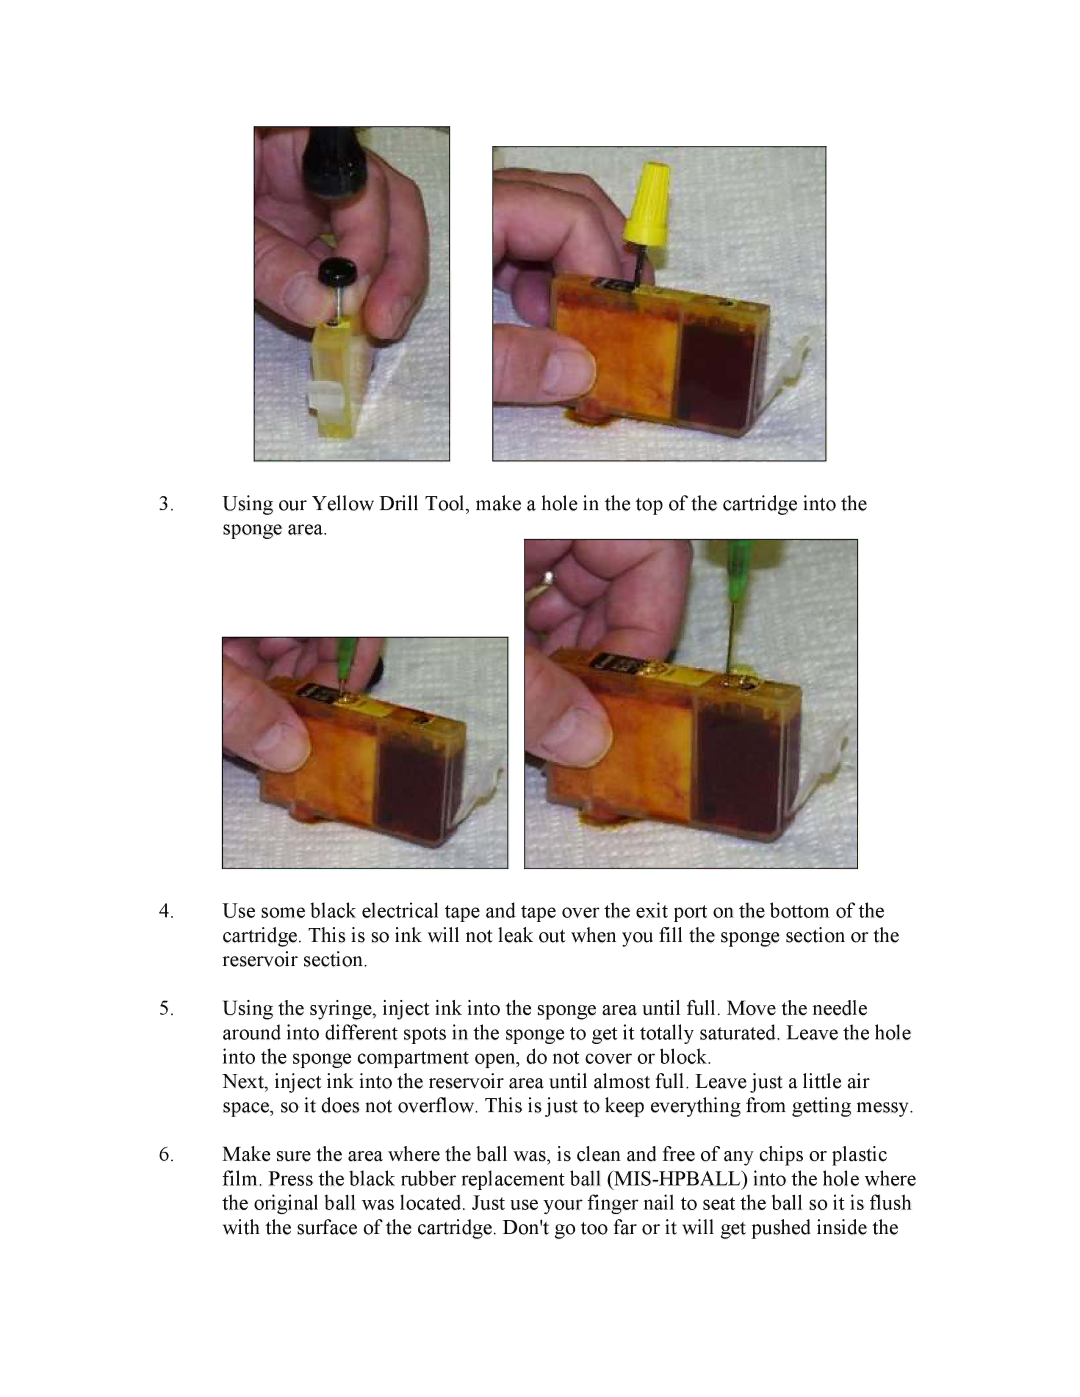
3.Using our Yellow Drill Tool, make a hole in the top of the cartridge into the sponge area.
4.Use some black electrical tape and tape over the exit port on the bottom of the cartridge. This is so ink will not leak out when you fill the sponge section or the reservoir section.
5.Using the syringe, inject ink into the sponge area until full. Move the needle around into different spots in the sponge to get it totally saturated. Leave the hole into the sponge compartment open, do not cover or block.
Next, inject ink into the reservoir area until almost full. Leave just a little air space, so it does not overflow. This is just to keep everything from getting messy.
6.Make sure the area where the ball was, is clean and free of any chips or plastic film. Press the black rubber replacement ball
