Impressa F7 specifications
The Capresso Impressa F7 is a remarkable automatic espresso machine that has transformed the way coffee enthusiasts prepare their favorite brews at home. Designed for both novices and connoisseurs alike, the Impressa F7 boasts a combination of advanced technology, intuitive features, and stylish design, making it a standout choice for anyone passionate about coffee.One of the main features of the Impressa F7 is its user-friendly interface, which includes a color display screen that allows users to easily navigate through various drink options. With the touch of a button, users can select from a variety of coffee styles, including espresso, cappuccino, and latte. The machine also offers customizable settings, enabling users to adjust the strength, temperature, and volume of their beverages according to personal preferences.
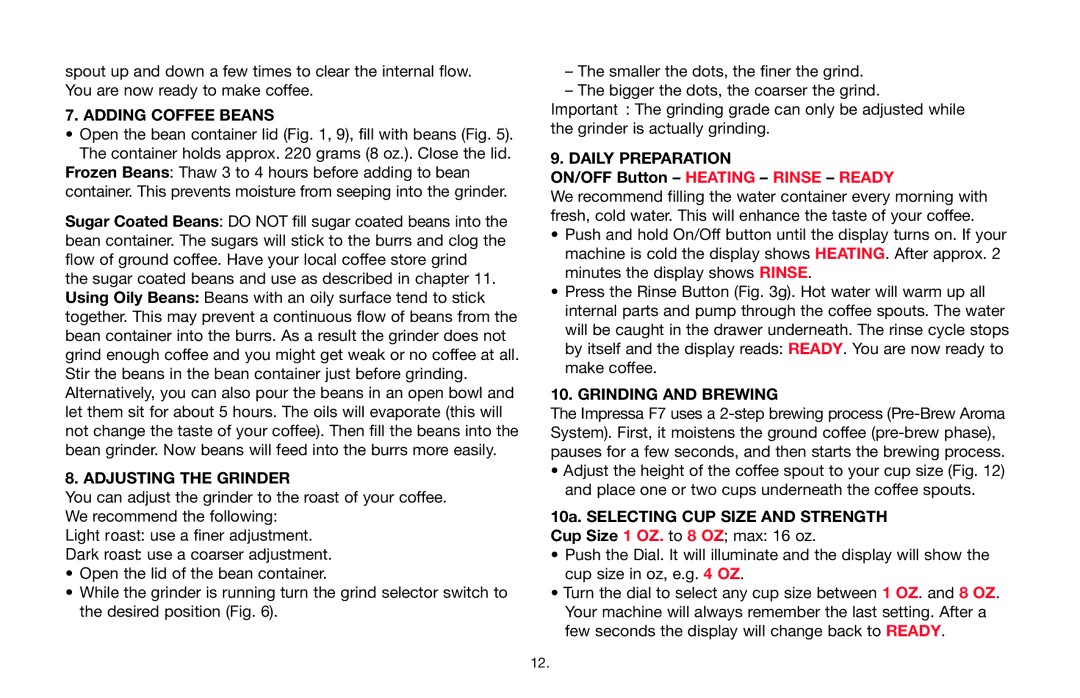
The Impressa F7 is equipped with a high-performance stainless steel conical burr grinder that ensures precise grinding of coffee beans for optimal flavor extraction. This integrated grinder comes with an adjustable grind size setting, allowing users to choose the coarseness of their coffee grounds, which is essential for different brewing methods. Additionally, the machine features a large bean hopper that can hold a substantial amount of coffee beans, reducing the need for frequent refills.
Another standout technology in the Impressa F7 is its advanced brewing system, known as the "Intelligent Pre-Brew Aroma System." This technology pre-soaks the coffee grounds before the brewing process begins, allowing for enhanced extraction and a richer flavor profile. The machine also comes with a built-in milk frother that produces creamy, textured milk for lattes and cappuccinos, making it a versatile choice for milk-based beverages.
In terms of characteristics, the Capresso Impressa F7 shines with its sleek, compact design that fits seamlessly into any kitchen decor. The high-quality materials used in its construction ensure durability and longevity, while the easy-to-clean components make maintenance a breeze. The automatic rinse and cleaning cycle adds convenience, ensuring that the machine remains in optimal condition with minimal effort.
Overall, the Capresso Impressa F7 is a premium espresso machine that combines sophisticated technology with ease of use. Its range of features, from customizable drink options to advanced brewing systems, positions it as an essential addition to any coffee lover's kitchen. Whether you are looking to enjoy a simple shot of espresso or a frothy cappuccino, the Impressa F7 delivers consistently exceptional results, making every coffee experience a delight.