
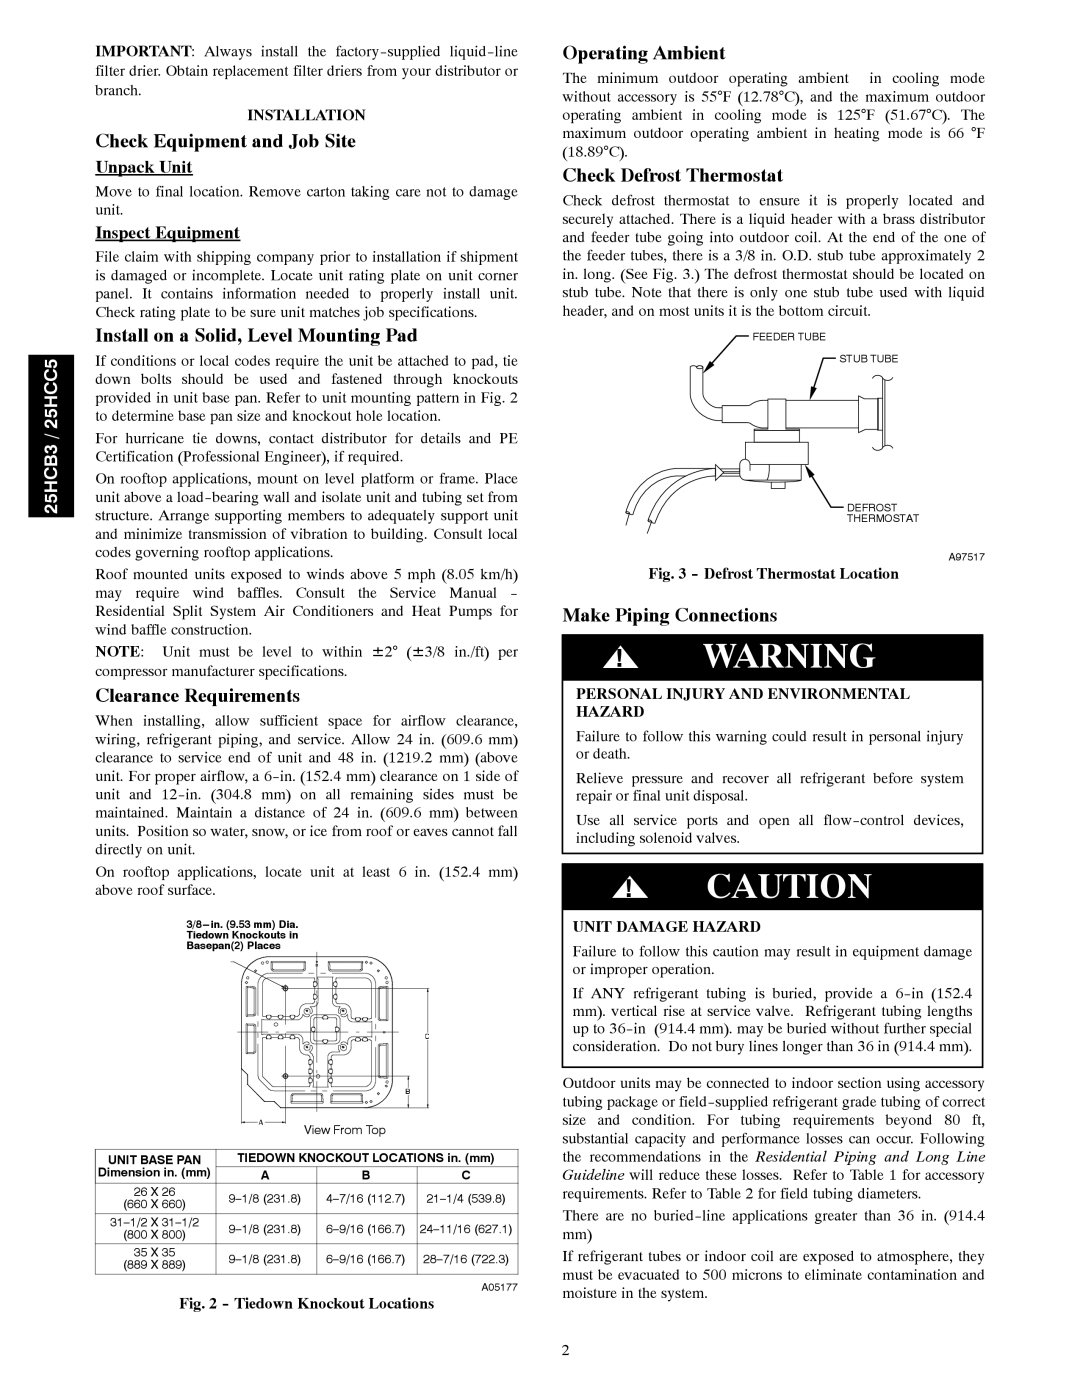
25HCC5, 25HCB3 specifications
The Carrier 25HCB3 and 25HCC5 are technologically advanced HVAC systems designed to meet the needs of modern residential and commercial spaces. These models stand out for their efficiency, reliability, and eco-friendliness, making them excellent choices for anyone looking to enhance indoor comfort while minimizing energy consumption.One of the main features of the Carrier 25HCB3 and 25HCC5 is their exceptional SEER (Seasonal Energy Efficiency Ratio) rating, which signifies a higher cooling efficiency compared to traditional air conditioning systems. These units leverage Carrier's innovative design to deliver cooling and heating solutions that are tailored to various climate conditions, ensuring optimal performance year-round.
Both models utilize a variable-speed compressor, which allows them to adjust their cooling output based on the specific needs of the space. This technology not only enhances comfort by providing consistent temperatures but also reduces energy consumption, contributing to lower utility bills. The variable-speed operation is particularly beneficial during transitional seasons, where less intensive cooling is required.
In addition to their variable-speed capabilities, the 25HCB3 and 25HCC5 offer advanced filtration systems designed to improve indoor air quality. These systems can effectively capture airborne allergens, dust, and particulates, creating a healthier living environment. Moreover, users can opt for enhanced filtration options, which utilize HEPA filters for even greater allergen removal.
Another key characteristic of these models is their quiet operation. The Carrier 25HCB3 and 25HCC5 are engineered with sound-dampening features that minimize operational noise. This is especially advantageous for residential applications where tranquility is valued.
Durability is also a hallmark of Carrier systems. The 25HCB3 and 25HCC5 are built with robust materials and advanced protective mechanisms, ensuring that they can withstand the rigors of various weather conditions and provide reliable service for years to come.
In terms of smart technology, these models are compatible with Carrier's smart thermostat solutions, allowing users to monitor and control their HVAC systems remotely. This connectivity enhances user convenience and promotes energy efficiency by enabling users to adjust settings based on their schedules and needs.
Overall, the Carrier 25HCB3 and 25HCC5 represent a significant advancement in HVAC technology, combining high efficiency, advanced features, and user-friendly operation. Whether for residential or commercial use, these systems provide a comprehensive solution for anyone seeking reliable and effective climate control.