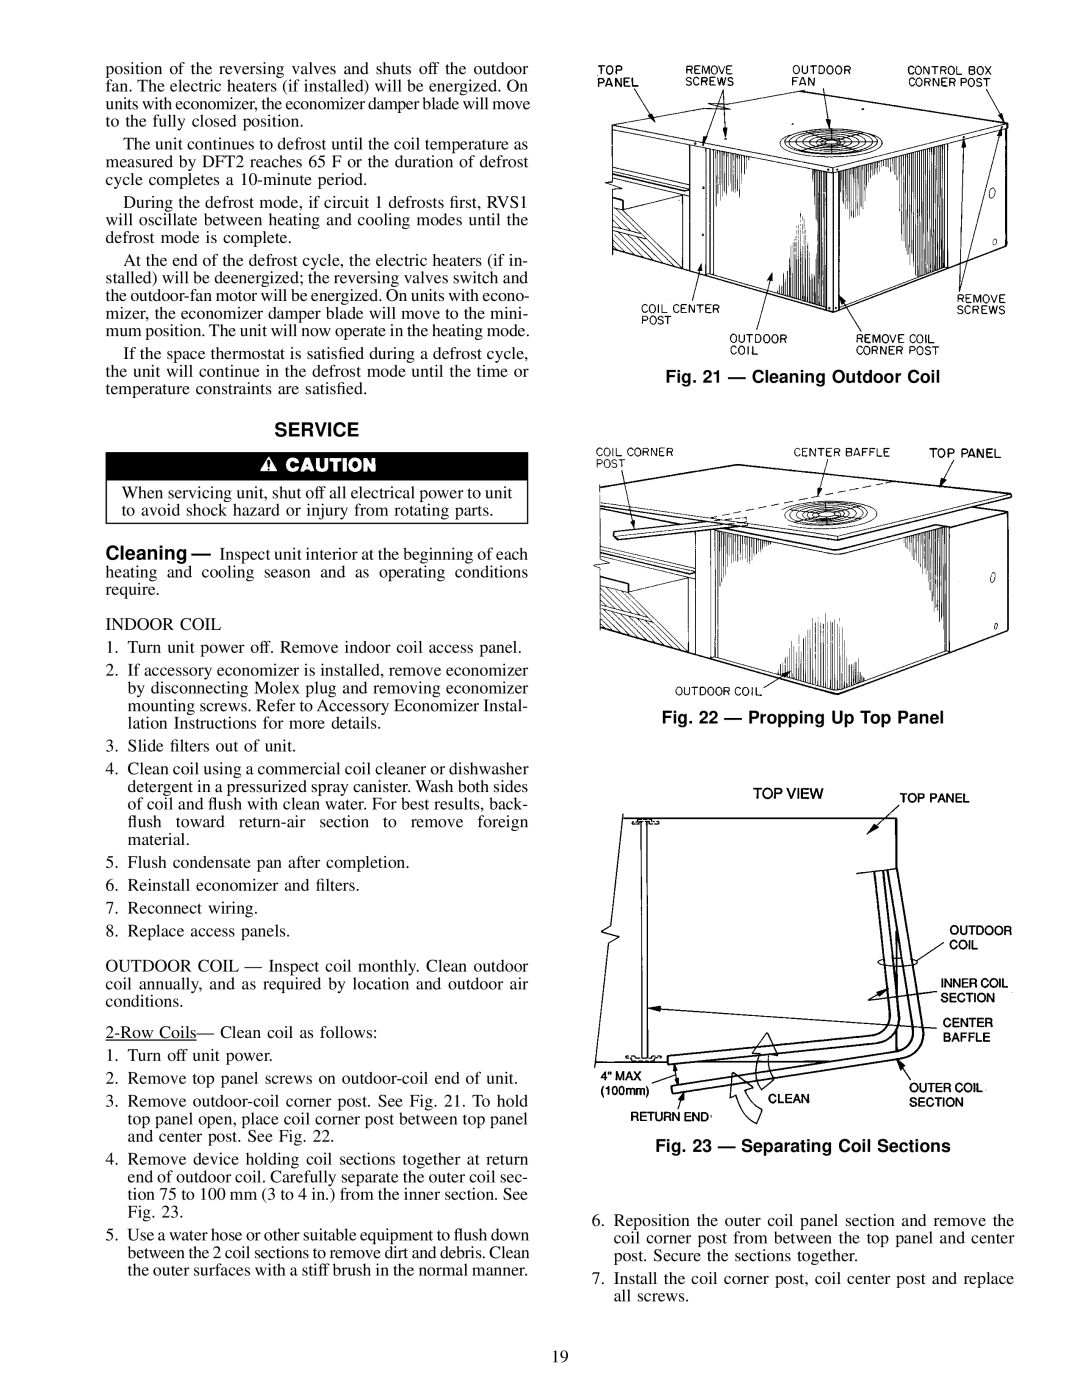
012, 50LJQ008 specifications
The Carrier 012,50LJQ008 is a state-of-the-art air conditioning unit, specifically designed to provide optimal temperature control and energy efficiency for residential and commercial applications. As part of Carrier's renowned portfolio, this model incorporates innovative technologies and user-friendly features that set it apart from competitors in the market.One of the standout characteristics of the Carrier 012,50LJQ008 is its high energy efficiency rating. Equipped with advanced inverter technology, this unit adjusts its cooling output based on the ambient temperature and humidity levels, reducing energy consumption while maintaining consistent comfort. This not only lowers utility bills but also minimizes the environmental impact, making it a sustainable choice for modern living.
In terms of cooling capacity, the Carrier 012,50LJQ008 offers a formidable performance, capable of efficiently cooling spaces of varying sizes. Its robust compressor ensures rapid cooling while remaining remarkably quiet, which is particularly advantageous for residential settings. The unit’s capacity to handle high ambient temperatures allows it to perform reliably even in extreme weather conditions, ensuring comfort during the hottest days of summer.
Another key feature is the user-friendly interface. The Carrier 012,50LJQ008 comes with a digital control panel that allows users to easily set their desired temperature and adjust fan speeds according to their preferences. Additionally, it offers remote control functionality, providing convenience and ease of use for homeowners and occupants alike.
The design of the Carrier 012,50LJQ008 incorporates advanced air filtration technology, including a multi-layer filter system that captures allergens and airborne particles. This not only improves indoor air quality but also contributes to the longevity of the unit by preventing dust buildup. The filters are easily accessible for cleaning and replacement, ensuring the system runs efficiently.
Durability is another critical aspect of this model. Constructed with high-quality materials, the Carrier 012,50LJQ008 is designed to withstand varying environmental conditions. Its corrosion-resistant outdoor unit ensures a longer lifespan, while comprehensive warranties provide peace of mind to users.
In summary, the Carrier 012,50LJQ008 is an exemplary air conditioning unit that combines energy efficiency, advanced technology, and user-centric features. Whether for a family home or a commercial space, its superior performance, reliability, and ease of use make it an excellent choice for maintaining optimal comfort year-round.

