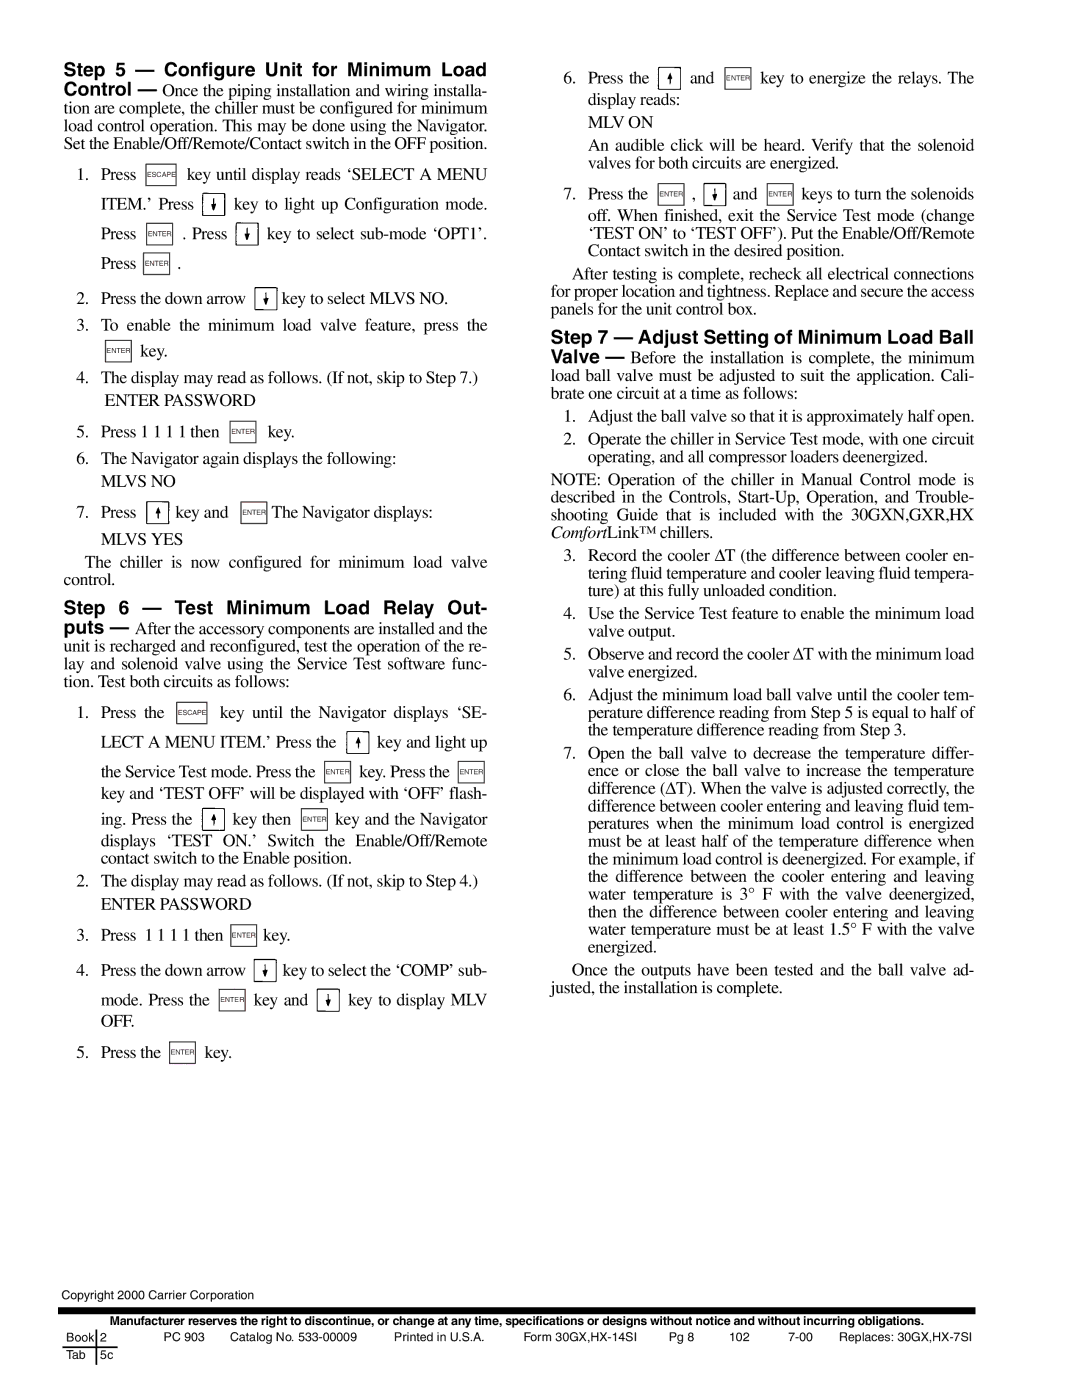
Step 5 — Configure Unit for Minimum Load Control — Once the piping installation and wiring installa- tion are complete, the chiller must be configured for minimum load control operation. This may be done using the Navigator. Set the Enable/Off/Remote/Contact switch in the OFF position.

1.Press ESCAPE key until display reads ‘SELECT A MENU

ITEM.’ Press key to light up Configuration mode.

Press ENTER . Press key to select sub-mode ‘OPT1’. Press ENTER .

2.Press the down arrow key to select MLVS NO.

3.To enable the minimum load valve feature, press the

ENTER key.

4.The display may read as follows. (If not, skip to Step 7.)

ENTER PASSWORD

5. Press 1 1 1 1 then ENTER key.

6.The Navigator again displays the following:

MLVS NO

7.Press key and keyENTER. The Navigator displays:

MLVS YES

The chiller is now configured for minimum load valve control.

Step 6 — Test Minimum Load Relay Out- puts — After the accessory components are installed and the unit is recharged and reconfigured, test the operation of the re- lay and solenoid valve using the Service Test software func- tion. Test both circuits as follows:

1.Press the ESCAPE key until the Navigator displays ‘SE-

LECT A MENU ITEM.’ Press the key and light up the Service Test mode. Press the ENTER key. Press the ENTER key and ‘TEST OFF’ will be displayed with ‘OFF’ flash-

ing. Press the key then ENTER key and the Navigator displays ‘TEST ON.’ Switch the Enable/Off/Remote contact switch to the Enable position.

2.The display may read as follows. (If not, skip to Step 4.)

ENTER PASSWORD

3.Press 1 1 1 1 then ENTER key.

4.Press the down arrow key to select the ‘COMP’ sub-

mode. Press the ENTER key and key to display MLV OFF.

5.Press the ENTER key.

6.Press the and ENTER key to energize the relays. The display reads:

MLV ON

An audible click will be heard. Verify that the solenoid valves for both circuits are energized.

7.Press the ENTER , and ENTER keys to turn the solenoids off. When finished, exit the Service Test mode (change ‘TEST ON’ to ‘TEST OFF’). Put the Enable/Off/Remote Contact switch in the desired position.

After testing is complete, recheck all electrical connections for proper location and tightness. Replace and secure the access panels for the unit control box.

Step 7 — Adjust Setting of Minimum Load Ball Valve — Before the installation is complete, the minimum load ball valve must be adjusted to suit the application. Cali- brate one circuit at a time as follows:

1.Adjust the ball valve so that it is approximately half open.

2.Operate the chiller in Service Test mode, with one circuit operating, and all compressor loaders deenergized.

NOTE: Operation of the chiller in Manual Control mode is described in the Controls, Start-Up, Operation, and Trouble- shooting Guide that is included with the 30GXN,GXR,HX ComfortLink™ chillers.

3.Record the cooler T (the difference between cooler en- tering fluid temperature and cooler leaving fluid tempera- ture) at this fully unloaded condition.

4.Use the Service Test feature to enable the minimum load valve output.

5.Observe and record the cooler T with the minimum load valve energized.

6.Adjust the minimum load ball valve until the cooler tem- perature difference reading from Step 5 is equal to half of the temperature difference reading from Step 3.

7.Open the ball valve to decrease the temperature differ-

ence or close the ball valve to increase the temperature difference (T). When the valve is adjusted correctly, the difference between cooler entering and leaving fluid tem- peratures when the minimum load control is energized must be at least half of the temperature difference when the minimum load control is deenergized. For example, if the difference between the cooler entering and leaving water temperature is 3° F with the valve deenergized, then the difference between cooler entering and leaving water temperature must be at least 1.5° F with the valve energized.

Once the outputs have been tested and the ball valve ad- justed, the installation is complete.

Copyright 2000 Carrier Corporation

Manufacturer reserves the right to discontinue, or change at any time, specifications or designs without notice and without incurring obligations.

Book

2

PC 903

Catalog No. 533-00009

Printed in U.S.A.

Form 30GX,HX-14SI

Pg 8

102

7-00

Replaces: 30GX,HX-7SI

Tab

5c


Page 8
Image 8
Carrier R080-528, 30GXN installation instructions Enter Password

30GXN, R080-528 specifications

The Carrier R080-528,30GXN is a cutting-edge rooftop air conditioning unit from Carrier, a pioneer in HVAC technology. This model is designed for commercial use, providing reliable and efficient cooling solutions for various applications. With a strong emphasis on performance, durability, and energy efficiency, the R080-528,30GXN has become a preferred choice for businesses seeking comfort without excessive energy costs.

One of the standout features of the R080-528,30GXN is its robust cooling capacity, making it suitable for medium to large-sized commercial spaces. The unit integrates advanced scroll compressor technology that ensures consistent performance while minimizing energy consumption. This compressor design not only enhances efficiency but also extends the lifespan of the equipment.

In terms of energy efficiency, the R080-528,30GXN is equipped with an innovative high-efficiency coil system. This aids in maximizing heat exchange while decreasing energy use. The unit also meets or exceeds local energy efficiency standards, making it an environmentally responsible choice for business owners.

The Carrier R080-528,30GXN is built with advanced controls and smart technology. It offers a user-friendly digital thermostat, enabling precise temperature management and programmable settings. The built-in diagnostics further simplify maintenance and troubleshooting, allowing for proactive management of the system and reducing downtime.

The installation of the R080-528,30GXN is streamlined thanks to its flexible design, allowing for curb mounting on rooftops. Its compact structure ensures that it can fit into tight spaces without compromising performance. The unit also features durable construction, with corrosion-resistant materials, ensuring it withstands harsh weather conditions and requires minimal maintenance.

Among its standout characteristics are low sound levels, which enhance the comfort of occupants. The R080-528 is designed with sound attenuation features that significantly reduce operational noise, making it an ideal choice for locations where noise is a concern, such as office buildings and educational facilities.

In summary, the Carrier R080-528,30GXN combines powerful cooling capabilities with advanced technologies, energy efficiency, and user-friendly features. Its robust design, smart controls, and quiet operation make it an excellent solution for commercial air conditioning needs, offering long-term comfort and reliability for businesses.