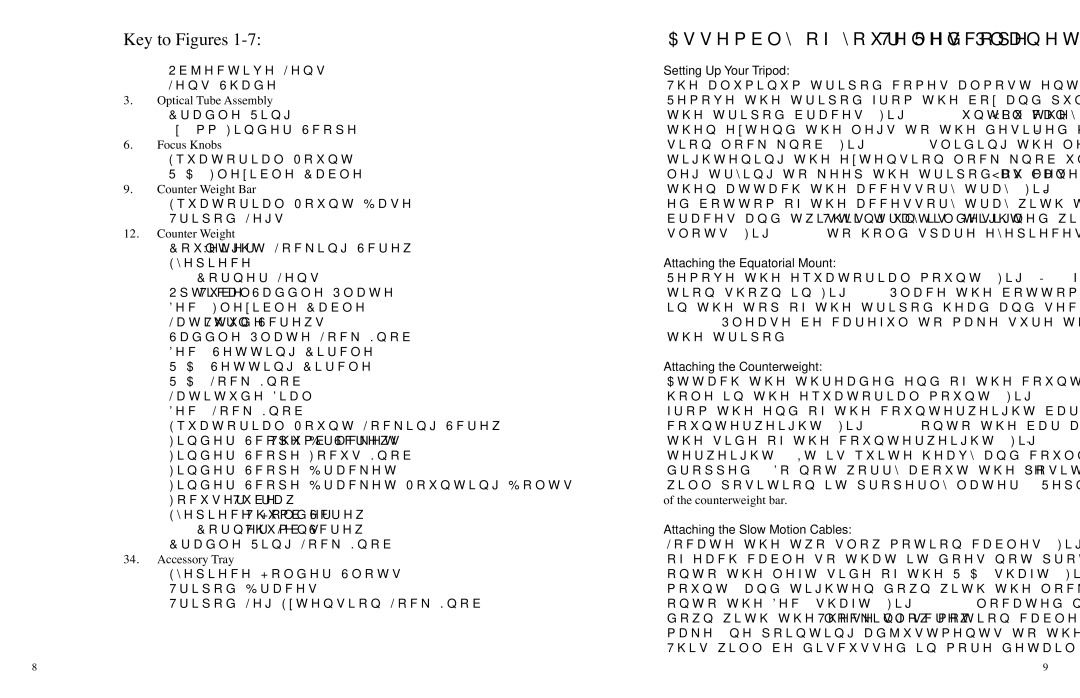
Key to Figures 1-7:

Assembly of your Red Planet Telescope:

1.

Objective Lens

Setting Up Your Tripod:

2.

Lens Shade

The aluminum tripod comes almost entirely preassembled and ready-to-use.

3.

Optical Tube Assembly

Remove the tripod from the box and pull apart the legs. Gently push down

4.

Cradle Ring

the tripod braces (Fig. 7-36) until they are in the lowest position. You can

5.

6x30mm Finder Scope

then extend the legs to the desired height by loosening the sliding leg exten-

6.

Focus Knobs

sion lock knob (Fig. 7-37), sliding the leg down the desired amount and then

7.

Equatorial Mount

tightening the extension lock knob until secure. Repeat the process with each

8.

R.A. Flexible Cable

leg trying to keep the tripod as level as possible with the ground. You can

9.

Counter Weight Bar

then attach the accessory tray (Fig. 7-34) to the tripod by lining up the thread-

10.

Equatorial Mount Base

ed bottom of the accessory tray with the hole in the middle of the three tripod

11.

Tripod Legs

braces and twisting until tight. This tray is designed with eyepiece holder

12.

Counter Weight

slots (Fig. 7-35) to hold spare eyepieces when not in use.

13.

Counter Weight Locking Screw

Attaching the Equatorial Mount:

14.

Eyepiece

15.

90° Corner Lens

Remove the equatorial mount (Fig. 1-7) from the box and twist into the posi-

16.

Optical Tube Saddle Plate

tion shown in Fig. 3. Place the bottom of the mount (Fig. 1-10) into the hole

17.

Dec. Flexible Cable

in the top of the tripod head and secure with the mount locking screw (Fig.

18.

Latitude Turn Screws

3-25). Please be careful to make sure that the mount is securely attached to

19.

Saddle Plate Lock Knob

the tripod.

20.

Dec. Setting Circle

Attaching the Counterweight:

21.

R.A. Setting Circle

22.

R.A. Lock Knob

Attach the threaded end of the counterweight bar (Fig. 1-9) into the threaded

23.

Latitude Dial

hole in the equatorial mount (Fig. 1-7). Remove the safety screw and washer

24.

Dec. Lock Knob

from the end of the counterweight bar and set aside for a moment. Slide the

25.

Equatorial Mount Locking Screw

counterweight (Fig. 1-12) onto the bar and tighten down using the screw on

26.

Finder Scope Bracket Thumb Screws

the side of the counterweight (Fig. 1-13). Be careful not to drop the coun-

27.

Finder Scope Focus Knob

terweight. It is quite heavy and could harm you or damage your floor if

28.

Finder Scope Bracket

dropped. Do not worry about the position of the counterweight just yet. We

29.

Finder Scope Bracket Mounting Bolts

will position it properly later. Replace the safety screw and washer at the end

30.

Focuser Draw Tube

of the counterweight bar.

31.

Eyepiece Holder Thumb Screw

Attaching the Slow Motion Cables:

32.

90° Corner Lens Thumb Screw

33.

Cradle Ring Lock Knob

Locate the two slow motion cables (Fig. 2-8,17). Loosen the screw at the end

34.

Accessory Tray

of each cable so that it does not protrude through the hole. Slide one cable

35.

Eyepiece Holder Slots

onto the left side of the R.A. shaft (Fig. 1-8) (located near the bottom of the

36.

Tripod Braces

mount) and tighten down with the locking screw. Slide the remaining cable

37.

Tripod Leg Extension Lock Knob

onto the Dec. shaft (Fig. 2-17) (located near the top of the mount) and tighten


down with the locking screw. These slow motion cables will allow you to

make fine pointing adjustments to the telescope in both R.A. and declination. This will be discussed in more detail later.

8

9

Page 5
Image 5
Carson Optical RP-400 instruction manual Key to Figures, Assembly of your Red Planet Telescope

RP-400 specifications

The Carson Optical RP-400 is a remarkable tool designed for those who value clarity, precision, and versatility in their optical devices. This remarkable piece of equipment is especially popular among birdwatchers, nature enthusiasts, and outdoor photographers seeking to enhance their viewing experiences.

One of the standout features of the RP-400 is its 8x magnification and 40mm objective lens. This combination delivers impressive detail and brightness, allowing users to see distant objects clearly. The large objective lens captures more light, making it an excellent choice for low-light conditions, such as dawn or dusk. This capability is essential for birdwatchers or wildlife observers who often operate during those times.

The RP-400 utilizes advanced optics, including fully multi-coated lenses. This technology enhances light transmission and reduces glare, resulting in bright, crisp images with excellent contrast. The phase-corrected prisms further enhance the image quality, providing sharper and more vibrant colors that make you feel as if you are witnessing the scene in person.

Durability is another key characteristic of the RP-400. Built with a robust, waterproof, and fog-proof housing, this model is designed to withstand the rigors of outdoor use. Whether you’re hiking through humid forests or navigating wet environments, users can trust that the RP-400 will perform reliably. The rubber armor coating provides a secure grip and adds an extra layer of protection against impacts.

Convenience has also been prioritized in the design of the RP-400. The device features a twist-up eyecup, accommodating users who wear glasses and those who do not. This feature ensures comfort during extended periods of use while maintaining ease of viewing. Additionally, the lightweight and compact design make the RP-400 highly portable, allowing users to carry it effortlessly during their adventures.

The Carson Optical RP-400 is not just a tool; it’s a gateway to a world of exploration and discovery. With its combination of advanced optical technologies, rugged durability, and user-friendly features, the RP-400 stands out as a top choice among optical devices. Whether you're birdwatching, attending a sports event, or enjoying a concert, this binocular will enhance your viewing experience, making every moment unforgettable.