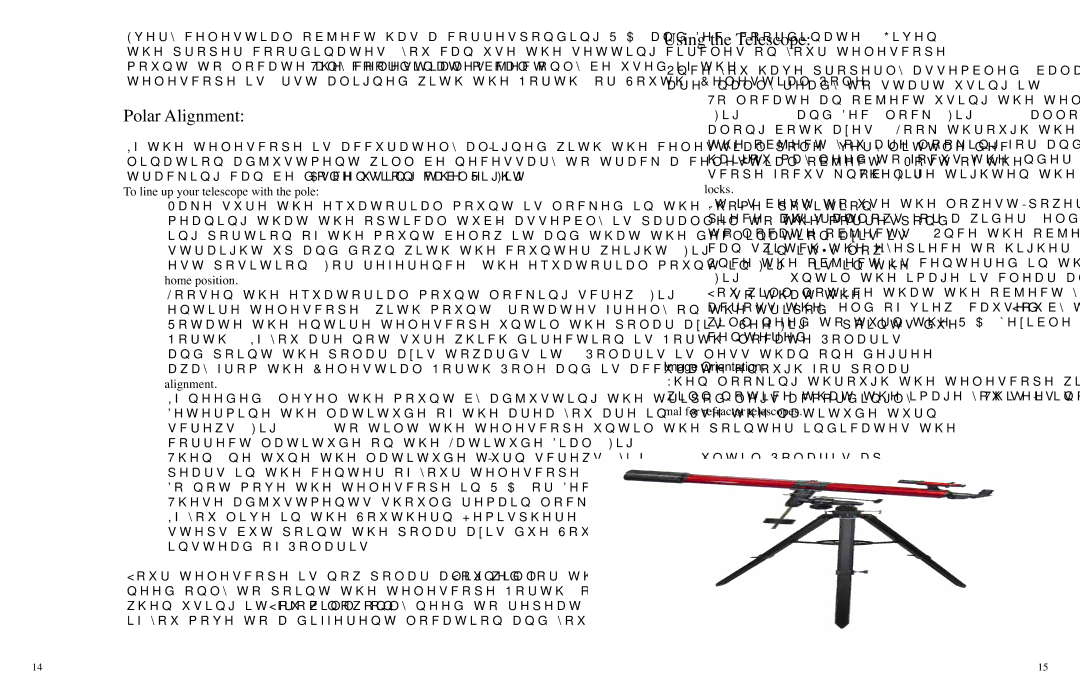
RP-400 specifications
The Carson Optical RP-400 is a remarkable tool designed for those who value clarity, precision, and versatility in their optical devices. This remarkable piece of equipment is especially popular among birdwatchers, nature enthusiasts, and outdoor photographers seeking to enhance their viewing experiences.One of the standout features of the RP-400 is its 8x magnification and 40mm objective lens. This combination delivers impressive detail and brightness, allowing users to see distant objects clearly. The large objective lens captures more light, making it an excellent choice for low-light conditions, such as dawn or dusk. This capability is essential for birdwatchers or wildlife observers who often operate during those times.
The RP-400 utilizes advanced optics, including fully multi-coated lenses. This technology enhances light transmission and reduces glare, resulting in bright, crisp images with excellent contrast. The phase-corrected prisms further enhance the image quality, providing sharper and more vibrant colors that make you feel as if you are witnessing the scene in person.
Durability is another key characteristic of the RP-400. Built with a robust, waterproof, and fog-proof housing, this model is designed to withstand the rigors of outdoor use. Whether you’re hiking through humid forests or navigating wet environments, users can trust that the RP-400 will perform reliably. The rubber armor coating provides a secure grip and adds an extra layer of protection against impacts.
Convenience has also been prioritized in the design of the RP-400. The device features a twist-up eyecup, accommodating users who wear glasses and those who do not. This feature ensures comfort during extended periods of use while maintaining ease of viewing. Additionally, the lightweight and compact design make the RP-400 highly portable, allowing users to carry it effortlessly during their adventures.
The Carson Optical RP-400 is not just a tool; it’s a gateway to a world of exploration and discovery. With its combination of advanced optical technologies, rugged durability, and user-friendly features, the RP-400 stands out as a top choice among optical devices. Whether you're birdwatching, attending a sports event, or enjoying a concert, this binocular will enhance your viewing experience, making every moment unforgettable.

