
 4
4
 Installing Language Pack
 Add-In Software
Installing the Language Pack
The steps you need to perform depend on whether you have the ClassPad’s “Wakeup Enable” feature turned on or off. For information about “Wakeup Enable”, see “Configuring Communication Parameters” in the ClassPad 300 (page
When “Wakeup Enable” is turned on
Perform the following steps in sequence, from 1 through 15.*When “Wakeup Enable” is turned off
Perform the steps in the following sequence: 1, 2, 3, 4, 8, 9, 5*, 10, 11, 12, 13, 14, 15.
*Note that you need to perform step 5 only if the “Found New Hardware Wizard” dialog box appear on your computer screen. The “Found New Hardware Wizard” dialog box appears only the first time you connect the ClassPad to your computer.
Note
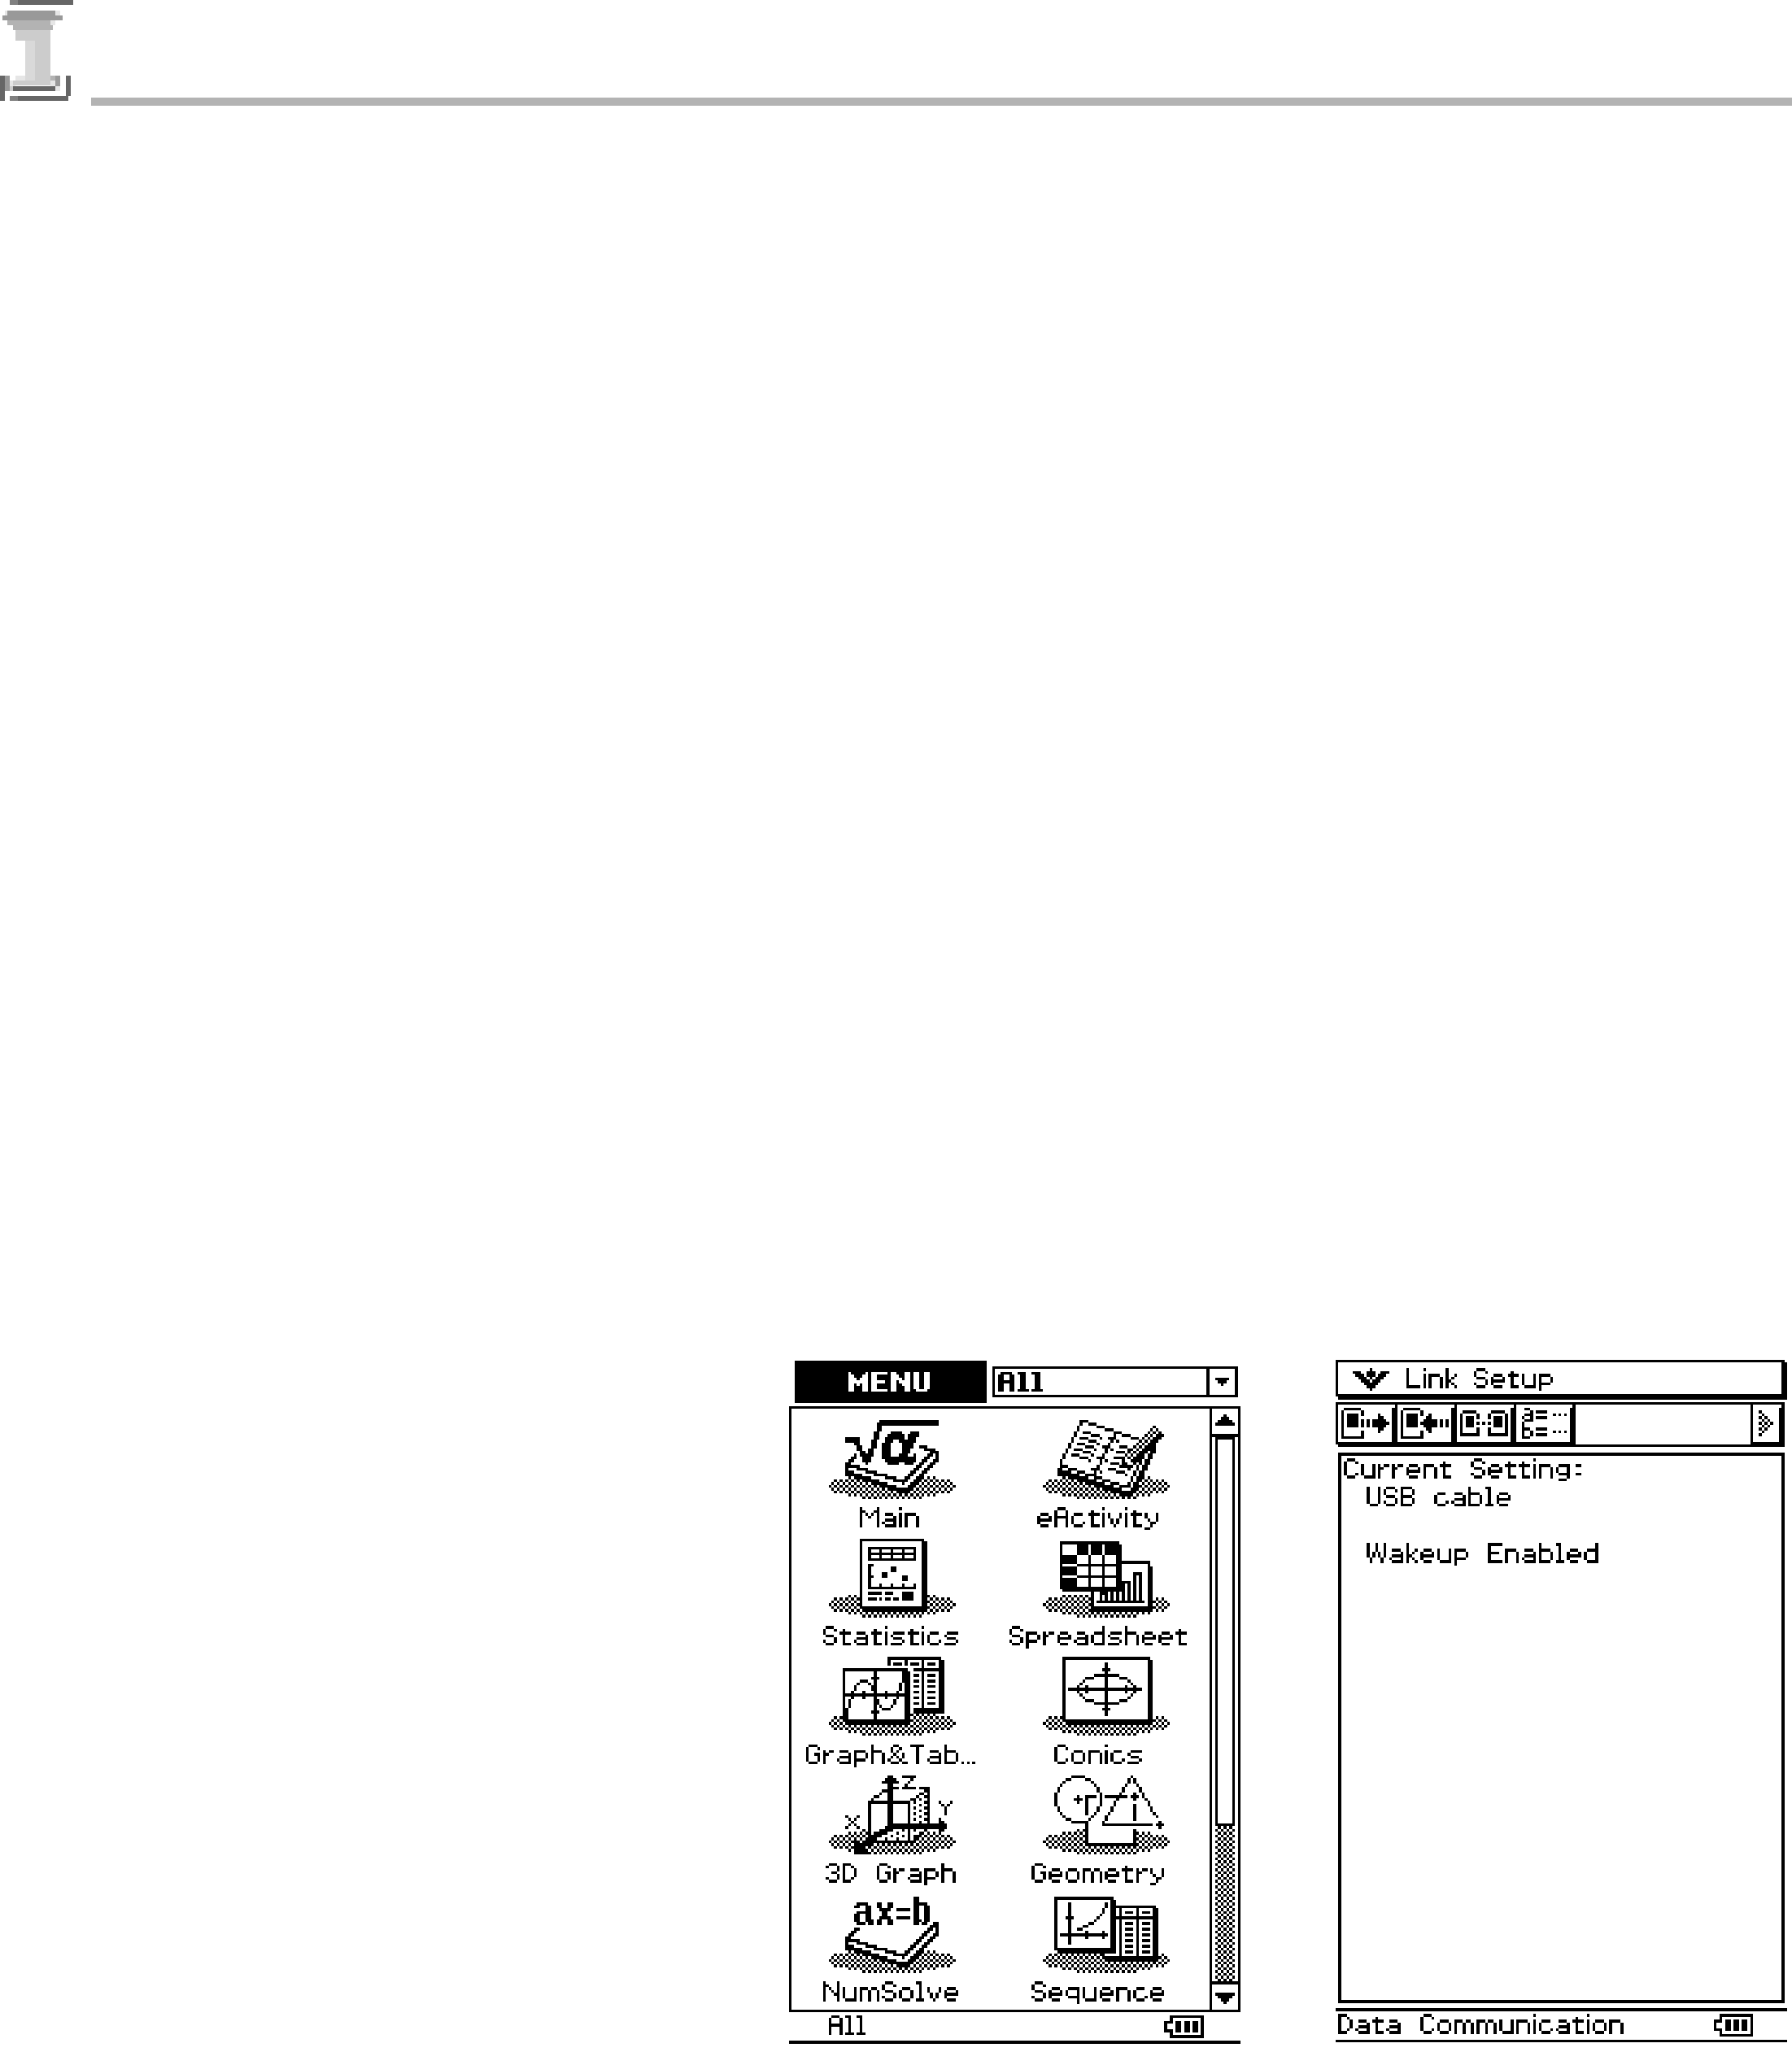
•Specify USB cable for the ClassPad’s “Cable Type” setting. For details, see “Communication Dialog Box” in the ClassPad 300 (page
•Tapping the [Cancel] button on the ClassPad screen during ClassPad
To install the Language Pack add-in software
1. Press the ClassPad okey to turn it on.
2. Scroll down the application menu and then tap Bto start up the Communication application.
20050601 |