EDITING IMAGES |
| EDITING IMAGES |
|
|
|
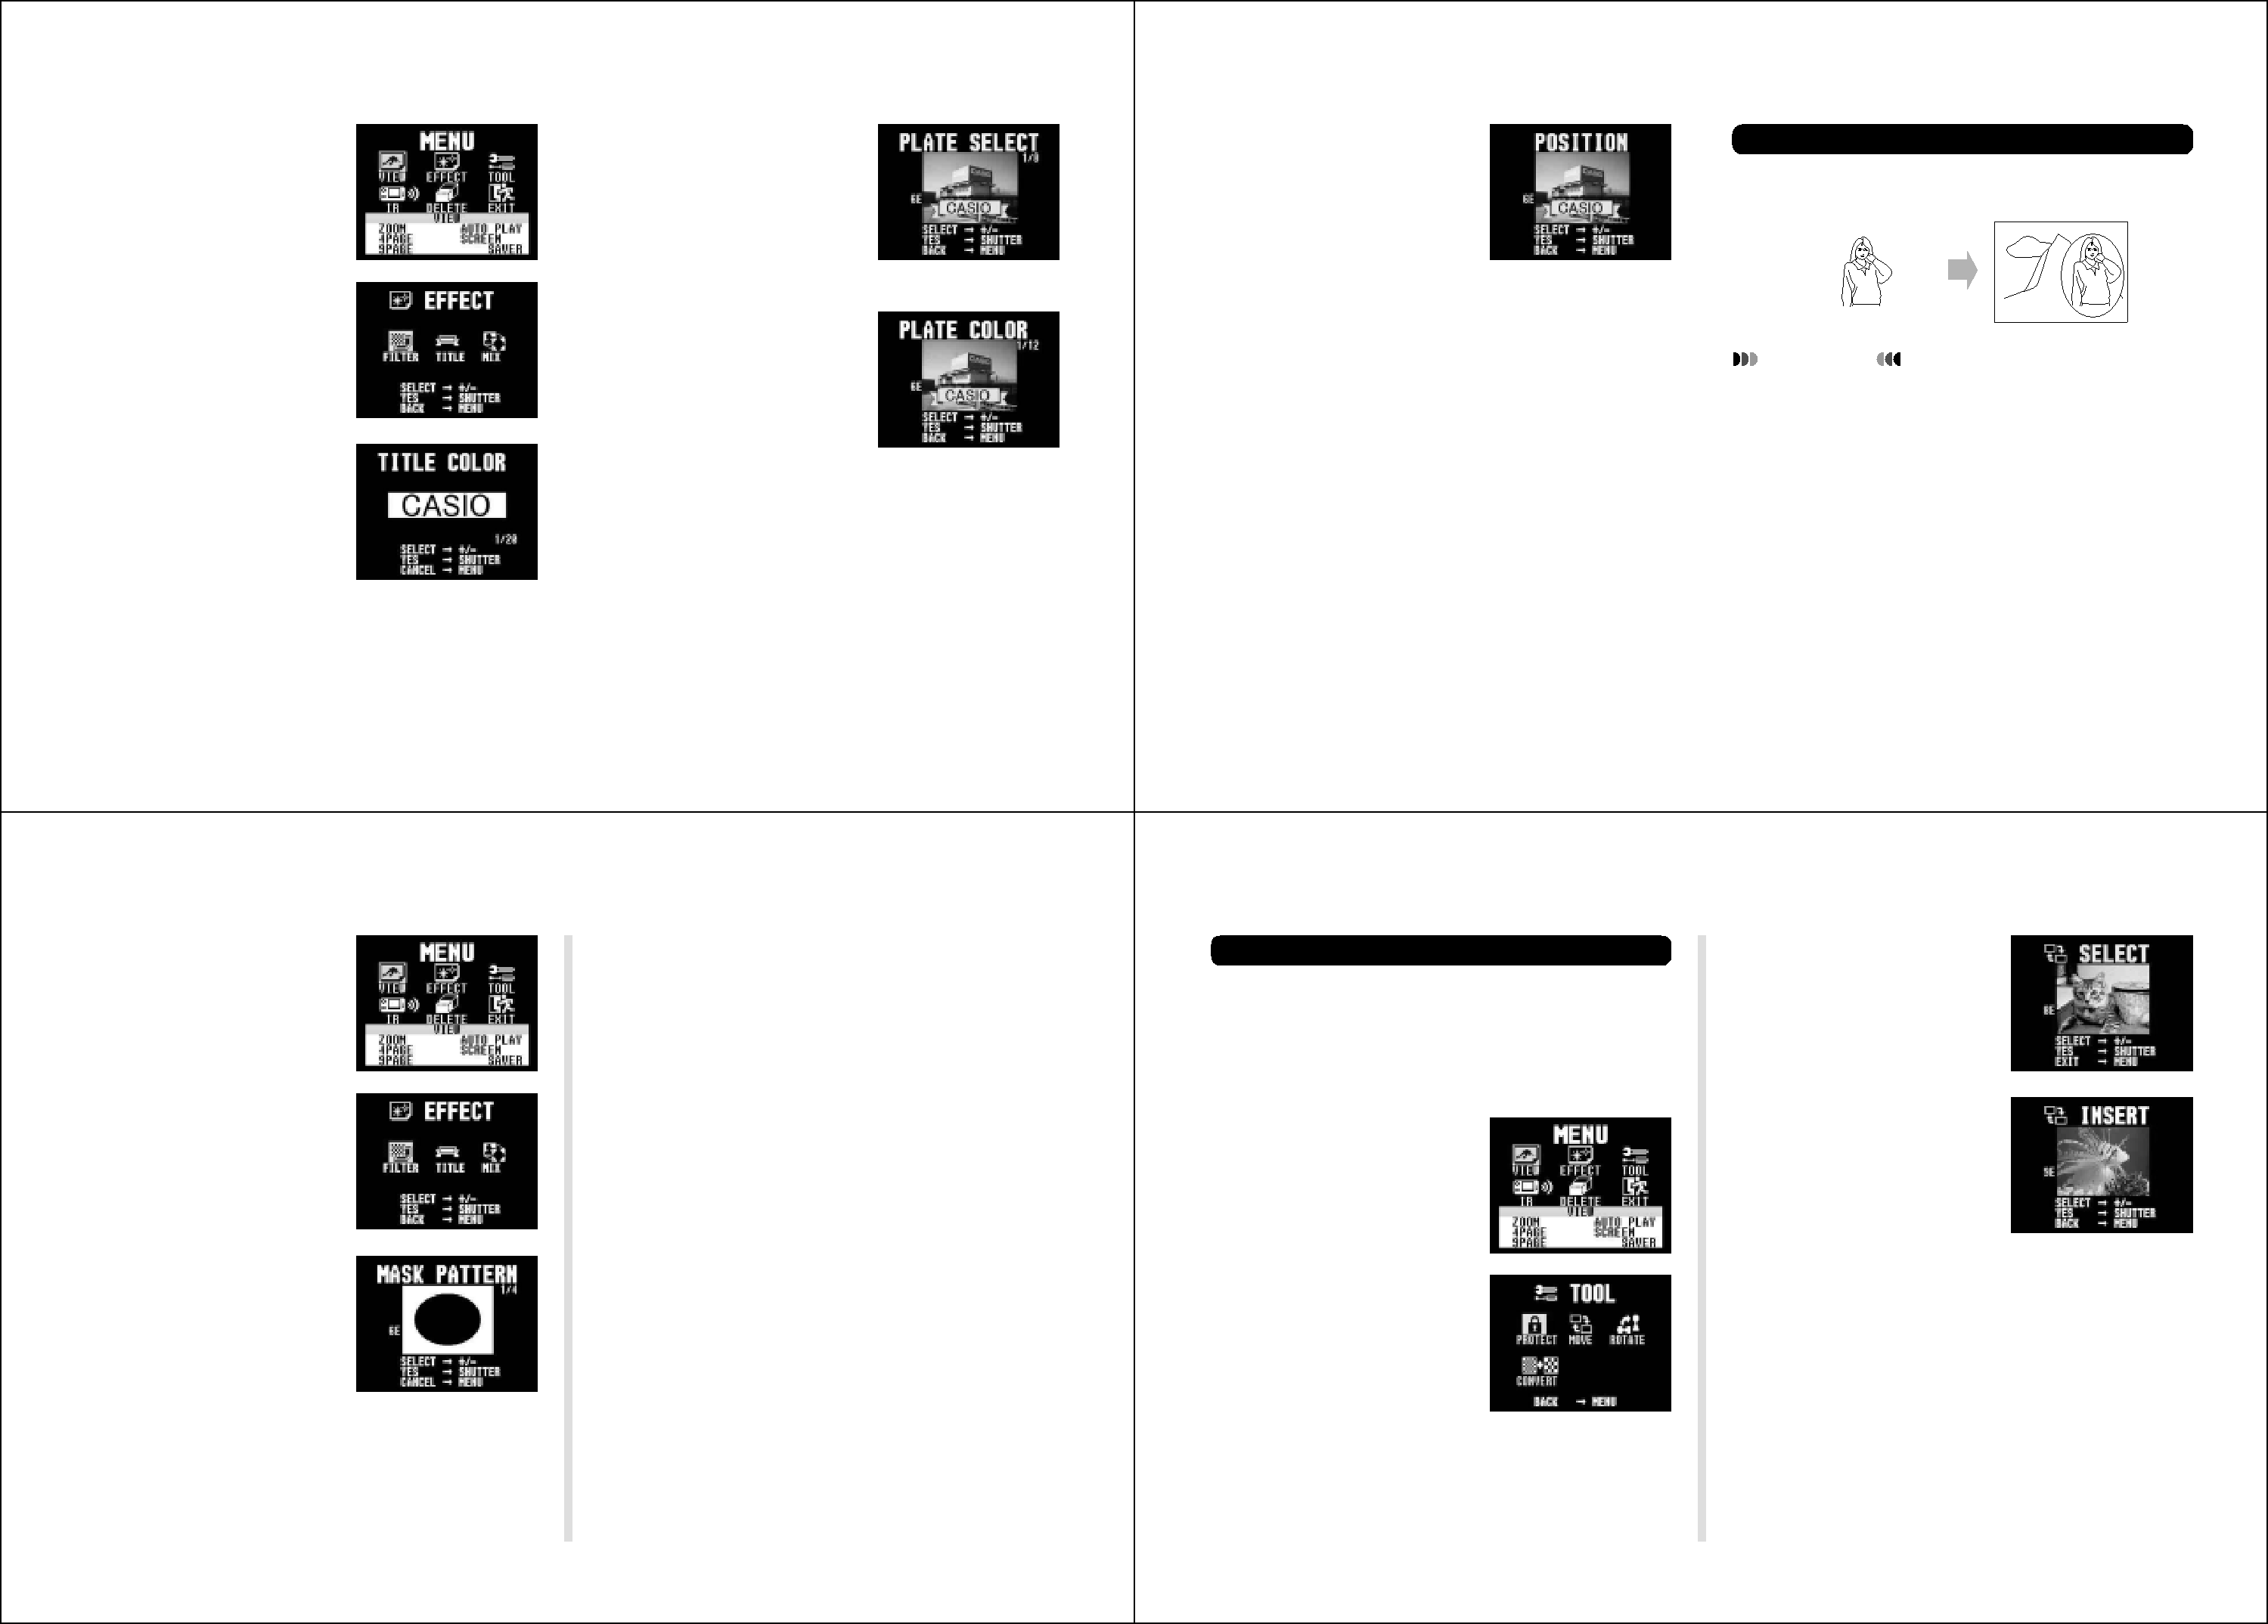
3. Press MENU. | 6. Use [+] and |
| 8.Use [+] and | Combining Two Images |
|
|
|
| ||||||||||||
| the color you want the |
|
| the color you want the |
|
|
|
| ||||||||||||
|
|
| The following operation describes how to combine two re- | |||||||||||||||||
| title to be, and then |
|
| plate | to | be, | and | then | ||||||||||||
| press the shutter button. |
|
| press the shutter button. | corded image into a new image. |
|
|
|
| |||||||||||
| • | Each | press of | [+] or |
| • | Each | press of | [+] or |
|
|
|
|
|
|
|
| |||
|
| scrolls through | the selec- |
|
|
| scrolls | through | the | selec- |
|
|
|
|
|
|
|
| ||
|
| tion of 20 available title col- |
|
|
|
|
|
|
|
|
|
|
| |||||||
|
|
|
|
| tion | of | 12 available plate |
|
|
|
|
|
|
|
| |||||
4. Use [+] and |
| ors. |
|
|
|
|
|
|
|
|
|
|
|
|
| |||||
|
|
|
|
|
| colors. |
|
|
|
|
|
|
|
|
|
|
| |||
|
|
|
|
|
|
|
|
|
|
|
|
|
|
|
|
|
| |||
EFFECT, and then press | 7. Use [+] and |
| 9.Use [+] and |
|
|
|
|
|
|
|
| |||||||||
the shutter button. | the type of title plate you |
|
|
|
|
|
|
|
|
|
| |||||||||
|
|
| on | the | image, and | then | press the shutter but- | IMPORTANT! |
|
|
|
|
| |||||||
| want | to use, and then |
|
|
|
|
|
|
| |||||||||||
|
|
| ton. |
|
|
|
| • The following operation cannot be performed unless | ||||||||||||
| press the shutter button. |
|
|
|
|
|
| |||||||||||||
|
|
| • Each press of [+] or | |||||||||||||||||
| • | Each | press of | [+] or |
|
| there is enough | room | in memory to | store one | fine | |||||||||
|
|
| ||||||||||||||||||
|
|
| title locations. |
|
|
| resolution image. |
|
|
|
|
| ||||||||
5. Use [+] and |
| scrolls through | the selec- |
|
|
|
|
|
|
|
|
|
|
| ||||||
|
|
| • Pressing the shutter button to register the title location | • | You cannot use | this | operation with | a movie, | a pan- | |||||||||||
| tion of 9 available title plate |
|
| |||||||||||||||||
|
|
|
| orama, or an image that has been rotated. |
| |||||||||||||||
TITLE, and then press |
| settings. |
|
|
|
| superimposes the title | onto the image and stores the |
|
| ||||||||||
|
|
|
|
| • | Combining a rotated image with another image auto- | ||||||||||||||
the shutter button. | • | Title plate settings consist |
|
|
| result immediately after the original image. All images | ||||||||||||||
|
|
|
| matically returns the rotated image to its normal orien- | ||||||||||||||||
|
|
|
| following | the original | image are automatically shifted |
| |||||||||||||
|
| of 8 plate variations, plus a |
|
|
|
| tation (unrotated). |
|
|
|
| |||||||||
|
|
|
|
| to make room. |
|
|
|
|
|
|
| ||||||||
|
| setting that specifies no title |
|
|
|
|
|
|
|
|
|
|
|
|
| |||||
|
|
|
|
|
|
|
|
|
|
|
|
|
|
|
|
|
| |||
|
| plate. |
|
|
|
|
|
|
|
|
| 1. Slide the Function Switch to PLAY. |
| |||||||
|
|
|
|
|
|
|
|
|
|
|
|
|
| |||||||
|
|
|
|
|
|
|
|
|
|
|
|
| 2. Use [+] and | |||||||
|
|
|
|
|
|
|
|
|
|
|
|
| use as the foreground image. |
|
| |||||
|
|
|
|
|
|
|
|
|
|
|
|
|
|
|
|
|
|
|
|
|
4546
|
| EDITING IMAGES |
|
|
| EDITING IMAGES |
|
|
3. Press MENU. | 7. | Use [+] (left) and |
|
|
| Moving an Image |
| 4. Use [+] and |
|
| zontal location of the cutout pattern and then |
|
|
|
| MOVE, and then press | |
|
|
|
|
| Use the following operation when you want to move an im- | |||
|
| press the shutter button. |
|
|
| the shutter button. | ||
|
|
|
|
| age to a different location in the sequence of images stored | |||
|
|
|
|
|
|
| ||
| 8.Use [+] (up) and |
|
|
| in memory. |
|
| |
|
| cal location of the cutout pattern and then |
|
|
|
|
|
|
4. Use [+] and |
| press the shutter button. |
|
|
| 1. Slide the Function Switch to PLAY. | 5. Use [+] and | |
9.Use [+] and |
|
|
| 2. Press MENU. |
| |||
EFFECT, and then press |
|
|
|
| the image you want to | |||
the shutter button. |
| use as the background image, and then press |
|
|
|
|
| move, and then press the |
|
| the shutter button. |
|
|
|
|
| shutter button. |
|
|
|
|
|
|
|
| |
| 10. | If you selected the vertical ellipse or small |
|
|
|
|
|
|
|
| circle as the cutout pattern, use [+] and |
|
|
|
|
|
|
5. Use [+] and |
| select the paste location, and then press the |
|
|
|
|
|
|
| shutter button. |
|
|
| 3. Use [+] and |
| ||
MIX, and then press the |
|
|
|
|
| |||
shutter button. |
| • Pressing the shutter button combines the two images |
|
|
| TOOL, and then | press |
|
|
| according to your specifications and stores the result |
|
|
| the shutter button. |
| |
|
| immediately after the original foreground image. All |
|
|
|
|
|
|
|
| images following the original foreground image are |
|
|
|
|
|
|
|
| automatically shifted to make room. |
|
|
|
|
|
|
6.Use [+] and
ter button.
•Each press of [+] or
4748