C5-S, C9-S, C8-S specifications
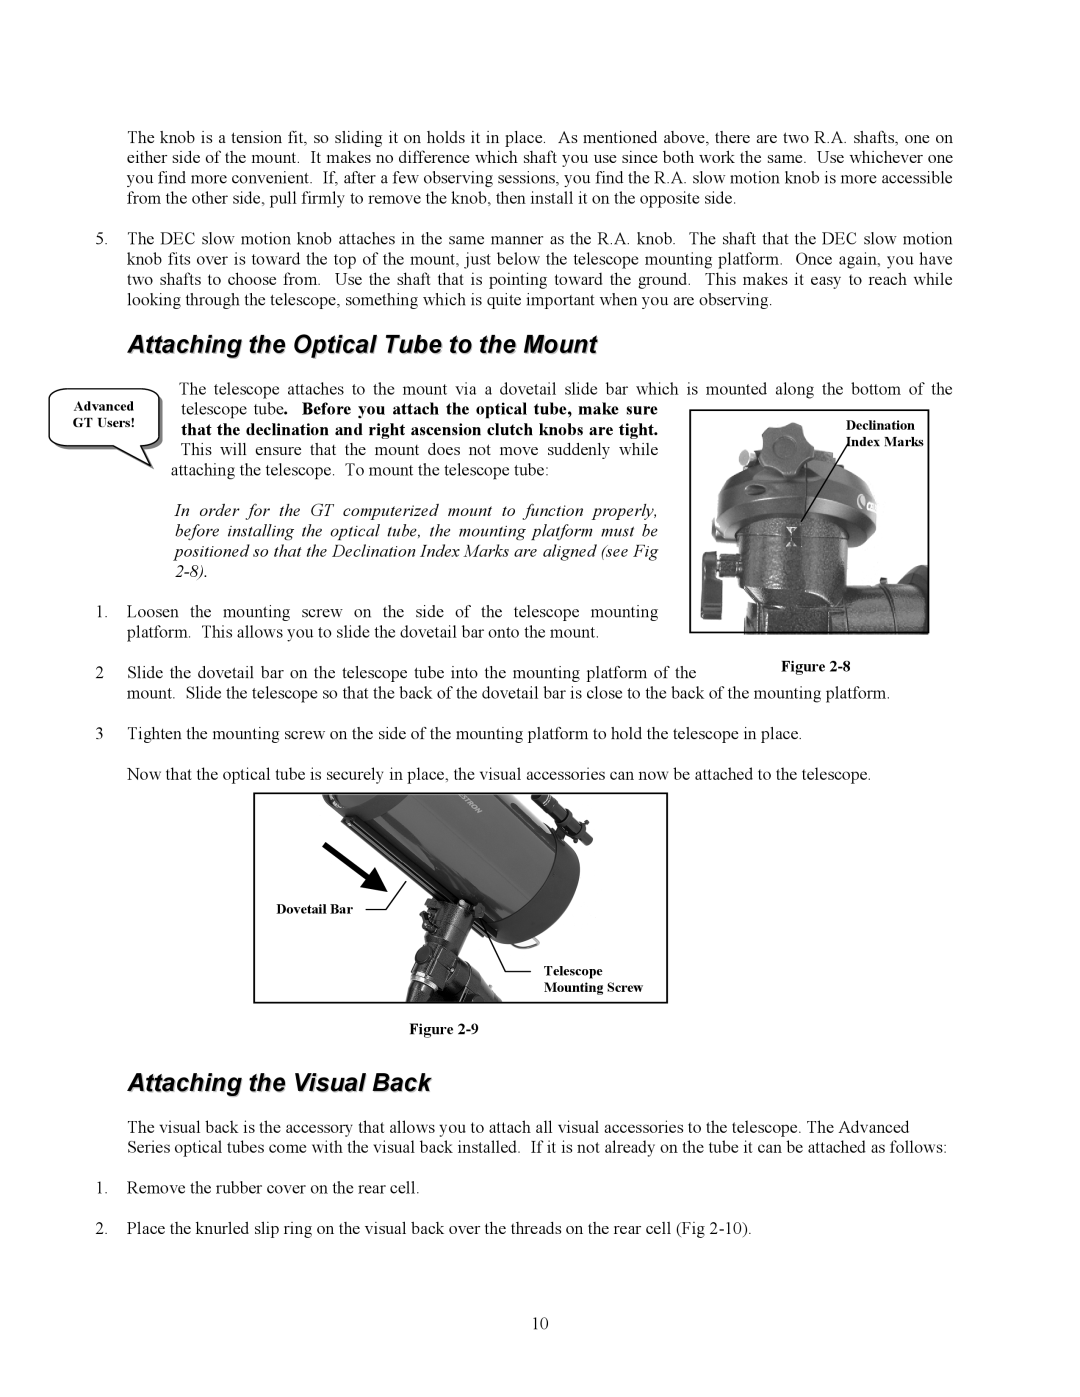
Celestron, a leader in the field of amateur and professional astronomy, offers a range of telescopes ideal for both novices and experienced stargazers. Among their most celebrated models are the C8-S, C5-S, and C9.25-S, each designed with unique features and technologies that enhance the observational experience.The Celestron C8-S is an iconic telescope known for its 8-inch aperture. This Schmidt-Cassegrain design combines a compact form factor with a powerful light-gathering capability, making it perfect for deep-sky observing. Its optical tube has a focal length of 2032mm, providing an excellent balance of wide field viewing and high magnification. The C8-S features Celestron's StarBright XLT optical coating, enhancing light transmission and contrast, ensuring that even faint objects are visible. With compatibility for various accessories and a sturdy mount, the C8-S stands as a versatile option for different observing styles.
Moving to the C5-S, this model boasts a 5-inch aperture while maintains a compact and portable design. It is particularly popular among travelers and casual astronomers who value convenience without compromising on quality. The C5-S also employs the Schmidt-Cassegrain design, providing sharp images and improved color correction. With its shorter focal length of 1250mm, the C5-S excels in both planetary and deep-sky observation. The telescope's lightweight build makes it easy to transport, while the integrated optical systems ensure a clear view of celestial objects.
The C9.25-S represents a step up in performance, featuring a 9.25-inch aperture that captures more light than its smaller counterparts. This telescope offers a versatile focal length of 2350mm, allowing for impressive high-power planetary views, as well as detailed observations of deep-sky objects. The C9.25-S utilizes a unique StarBright XLT coating and features advanced optics that minimize optical distortion, resulting in sharp, high-contrast images. It is equipped with a sturdy mount that ensures stability during extended observation sessions.
All three models are compatible with Celestron's advanced computer-driven mount systems, allowing for effortless tracking and alignment. With built-in features such as GoTo technology, users can easily locate thousands of celestial objects with the touch of a button. This combination of advanced optics, portability, and user-friendly technology makes the Celestron C8-S, C5-S, and C9.25-S excellent choices for anyone looking to explore the cosmos more deeply. Whether for casual stargazing or serious astronomical study, these telescopes deliver exceptional performance to meet a variety of needs.

