Updating your SkyScout (continued)
To Install the USB drivers:
1.Use the included USB cable to connect the SkyScout to your computer.
2.Power on the SkyScout.
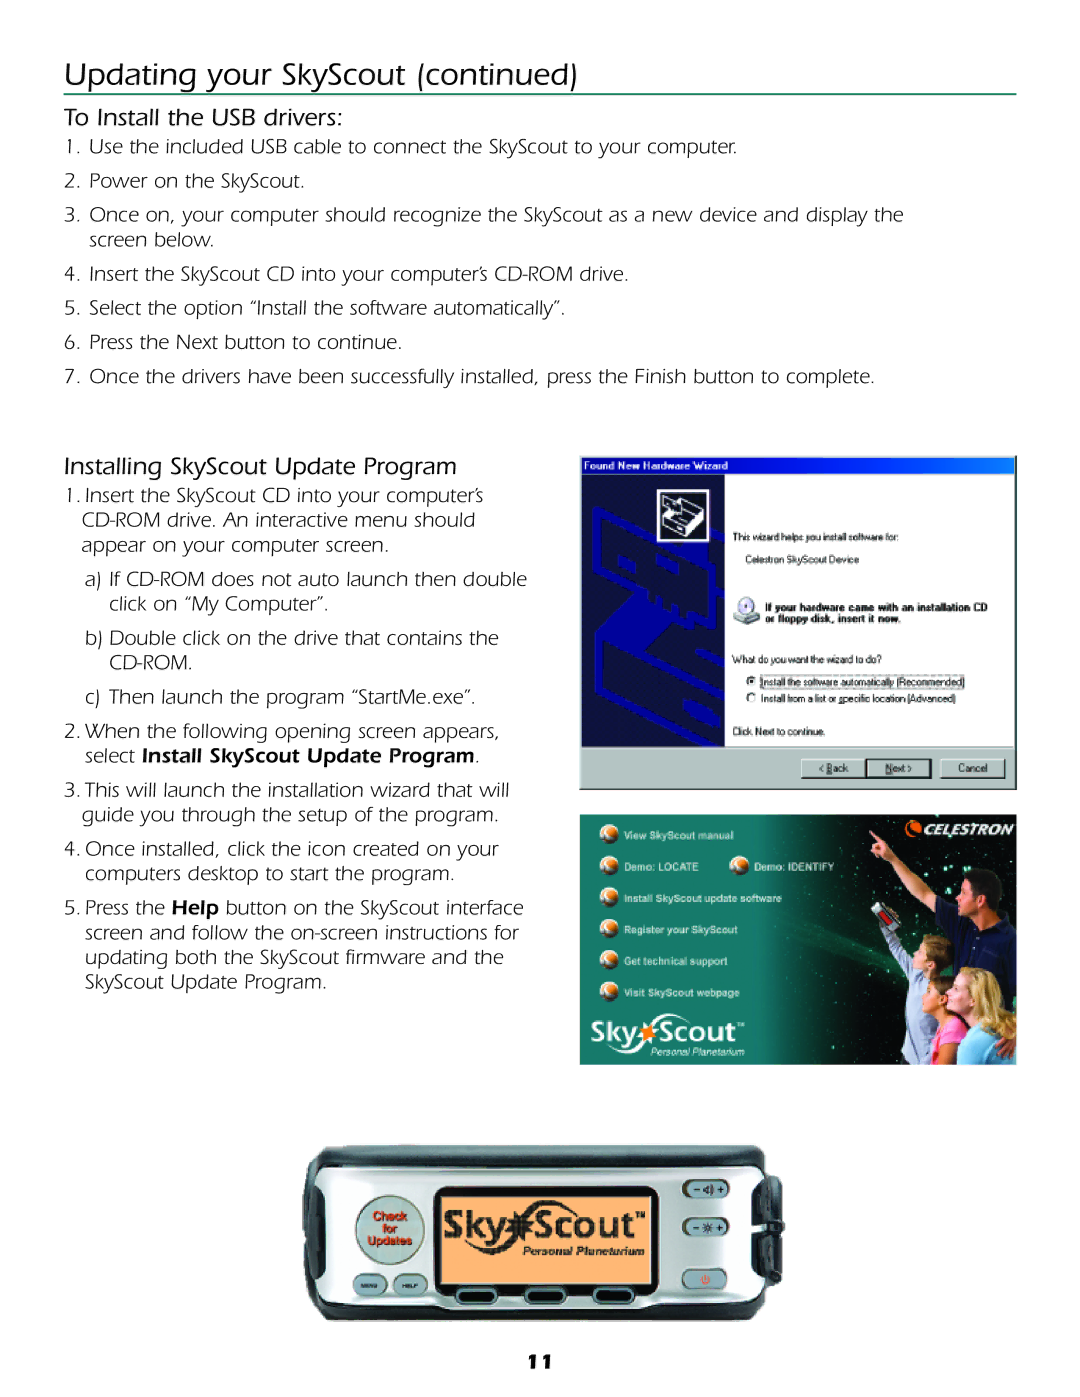
3.Once on, your computer should recognize the SkyScout as a new device and display the screen below.
4.Insert the SkyScout CD into your computer’s
5.Select the option “Install the software automatically”.
6.Press the Next button to continue.
7.Once the drivers have been successfully installed, press the Finish button to complete.
Installing SkyScout Update Program
1.Insert the SkyScout CD into your computer’s
a)If
b)Double click on the drive that contains the
c)Then launch the program “StartMe.exe”.
2.When the following opening screen appears, select Install SkyScout Update Program.
3.This will launch the installation wizard that will guide you through the setup of the program.
4.Once installed, click the icon created on your computers desktop to start the program.
5.Press the Help button on the SkyScout interface screen and follow the
11