1611305 specifications
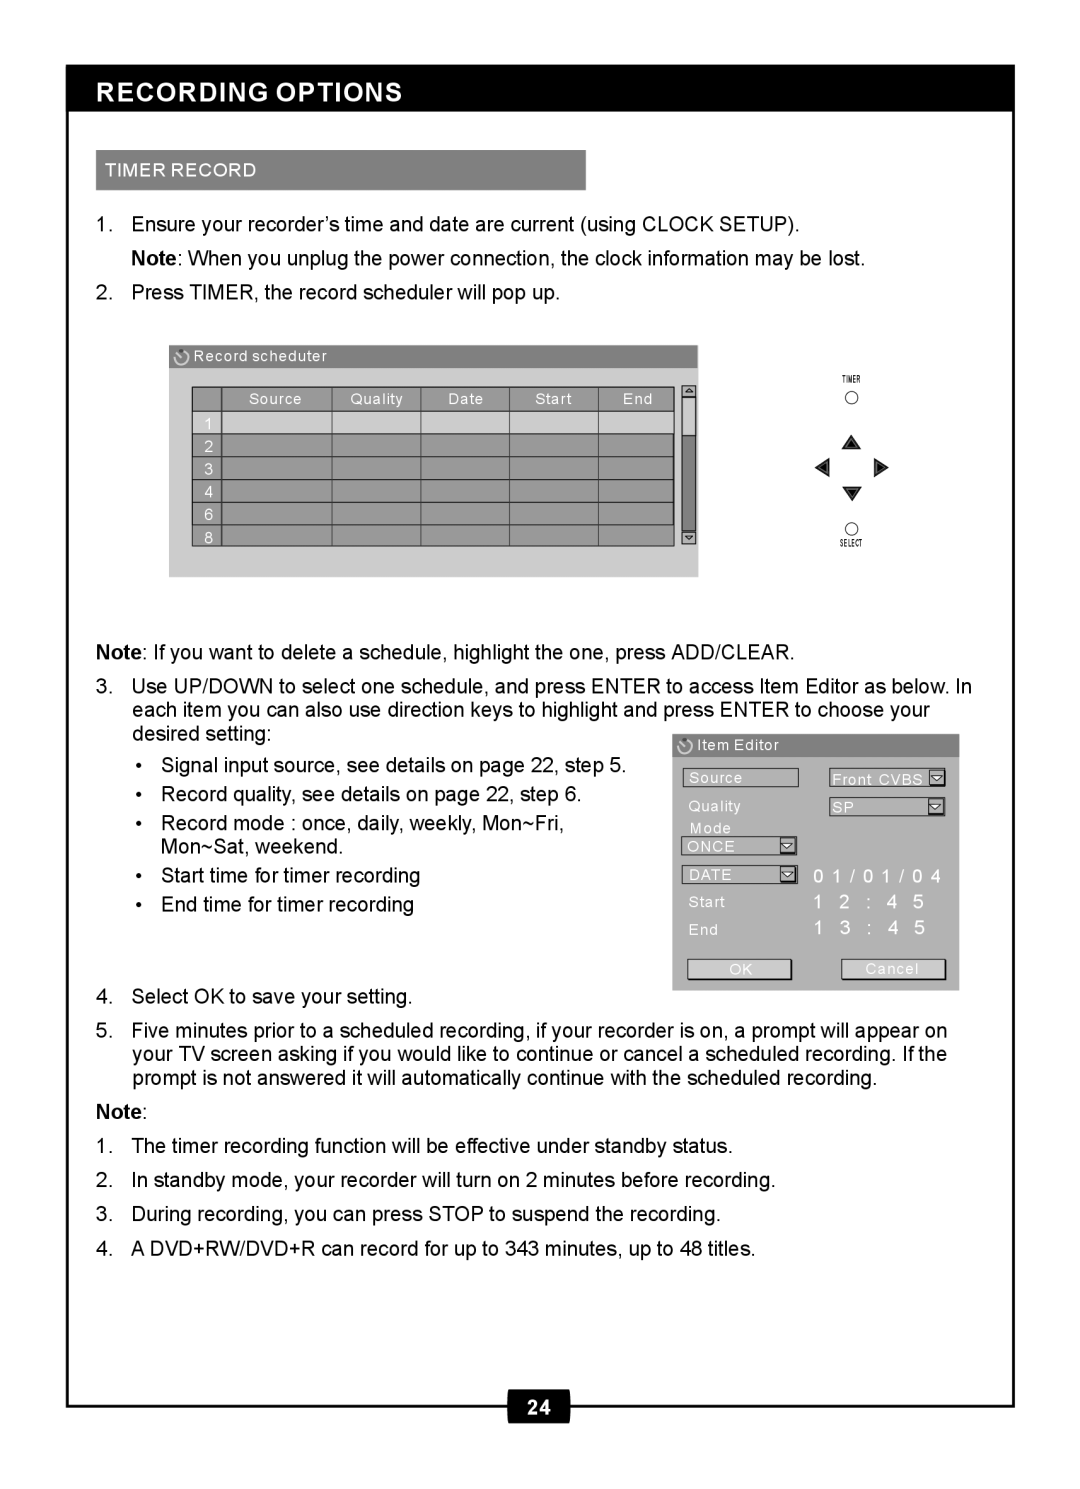
The Centrios 1611305 is an innovative and versatile home organization solution designed to enhance space efficiency and improve overall functionality. This product primarily caters to individuals looking for an effective means of managing household items, from clothing to miscellaneous household goods. Its design is rooted in practicality, enabling users to maintain a clutter-free environment.One of the main features of the Centrios 1611305 is its impressive storage capacity. It offers various compartments and adjustable shelving, allowing users to customize the layout to suit their specific needs. This adaptability makes it ideal for different spaces, whether in a bedroom, laundry room, or utility area. The product's size and height are optimized to maximize vertical space, ensuring that even smaller areas can benefit from organized storage solutions.
The Centrios 1611305 also boasts built-in features that prioritize ease of use. The smooth-gliding drawers provide effortless access to stored items, while the open shelves encourage quick visibility, eliminating the frustration of searching for misplaced belongings. The thoughtful design extends to its durable construction; made from high-quality materials, the Centrios 1611305 is built to withstand regular usage and maintain its aesthetic appeal over time.
Technologically, the Centrios 1611305 incorporates features aimed at improving organization efficiency. For instance, it may include tag holders or labeling options, which help users sort and categorize items effectively. Such features encourage users to maintain organizational patterns, simplifying the process of finding items quickly.
Sustainability is another characteristic that makes the Centrios 1611305 stand out. The materials utilized in its production are often chosen for their eco-friendly properties, aligning with the growing trend towards sustainable living. By integrating sustainable practices in its design and manufacturing, Centrios contributes to a more eco-conscious marketplace.
Overall, the Centrios 1611305 exemplifies a modern approach to home organization, combining functionality, durability, and sustainability into a single product. Its main features cater to diverse storage needs, while its thoughtful design considerations enhance both usability and aesthetic charm. This makes the Centrios 1611305 a valuable addition to any home, empowering individuals to embrace a more organized and efficient lifestyle.

