Drawing G
6.Confirm that the burner is properly lit. If the flame pattern is other than normal, consult the Troubleshooting Guide for corrective action.
7.Always preheat the Barbecue before starting to cook. Light all burners and adjust them to the HIGH position for
8.Adjust the controls to a medium setting for most cooking requirements. A light coating of cooking oil on the cooking grids, before heating the grill, will prevent foods from sticking to the grill.
Turning The Burners Off
1.Always turn the burner control knobs to the off position when cooking has been completed.
2.Promptly turn OFF the gas supply valve at the propane cylinder.
3.Close the hood of the grill.
Match Lighting The Main Burners
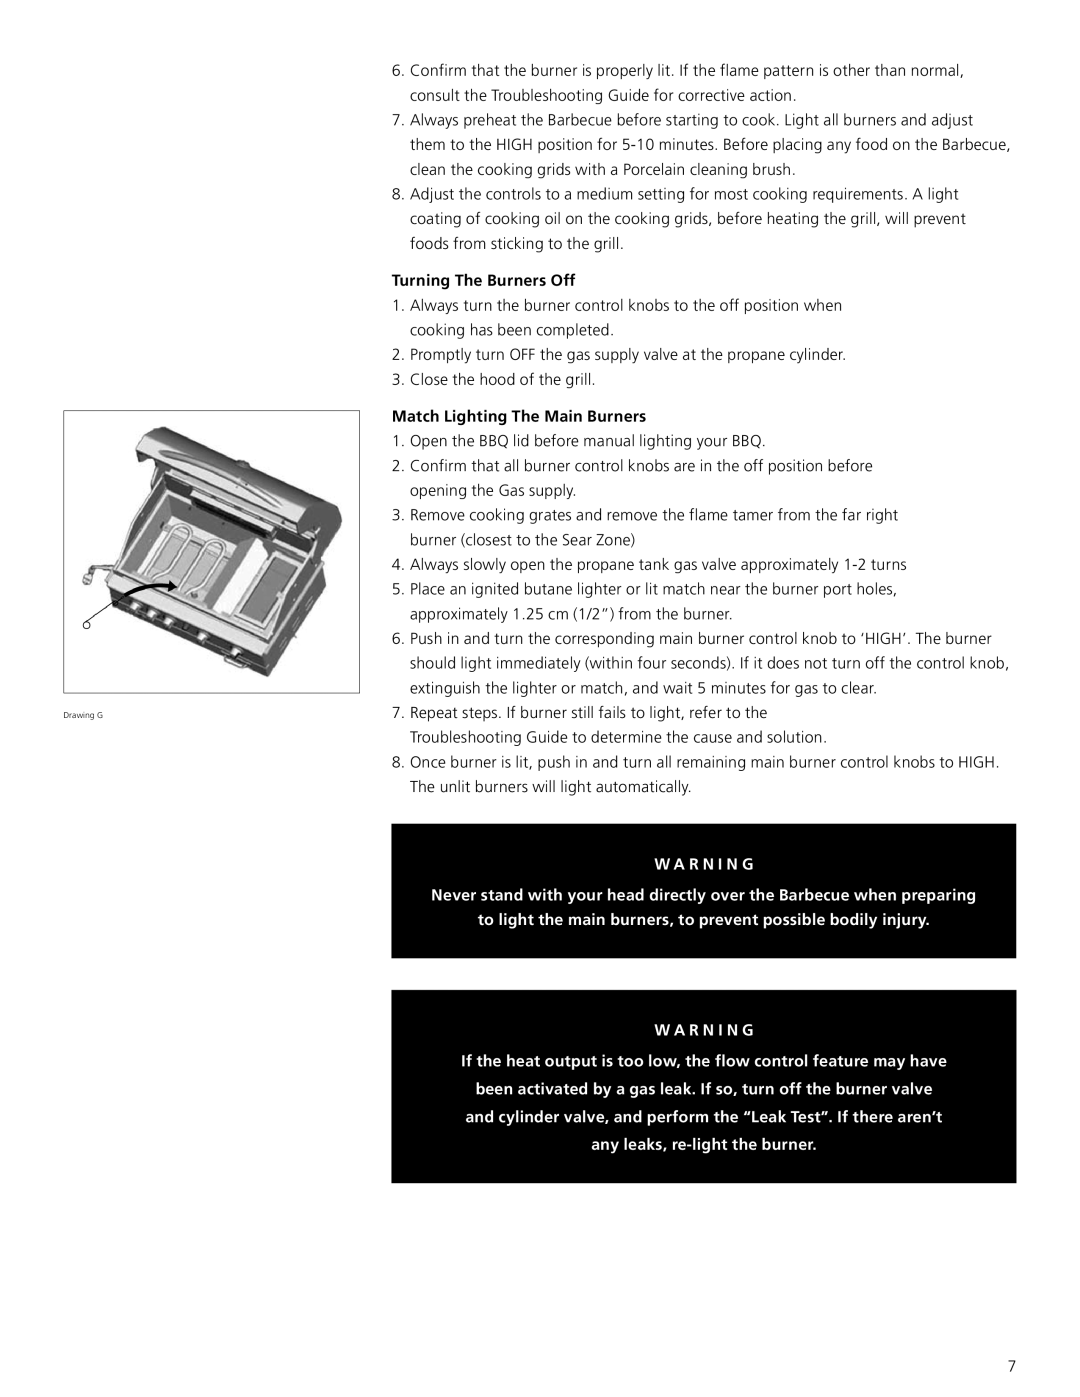
1.Open the BBQ lid before manual lighting your BBQ.
2.Confirm that all burner control knobs are in the off position before opening the Gas supply.
3.Remove cooking grates and remove the flame tamer from the far right burner (closest to the Sear Zone)
4.Always slowly open the propane tank gas valve approximately
5.Place an ignited butane lighter or lit match near the burner port holes, approximately 1.25 cm (1/2”) from the burner.
6.Push in and turn the corresponding main burner control knob to ‘HIGH’. The burner should light immediately (within four seconds). If it does not turn off the control knob, extinguish the lighter or match, and wait 5 minutes for gas to clear.
7.Repeat steps. If burner still fails to light, refer to the Troubleshooting Guide to determine the cause and solution.
8.Once burner is lit, push in and turn all remaining main burner control knobs to HIGH. The unlit burners will light automatically.
W A R N I N G
Never stand with your head directly over the Barbecue when preparing
to light the main burners, to prevent possible bodily injury.
W A R N I N G
If the heat output is too low, the flow control feature may have been activated by a gas leak. If so, turn off the burner valve and cylinder valve, and perform the “Leak Test”. If there aren’t any leaks,
7
