
2000UK specifications
The Chamberlain 2000UK is a cutting-edge garage door opener that combines advanced technology with user-friendly features to enhance convenience and security for homeowners. Designed specifically for the UK market, this model boasts a range of attributes that make it a standout choice in the realm of residential automation.One of the primary features of the Chamberlain 2000UK is its Quiet Drive technology. This innovative system ensures that the operation of the garage door is incredibly silent, making it ideal for homes with bedrooms located above or adjacent to the garage. The belt-driven motor operates smoothly and quietly, minimizing noise pollution—a significant advantage for those living in close quarters with neighbors.
Another notable characteristic of the Chamberlain 2000UK is its Smartphone Connectivity. Leveraging smart home technology, users can monitor and control their garage door from anywhere using the MyQ app. This feature not only provides convenience but also enhances security, as homeowners can check the status of their door remotely, receive notifications if the door is left open, and even grant access to guests when they’re not home.
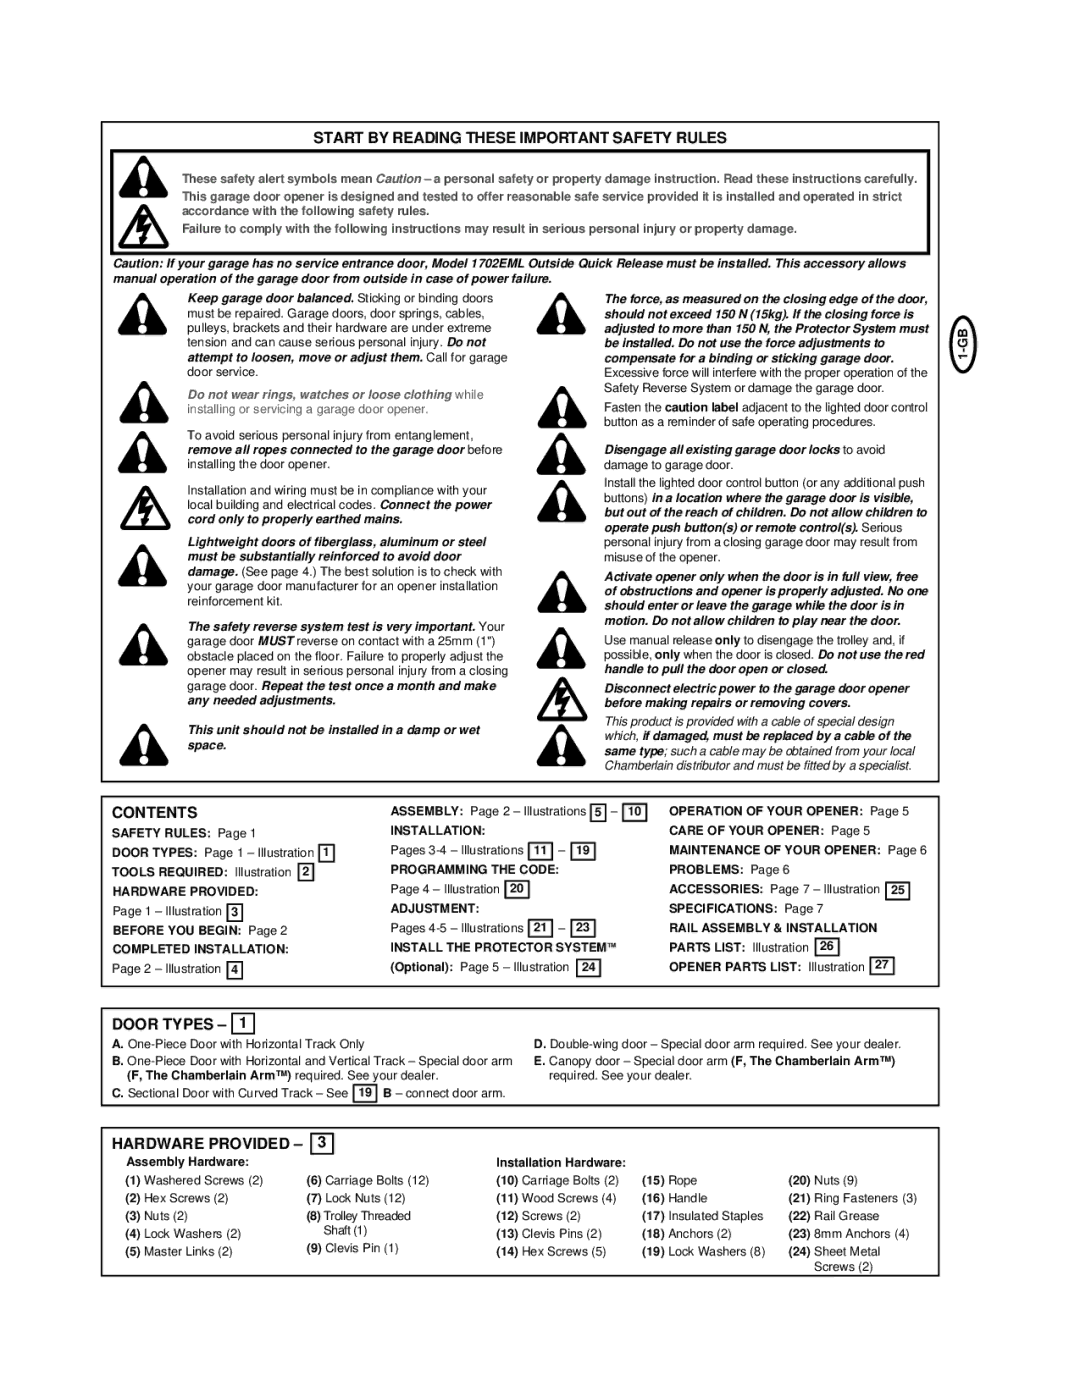
In terms of security, the Chamberlain 2000UK is equipped with enhanced safety features. The integrated security encrypted code technology prevents unauthorized access by ensuring that only the synchronized remote controls can operate the garage door. A built-in safety sensor also reverses the door's motion if it detects an obstruction, reducing the risk of accidents and injuries.
The installation process of the Chamberlain 2000UK is designed to be straightforward and user-friendly. The system is compatible with most traditional garage doors, and the product includes comprehensive instructions, enabling many users to set it up without professional assistance. Moreover, the compact design of the motor unit allows for installation in tight spaces, while still providing reliable performance.
Energy efficiency is another significant characteristic of the Chamberlain 2000UK. This model is designed to consume minimal power, which is beneficial not only for the environment but also for homeowners looking to reduce their utility bills.
With a combination of features like quiet operation, smartphone integration, advanced security measures, and user-centric design, the Chamberlain 2000UK sets a new standard in the world of garage door openers. It's a perfect choice for anyone looking to modernize their home, adding convenience and peace of mind with every use.