BRAKE SYSTEM
Introduction
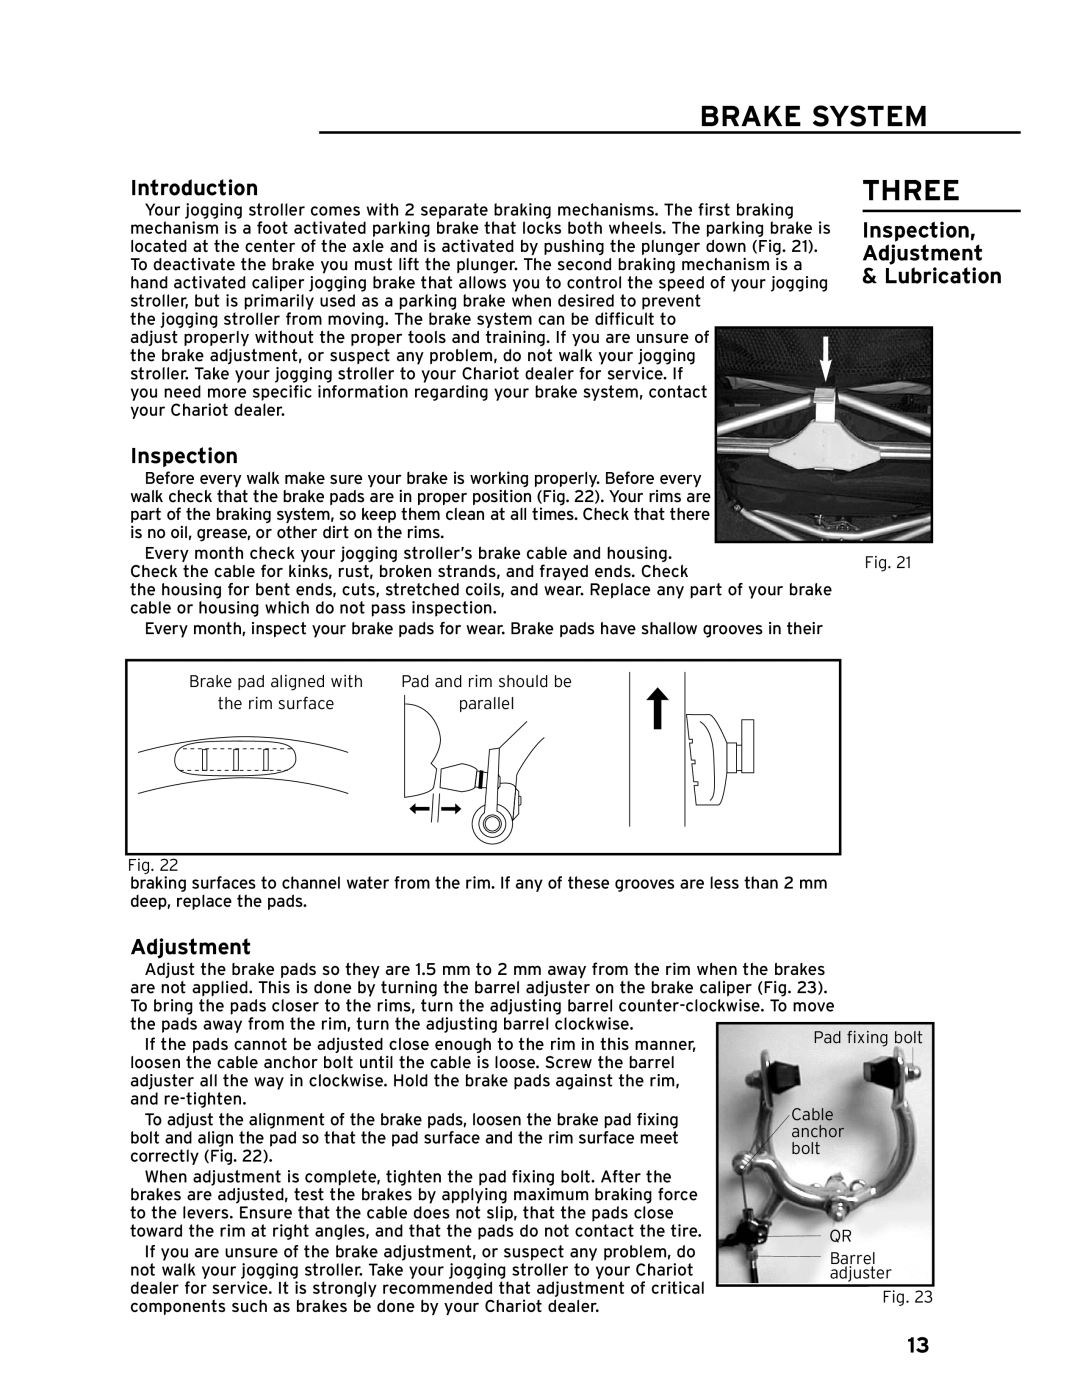
Your jogging stroller comes with 2 separate braking mechanisms. The first braking mechanism is a foot activated parking brake that locks both wheels. The parking brake is located at the center of the axle and is activated by pushing the plunger down (Fig. 21). To deactivate the brake you must lift the plunger. The second braking mechanism is a hand activated caliper jogging brake that allows you to control the speed of your jogging stroller, but is primarily used as a parking brake when desired to prevent
the jogging stroller from moving. The brake system can be difficult to adjust properly without the proper tools and training. If you are unsure of
the brake adjustment, or suspect any problem, do not walk your jogging stroller. Take your jogging stroller to your Chariot dealer for service. If
you need more specific information regarding your brake system, contact your Chariot dealer.
THREE
Inspection,
Adjustment
& Lubrication
Inspection |
| ||
Before every walk make sure your brake is working properly. Before every |
| ||
walk check that the brake pads are in proper position (Fig. 22). Your rims are |
| ||
part of the braking system, so keep them clean at all times. Check that there |
| ||
is no oil, grease, or other dirt on the rims. |
|
| |
Every month check your jogging stroller’s brake cable and housing. | Fig. 21 | ||
Check the cable for kinks, rust, broken strands, and frayed ends. Check | |||
| |||
the housing for bent ends, cuts, stretched coils, and wear. Replace any part of your brake |
| ||
cable or housing which do not pass inspection. |
| ||
Every month, inspect your brake pads for wear. Brake pads have shallow grooves in their |
| ||
Brake pad aligned with | Pad and rim should be |
the rim surface | parallel |
|
|
Fig. 22
braking surfaces to channel water from the rim. If any of these grooves are less than 2 mm deep, replace the pads.
Adjustment
Adjust the brake pads so they are 1.5 mm to 2 mm away from the rim when the brakes are not applied. This is done by turning the barrel adjuster on the brake caliper (Fig. 23). To bring the pads closer to the rims, turn the adjusting barrel
If the pads cannot be adjusted close enough to the rim in this manner, | Pad fixing bolt | |
| ||
loosen the cable anchor bolt until the cable is loose. Screw the barrel |
| |
adjuster all the way in clockwise. Hold the brake pads against the rim, |
| |
and | Cable | |
To adjust the alignment of the brake pads, loosen the brake pad fixing | ||
anchor | ||
bolt and align the pad so that the pad surface and the rim surface meet | ||
bolt | ||
correctly (Fig. 22). | ||
| ||
When adjustment is complete, tighten the pad fixing bolt. After the |
| |
brakes are adjusted, test the brakes by applying maximum braking force |
| |
to the levers. Ensure that the cable does not slip, that the pads close |
| |
toward the rim at right angles, and that the pads do not contact the tire. | QR | |
If you are unsure of the brake adjustment, or suspect any problem, do | ||
Barrel | ||
not walk your jogging stroller. Take your jogging stroller to your Chariot | ||
adjuster |
dealer for service. It is strongly recommended that adjustment of critical |
|
|
| Fig. 23 | |
components such as brakes be done by your Chariot dealer. |
| |
|
|
13