LED PAR 38-18B, LED PAR 38-18C specifications
The Chauvet LED PAR 38-18C and LED PAR 38-18B are advanced lighting solutions that cater to a wide array of applications, ranging from stage performances to architectural lighting. These energy-efficient LED fixtures are renowned for their vibrant color output, reliability, and versatility.The PAR 38-18C model features 18 tri-color RGB LEDs, allowing for an extensive palette of color mixes. This capability ensures that designers can create vivid lighting effects that enhance any event or installation. The tri-color LED technology significantly improves color blending, eliminating the need for additional colored gels. With a high lumen output, these fixtures are perfect for illuminating larger spaces or providing accent lighting in smaller venues.
On the other hand, the LED PAR 38-18B features 18 ultra-bright blue and white LEDs, designed specifically for applications that require a cooler and more focused light output. This makes it an excellent choice for architectural accents or performances that prioritize a sharper, more piercing illumination. Both models maintain a robust construction that can withstand the rigors of touring and permanent installations alike, ensuring that they not only perform well but also last over time.
The Chauvet LED PAR 38 series utilizes advanced cooling technology to minimize heat generation, leading to extended lifespan and consistent performance over longer periods of operation. The fixtures also incorporate intelligent electronic circuitry that allows for flicker-free operation, making them suitable for video applications where high-quality imaging is essential.
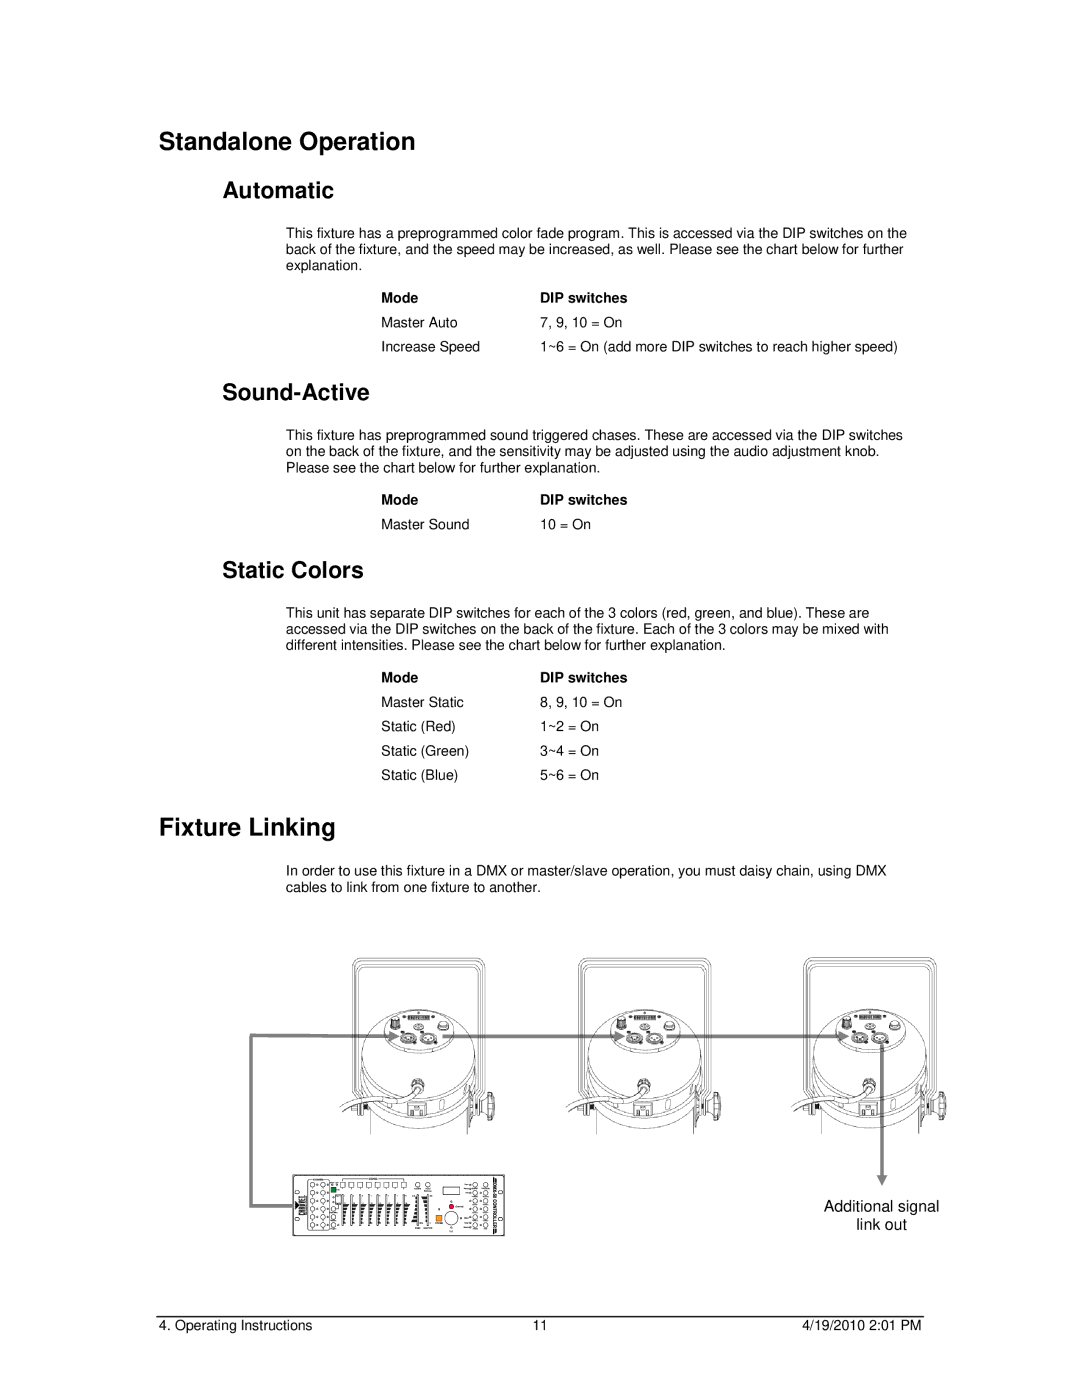
For versatility, both models support several operating modes, including standalone, master/slave setups, and DMX control. This versatility allows lighting designers to create intricate lighting shows with ease, while also providing the option for simple operation in less complex scenarios.
Additionally, these fixtures are lightweight and come equipped with a variety of mounting options, making installation and repositioning quick and straightforward. Users can rely on Chauvet’s reputation for quality and performance, knowing that they are investing in products designed for the demands of modern lighting needs. The Chauvet LED PAR 38-18C and 38-18B truly embody the future of lighting technology, poised to elevate any visual experience.