|
| Operating Instructions |
SETUP |
|
|
Power |
|
|
Warning! | Verify that the power indicator label on your unit matches the line voltage applied. | |
| All fixtures must be connected to circuits with a suitable Earth Ground. | |
| ∙ To determine the power requirements for a particular fixture, see the label affixed to the back plate | |
| ∙ | of the fixture or refer to the fixture’s specifications chart. |
| A fixture’s listed current rating is its average current draw under normal conditions. | |
| ∙ | All fixtures must be powered directly off a switched circuit and cannot be run off a rheostat |
|
| (variable resistor) or dimmer circuit, even if the rheostat or dimmer channel is used solely for a 0% |
| ∙ | to 100% switch. |
| Before applying power to a fixture, check that the source voltage matches the fixture’s | |
| ∙ | requirement. |
| All fixtures must be connected to circuits with a suitable Earth Ground. | |
Pow er Cabl e Conf igu ratio n
CABLE |
| PIN |
|
BROWN |
| Live |
|
BLUE |
| Neutral |
|
|
| ||
YELLOW/GREEN |
| Earth |
|
|
| ||
|
|
|
|
Mounting (MIST-PAR80)
INTERNATIONAL
L
N
EG (Ground)
Ori ent at ion
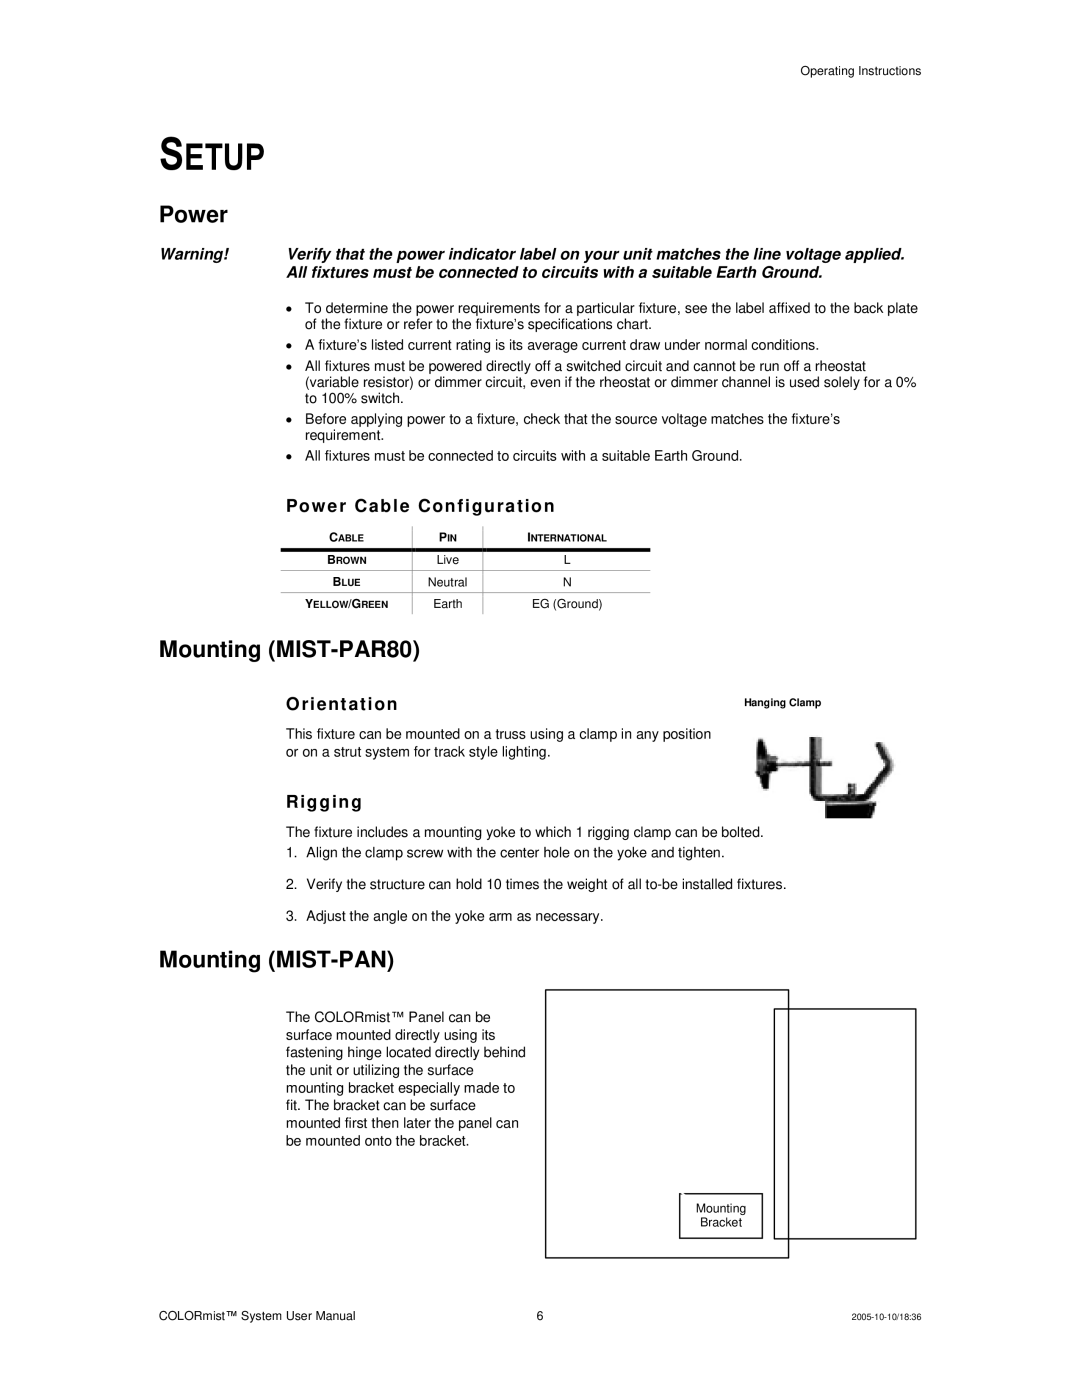
Hanging Clamp
This fixture can be mounted on a truss using a clamp in any position or on a strut system for track style lighting.
Rigg ing
The fixture includes a mounting yoke to which 1 rigging clamp can be bolted.
1.Align the clamp screw with the center hole on the yoke and tighten.
2.Verify the structure can hold 10 times the weight of all
3.Adjust the angle on the yoke arm as necessary.
Mounting (MIST-PAN)
The COLORmist™ Panel can be surface mounted directly using its fastening hinge located directly behind the unit or utilizing the surface mounting bracket especially made to fit. The bracket can be surface mounted first then later the panel can be mounted onto the bracket.
Mounting
Bracket
COLORmist™ System User Manual | 6 |
