ZX-30RG specifications
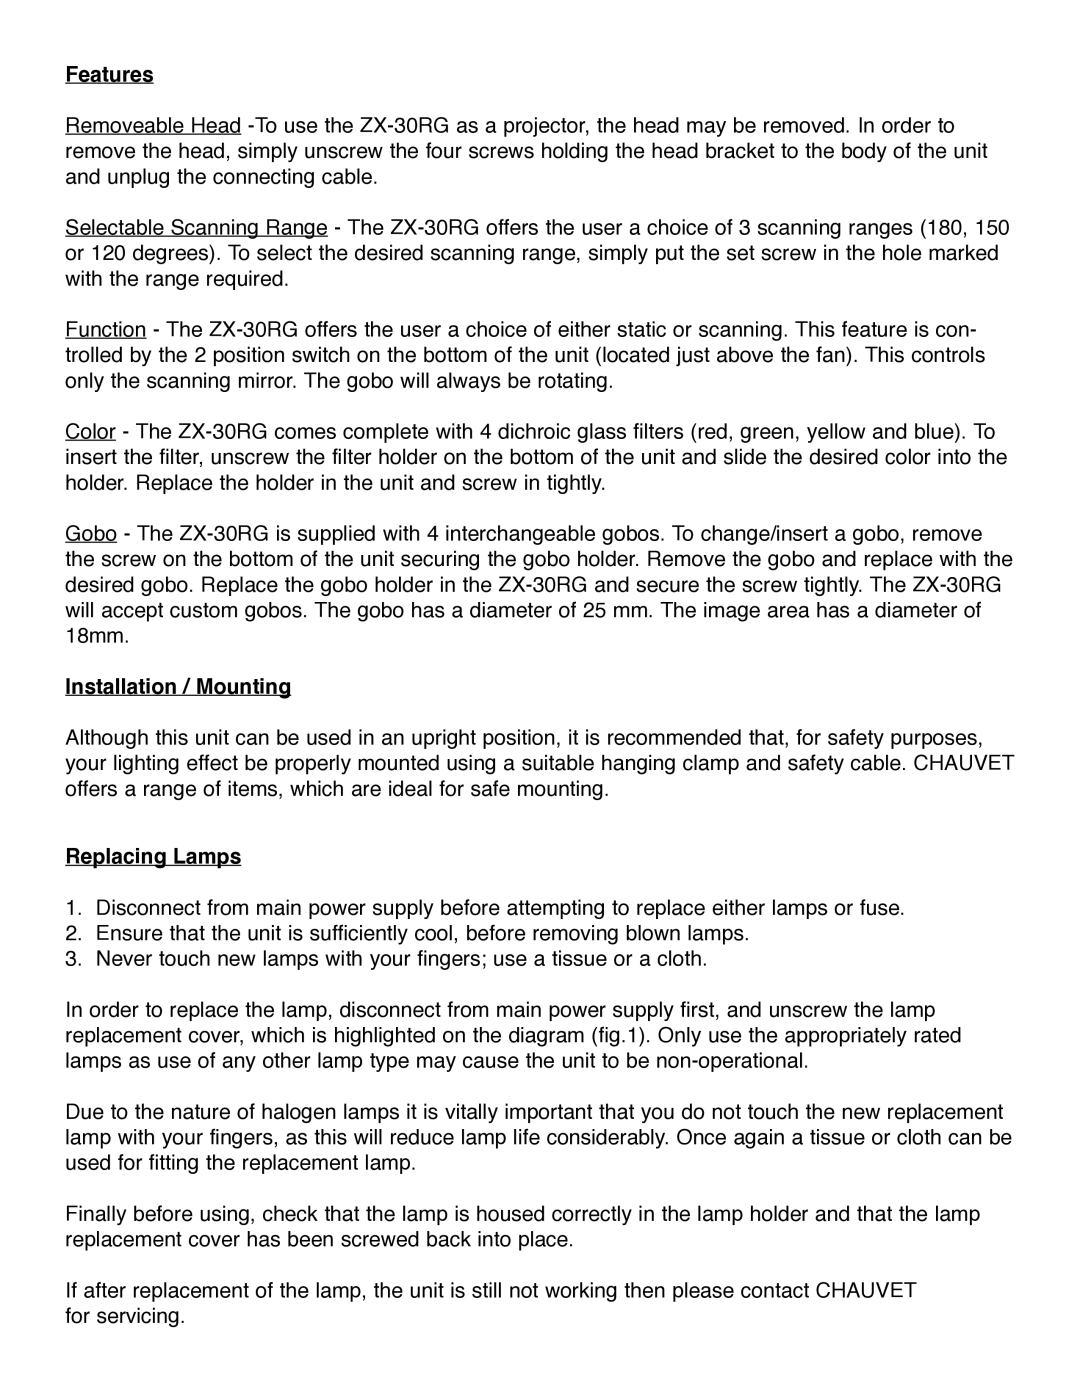
The Chauvet ZX-30RG is an innovative addition to the world of professional lighting, designed to meet the needs of stage and event professionals who require a versatile and high-performance solution. This moving head fixture is particularly recognized for its powerful output, advanced technology, and exceptional color capabilities, making it ideal for concerts, theatrical performances, and large-scale events.One of the standout features of the ZX-30RG is its high-output LED engine. This fixture utilizes advanced RGBW technology, which allows it to produce vibrant colors and a broad spectrum of hues. The combination of red, green, blue, and white LEDs ensures that lighting designers can create stunning effects that are both vivid and dynamic, engaging audiences and enhancing the atmosphere of any production.
The ZX-30RG is equipped with a motorized zoom feature, providing users with the ability to adjust its beam angle from a narrow spotlight to a wider wash effect with ease. This flexibility is crucial when adapting to different performance settings or audience sizes, allowing for precise control over the lighting design. Additionally, its fast and silent pan and tilt movements enable seamless transitions and fluid motion effects that contribute to captivating visual experiences.
Another notable aspect of the ZX-30RG is its impressive array of built-in effects. The fixture includes customizable gobo patterns and a color wheel, allowing users to project unique textures and dynamic colors onto surfaces. This feature can elevate a stage's visual aesthetics, creating a multisensory experience that captivates viewers.
The Chauvet ZX-30RG is designed with user-friendly controls and multiple DMX channels, making it easy to integrate into existing lighting setups. It also supports stand-alone operation for smaller events or quick setups where complex programming may not be feasible. With robust construction and advanced thermal management technology, this fixture prioritizes durability and performance, ensuring reliable operation over time.
Overall, the Chauvet ZX-30RG is a powerful and versatile lighting solution that embodies cutting-edge technology, making it an excellent choice for professionals looking to elevate their lighting designs. With its dynamic features, vibrant color output, and user-friendly controls, it continues to gain popularity across various entertainment sectors.
