
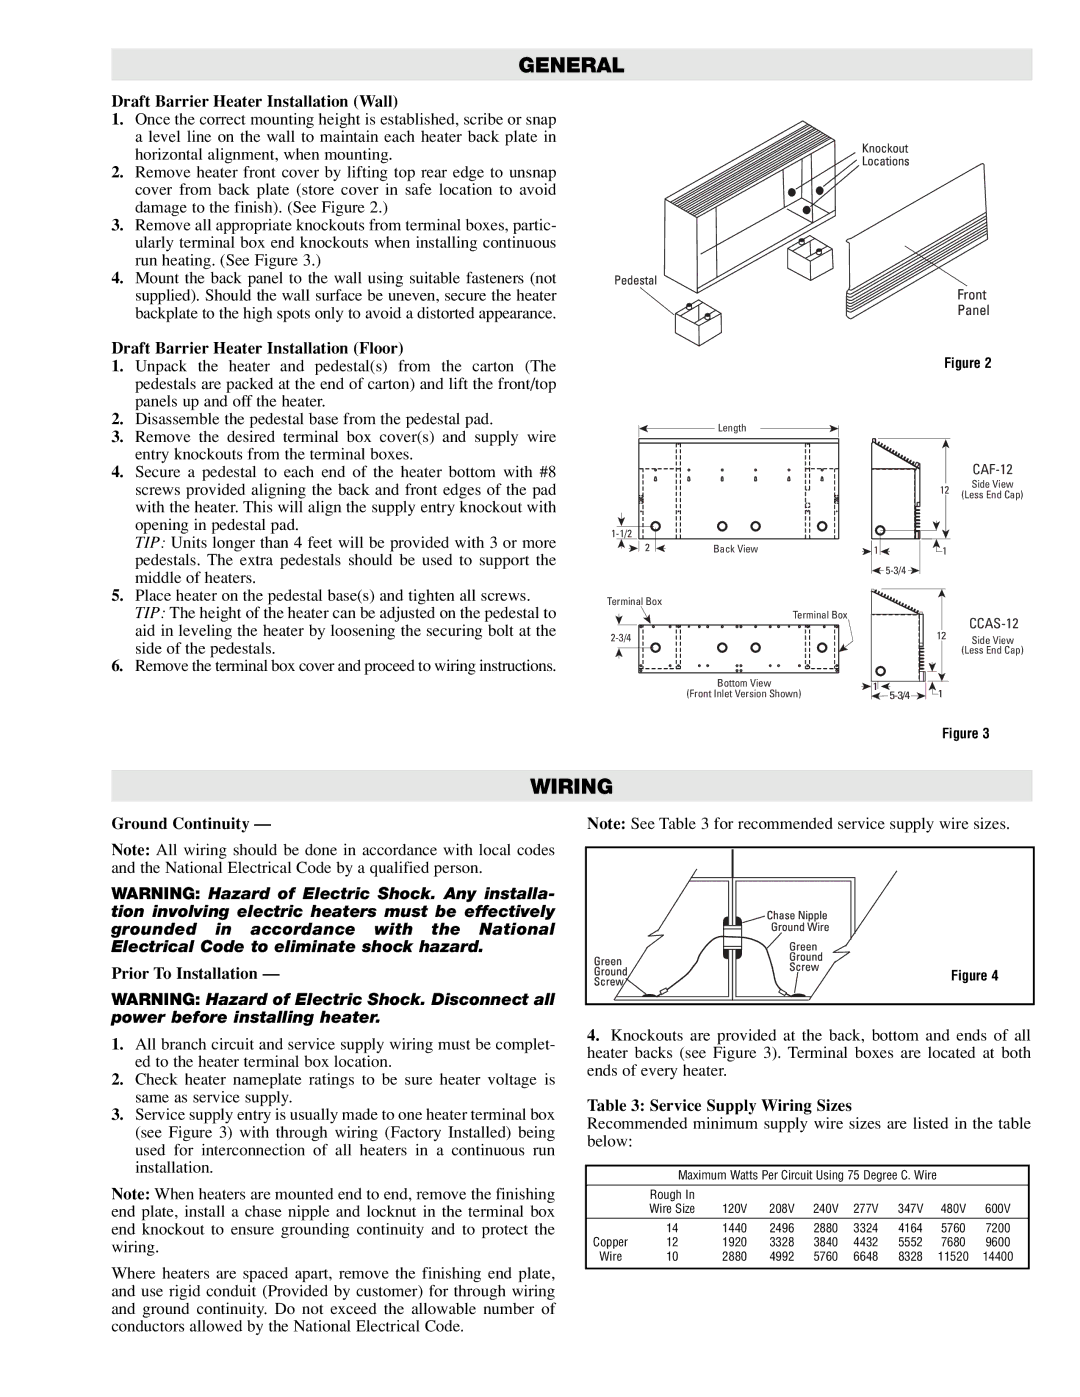
CAF-12, CCAS-12 specifications
The Chromalox CCAS-12 and CAF-12 are innovative temperature control solutions designed for a variety of industrial applications. These advanced systems demonstrate a commitment to efficiency, safety, and reliability, making them indispensable in several sectors, including food processing, chemical manufacturing, and pharmaceuticals.One of the main features of the CCAS-12 model is its high-capacity heating system. It is engineered to deliver impressive heating performance while maintaining precise temperature control. This model can handle a wide range of capacities, ensuring it can accommodate different operational requirements. The unit’s digital display and intuitive user interface simplify monitoring and adjustments, allowing operators to easily manage temperature settings.
The CAF-12 complements this with its robust cooling capacity. This model is particularly effective in processes that require rapid temperature reductions or consistent cooling. Equipped with advanced refrigeration technologies, the CAF-12 can maintain optimal conditions, ensuring product quality and process efficiency.
Both models incorporate advanced control technologies, including programmable logic controllers (PLCs) that enhance their operational capabilities. The integration of PLCs allows for automation, further optimizing performance and reducing the likelihood of human error. This technology not only improves efficiency but also contributes to operational safety by continuously monitoring system health and performance parameters.
Another notable characteristic is the durable construction of both units. Designed to operate in tough industrial environments, they feature corrosion-resistant materials and robust designs that ensure longevity and reliability. This durability is essential for minimizing downtime and maintenance costs, ultimately leading to increased productivity and enhanced return on investment.
Safety is also a crucial aspect of the CCAS-12 and CAF-12. Both systems come with multiple safety features, including temperature alarms and redundant safety systems that protect against overheating or system failures. These measures are vital in safeguarding the integrity of operations and providing peace of mind to operators.
In conclusion, the Chromalox CCAS-12 and CAF-12 are state-of-the-art temperature control solutions that combine high performance with advanced technology. Their features, such as robust heating and cooling capacities, user-friendly controls, and strong safety measures, make them suitable for a wide range of industrial applications. Investing in these systems ensures efficient operations and product quality, solidifying their status as leading solutions in temperature management technologies.