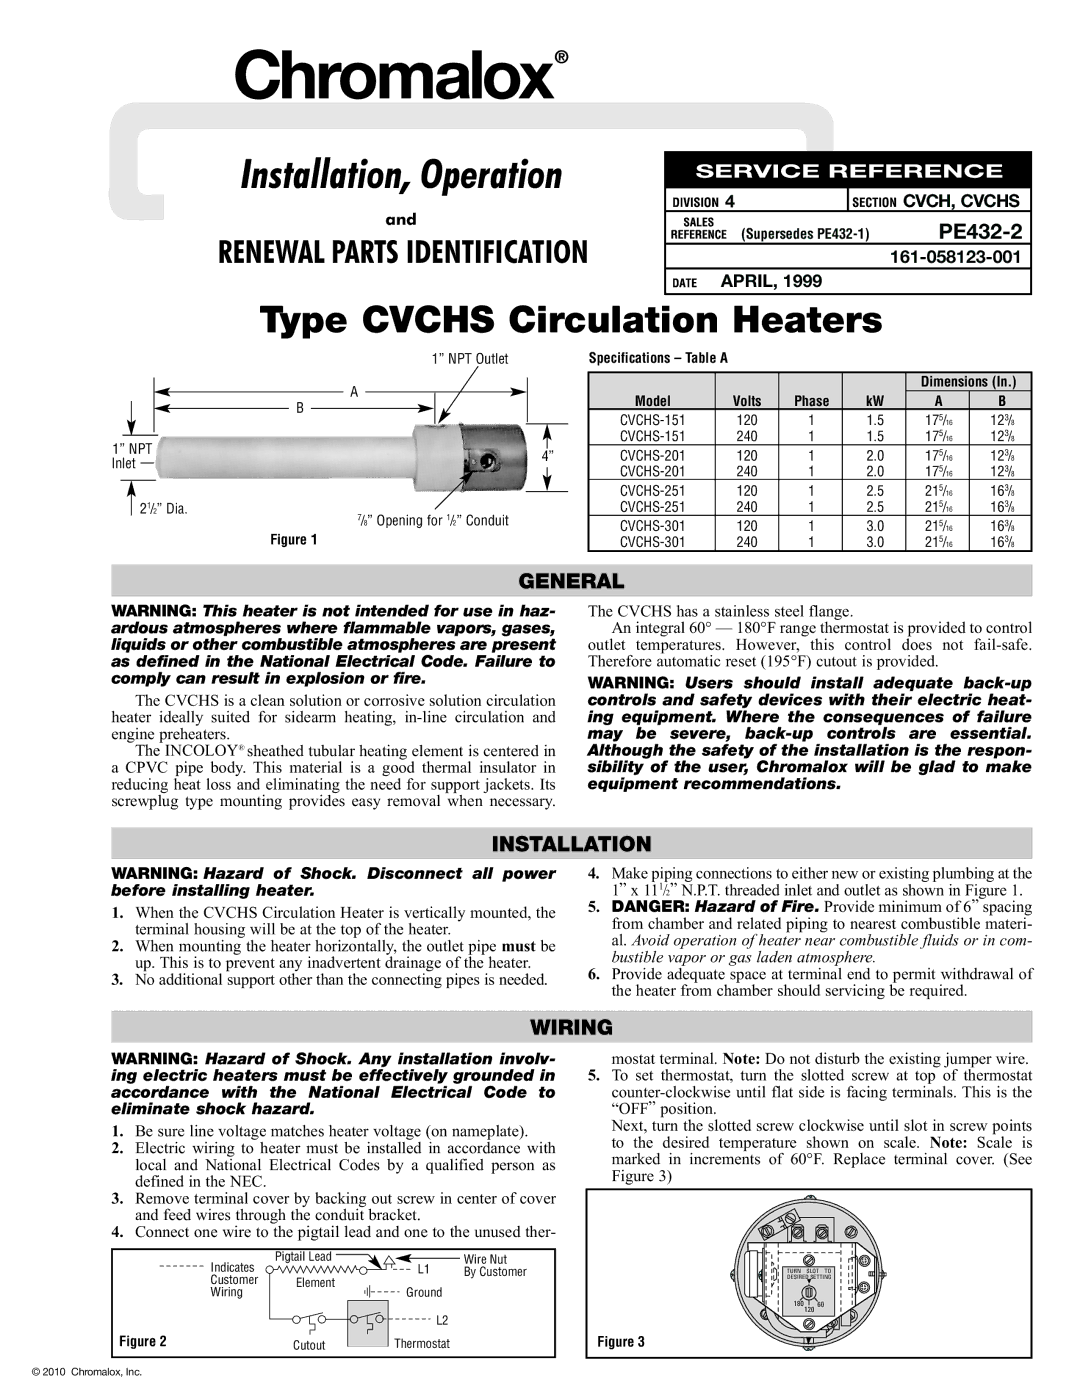
PE432-2 specifications
The Chromalox PE432-2 is an advanced electric heater designed for a variety of industrial and commercial applications, making it a preferred choice among users seeking reliable heating solutions. This innovative product stands out due to its robust features, cutting-edge technologies, and effective performance capabilities.One of the main features of the PE432-2 is its high watt density, enabling efficient heat generation while maintaining a compact size. The heater is designed to withstand demanding industrial environments, making it ideal for applications where space is at a premium. The durable construction utilizes high-quality materials, ensuring longevity and resilience in harsh conditions, including corrosive atmospheres.
The PE432-2 is equipped with advanced control technologies that allow for precise temperature regulation. Users appreciate the built-in digital control system that offers real-time monitoring and reporting, enhancing operational efficiency. This digital system allows for easy adjustments, thus maximizing thermal performance while minimizing energy consumption. Energy efficiency is further boosted by the layered heating elements that provide uniform heat distribution, reducing hot spots and increasing overall performance.
An important characteristic of the Chromalox PE432-2 is its versatility. It can be utilized in various applications, including tank heating, process heating, and temperature maintenance for fluids and gases. This makes it suitable for use in industries such as chemical processing, food production, and oil and gas. Moreover, the heater can be seamlessly integrated into existing systems, thanks to its adaptable design and compatibility with a range of controls and monitoring devices.
In terms of safety, the PE432-2 incorporates multiple safety features such as over-temperature protection and built-in fuses that prevent overheating and equipment damage. This focus on safety ensures improved reliability, which is particularly important in industrial settings where equipment failure can lead to costly downtimes.
Overall, the Chromalox PE432-2 electric heater represents a perfect blend of efficiency, versatility, and safety. Whether for industrial processes or commercial uses, its state-of-the-art technology and engineering make it a standout choice for reliable heating solutions in today’s demanding environments.

