Step 9. Configure SMTP
Simple Mail Transfer Protocol (SMTP) notifies an administrator via
a.Enter the IP address of the mail server.
b.Remove a contact by clicking on its name and the Remove button.
c.Add, edit, or maintain the default contact by clicking on the appropriate button. The SMTP Contact window appears.
d.Enter the name,
Step 10. Save and Reboot
a.In the SMTP window, click on the Save icon. DiMeda asks if you are sure you want to save this configuration.
b.Click on OK. A message appears, reporting that the setup was successful and requesting that you reboot.
c.Click on Reboot Now. A message appears, telling you the system is rebooting.
d.Close the browser. Do not power down the enclosure.
e.After two minutes, open a browser. In the address bar, enter the public IP address you created in Step 4. Rebooting takes between 2 and 10 minutes. Refresh until the Welcome window appears.
f.Enter the password you created in Step 6.
Step 11. Create a File System
A welcome window appears, reminding you to create a file system. Click on the Yes button. The File System Creation window appears.
a.Click on the device from the Available Devices List. The size of the file system you are creating appears.
b.Choose one of these File System Types: Video application or General Purpose application.
c.Enter the mount point.
d.Choose a method for communicating with client systems when exchanging files between computers: NFS (Unix), CIFS (Windows), or both. Click on Next.
Step 12. Create Shares
If you chose NFS, the NFS Share window appears. Specify NFS options. If you chose CIFS, the CIFS Share window appears. Specify CIFS options. If you chose AFP, the AFP Share window appears. Specify AFP options. Click on the Save icon.
DiMeda is now attached to your network, ready to store, retrieve, and share files between your networked clients - reliably and at high speed.
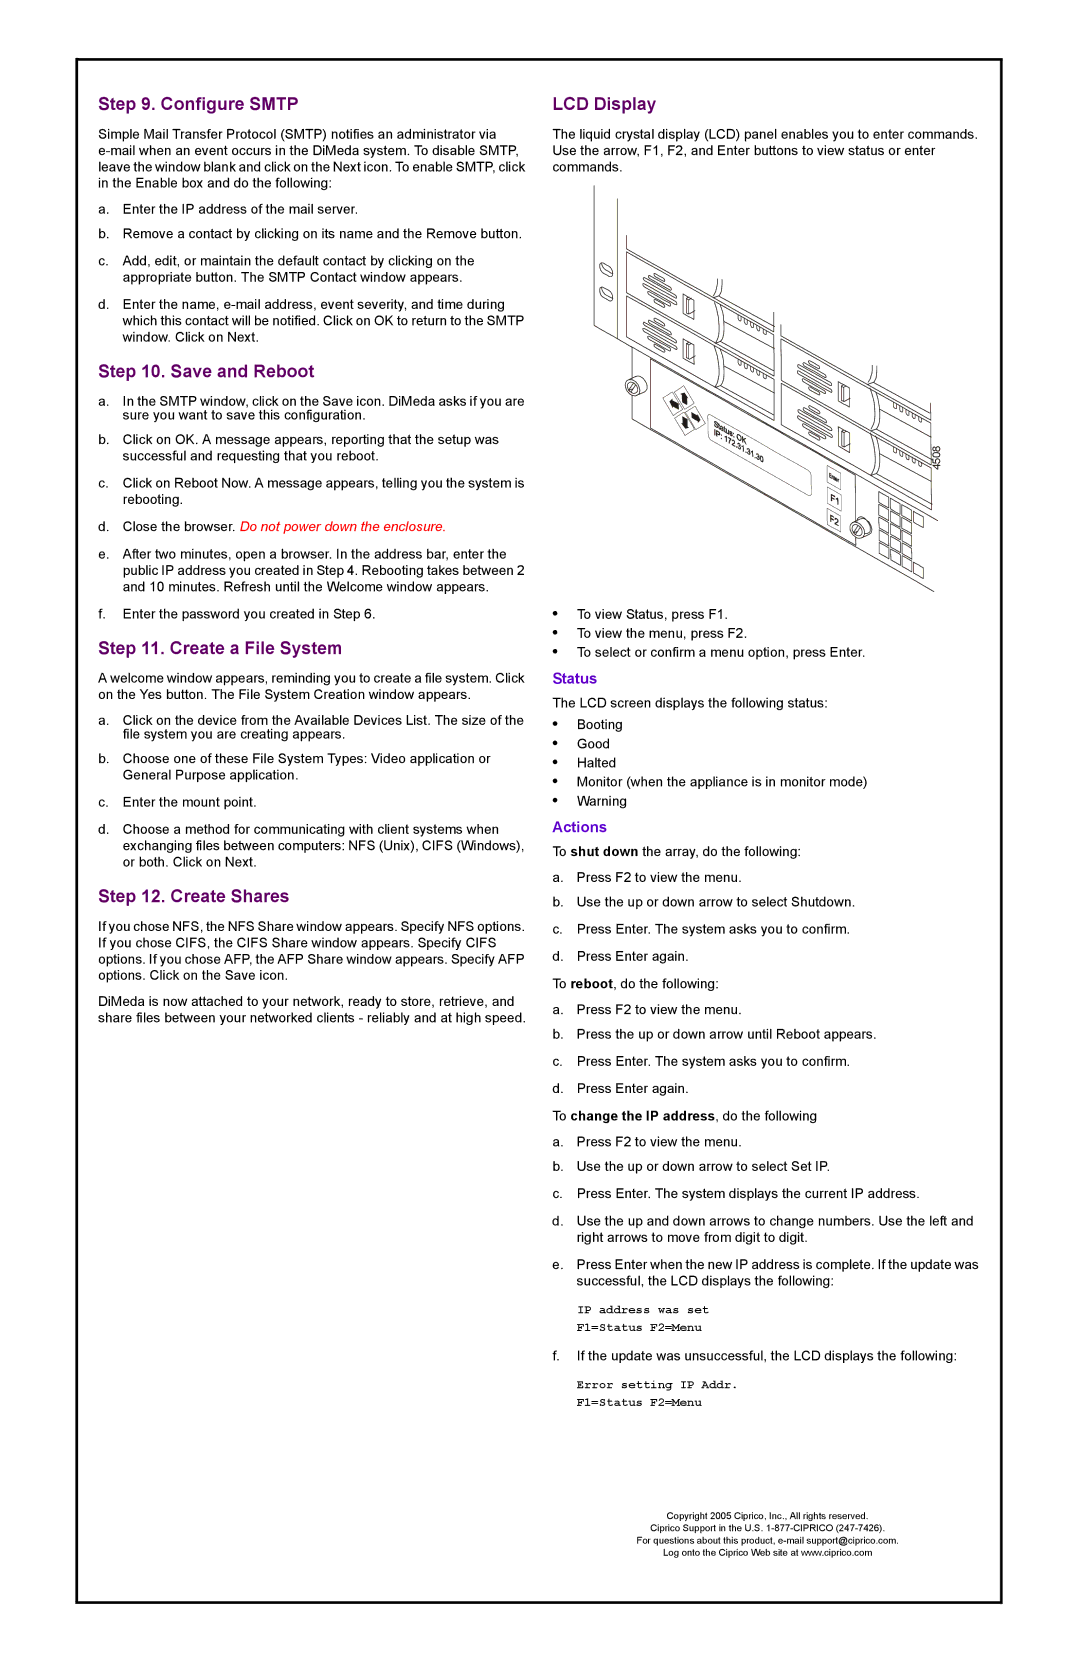
LCD Display
The liquid crystal display (LCD) panel enables you to enter commands. Use the arrow, F1, F2, and Enter buttons to view status or enter commands.
4508
•To view Status, press F1.
•To view the menu, press F2.
•To select or confirm a menu option, press Enter.
Status
The LCD screen displays the following status:
•Booting
•Good
•Halted
•Monitor (when the appliance is in monitor mode)
•Warning
Actions
To shut down the array, do the following:
a.Press F2 to view the menu.
b.Use the up or down arrow to select Shutdown.
c.Press Enter. The system asks you to confirm.
d.Press Enter again.
To reboot, do the following:
a.Press F2 to view the menu.
b.Press the up or down arrow until Reboot appears.
c.Press Enter. The system asks you to confirm.
d.Press Enter again.
To change the IP address, do the following
a.Press F2 to view the menu.
b.Use the up or down arrow to select Set IP.
c.Press Enter. The system displays the current IP address.
d.Use the up and down arrows to change numbers. Use the left and right arrows to move from digit to digit.
e.Press Enter when the new IP address is complete. If the update was successful, the LCD displays the following:
IP address was set F1=Status F2=Menu
f.If the update was unsuccessful, the LCD displays the following:
Error setting IP Addr. F1=Status F2=Menu
Copyright 2005 Ciprico, Inc., All rights reserved.
Ciprico Support in the U.S.
For questions about this product,
Log onto the Ciprico Web site at www.ciprico.com
