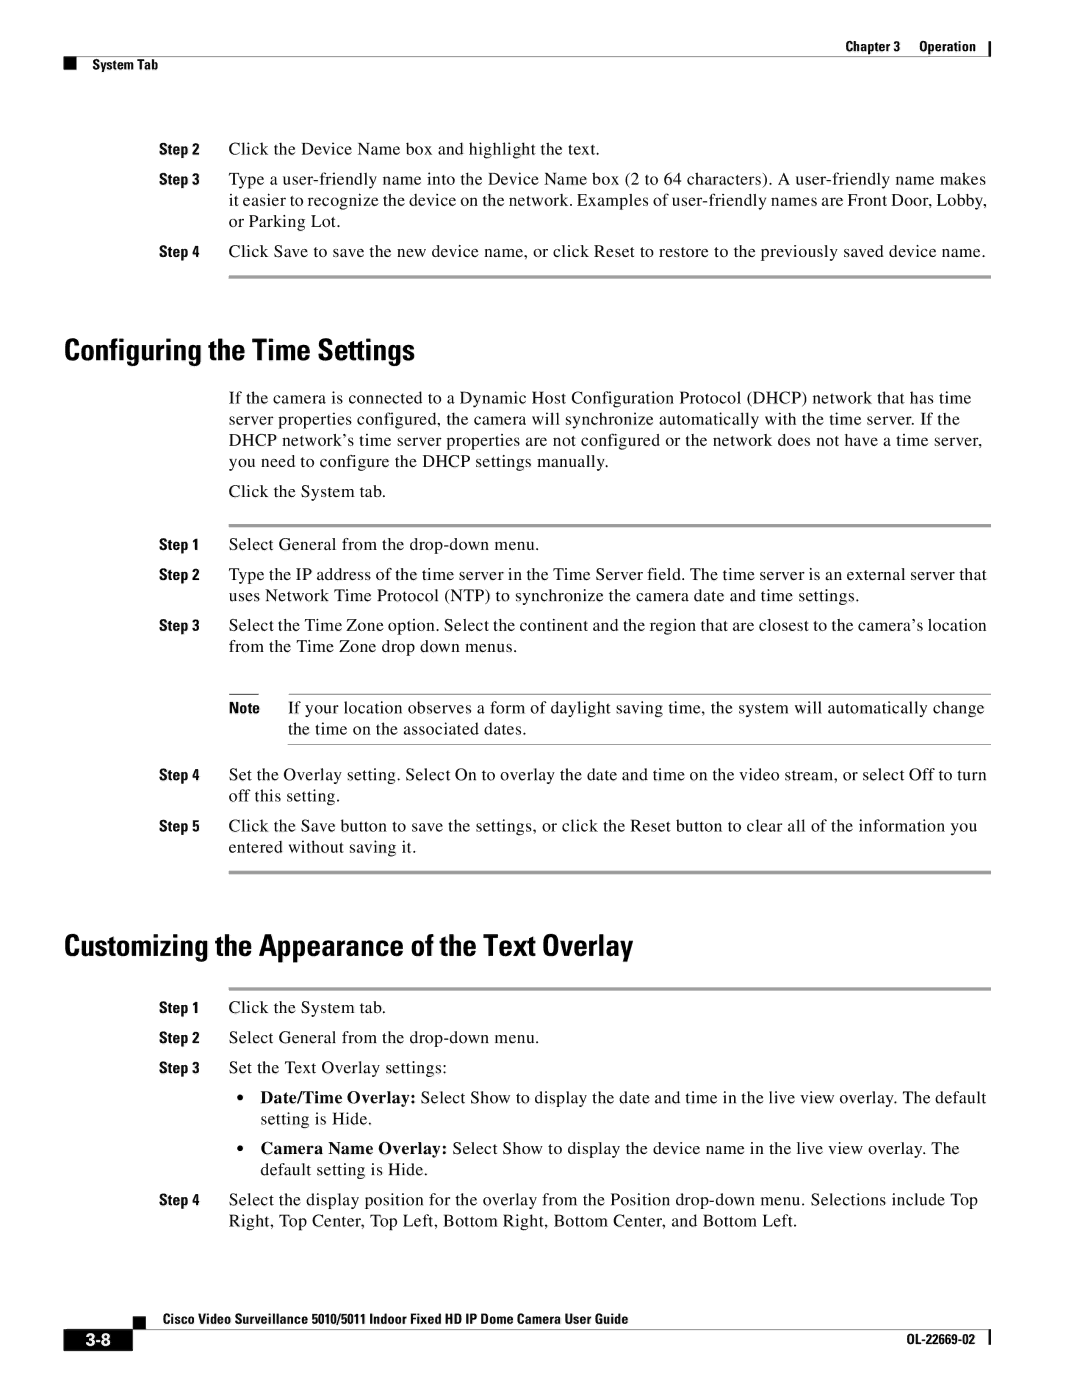
5011, 5010 specifications
Cisco Systems is a leader in networking technology, providing robust solutions for businesses worldwide. Among its many offerings, the Cisco 5010 and 5011 models stand out as powerful devices designed to address the needs of modern data centers and enterprises requiring reliable and high-performance networking solutions.The Cisco 5010 is a fixed-configuration switch that combines advanced features suitable for small to medium-sized businesses. It supports a range of Ethernet and wireless technologies, allowing seamless integration into various network infrastructures. With a capacity for Layer 2 and Layer 3 switching, the 5010 facilitates efficient data routing and switching, ensuring optimal performance for diverse applications.
On the other hand, the Cisco 5011 builds upon the 5010's capabilities, offering enhanced features and scalability. It is designed for organizations that demand higher performance and advanced networking capabilities. This model supports more VLANs and can handle increased traffic loads, making it suitable for larger enterprises or data centers.
One of the key features of both models is Cisco's advanced security protocols. They provide comprehensive protection against unauthorized access and network threats, ensuring that sensitive information remains secure. The switches also support segmentation and access control lists (ACLs), allowing administrators to manage network traffic effectively.
Both the 5010 and 5011 models are equipped with Cisco's innovative IOS software, providing users with a familiar interface for configuration and management. This software allows for automation of routine tasks, reducing administrative overhead and minimizing potential errors.
In terms of performance, both switches are built to handle high-speed connectivity, supporting multiple gigabit interfaces. They also feature advanced Quality of Service (QoS) mechanisms, which prioritize critical network traffic and maintain high performance during peak usage times. The support for Power over Ethernet (PoE) allows businesses to power devices like IP phones and access points directly through the switch, simplifying infrastructure requirements.
Scalability is another important characteristic of the Cisco 5010 and 5011. They can accommodate growth in network size and complexity without compromising performance, making them future-proof investments for enterprises.
In conclusion, the Cisco 5010 and 5011 switches are exemplary products that illustrate Cisco's commitment to delivering high-quality networking solutions. With their advanced features, robust security, scalability, and high performance, they cater to the needs of modern businesses looking to enhance their connectivity and operational efficiency.

