XMD2, XMD1 specifications
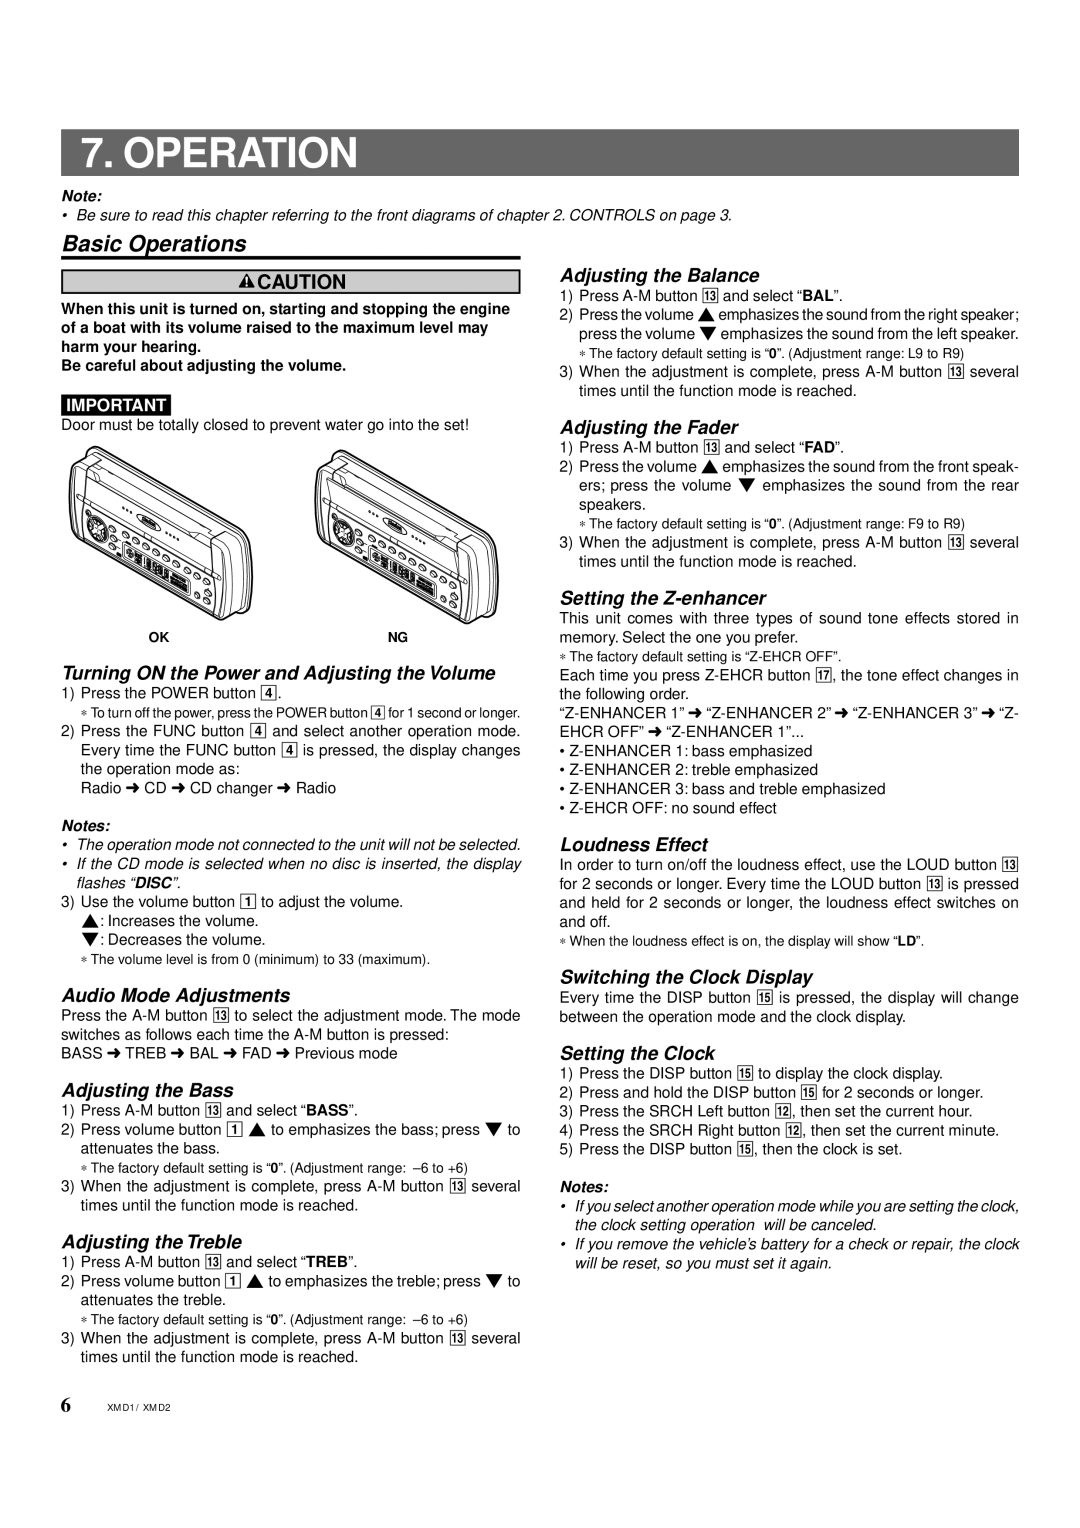
The Clarion XMD1 and XMD2 are sleek, advanced marine audio systems designed for an optimal on-water listening experience. These two models incorporate cutting-edge technology and user-friendly features tailored for marine environments, ensuring that boaters can enjoy their favorite music in harsh conditions.The Clarion XMD1 is built with a robust, rugged exterior that is resistant to moisture and UV rays, making it perfect for marine use. It features a powerful 4-channel amplifier that delivers crisp and clear sound quality. With a peak power output of 200 watts, the XMD1 ensures that your audio experience is not only loud but also clear, even in the face of strong winds and engine noise.
One of the key technologies employed in the XMD1 is Bluetooth connectivity. This enables seamless pairing with smartphones and other Bluetooth devices, allowing users to stream music directly from their mobile devices without the hassle of cables. Additionally, the XMD1 offers a USB input, which is perfect for charging devices or connecting USB-compatible music sources. This versatile connectivity ensures that users can enjoy their favorite tracks from various sources.
On the other hand, the Clarion XMD2 builds upon the features of the XMD1, boasting enhanced audio capabilities. The XMD2 incorporates advanced equalization settings that allow users to tailor the sound profile to their preferences. It also comes with an additional zone control feature, enabling users to manage multiple audio zones within their vessel. This is particularly beneficial for larger boats where different areas may require distinct sound settings.
Both models are equipped with a large, easy-to-read display and simple control buttons that can be operated even in wet conditions. They feature illuminated buttons, ensuring visibility during night outings. Additionally, the XMD1 and XMD2 are designed with a built-in digital media player, making it easier to navigate and play audio files without the need for external devices.
In conclusion, the Clarion XMD1 and XMD2 marine audio systems are prime choices for boating enthusiasts. Their combination of durable construction, excellent sound quality, versatile connectivity options, and user-friendly design makes them standout systems in the marine audio market. Whether you're cruising along the coastline or anchored in a serene spot, these audio systems ensure that great sound is always at your fingertips, enhancing your overall maritime experience.