CA-5200 specifications
The Classe Audio CA-5200 is a high-performance power amplifier that exemplifies the pinnacle of audio engineering. Designed to deliver exceptional sound quality and robust power, the CA-5200 is a favorite among audiophiles and home theater enthusiasts alike.One of the standout features of the CA-5200 is its impressive power output. With a five-channel configuration, it provides an astounding 200 watts per channel into 8 ohms, delivering superior dynamics and headroom. This makes it an ideal choice for driving a wide range of loudspeakers, from compact, bookshelf models to larger, floor-standing options. The amplifier can effortlessly handle the demands of both music and multichannel movie soundtracks, ensuring that every nuance is captured with fidelity.
The CA-5200 utilizes Class A/B amplification technology, which is renowned for its efficiency and warmth. This technology combines the benefits of Class A operation—characterized by low distortion and an open soundstage—with the efficiency of Class B operation. The result is a powerful amplifier that remains cooler in operation while still providing rich, detailed sound reproduction across the frequency spectrum.
Another essential feature of the CA-5200 is its advanced circuitry and build quality. The use of high-grade components throughout, including custom power transformers and large filter capacitors, ensures that the amplifier can handle transient peaks and demanding listening sessions without strain. The resulting sound is clear and dynamic, with an emphasis on accuracy and naturalness, catering to the most discerning listening tastes.
Classe Audio also integrates their proprietary AutoBias technology into the CA-5200, which automatically adjusts the bias settings of the output transistors for optimal performance under various load conditions. This feature ensures consistent sound quality, regardless of the dynamics of the material being played or the impedance of the connected speakers.
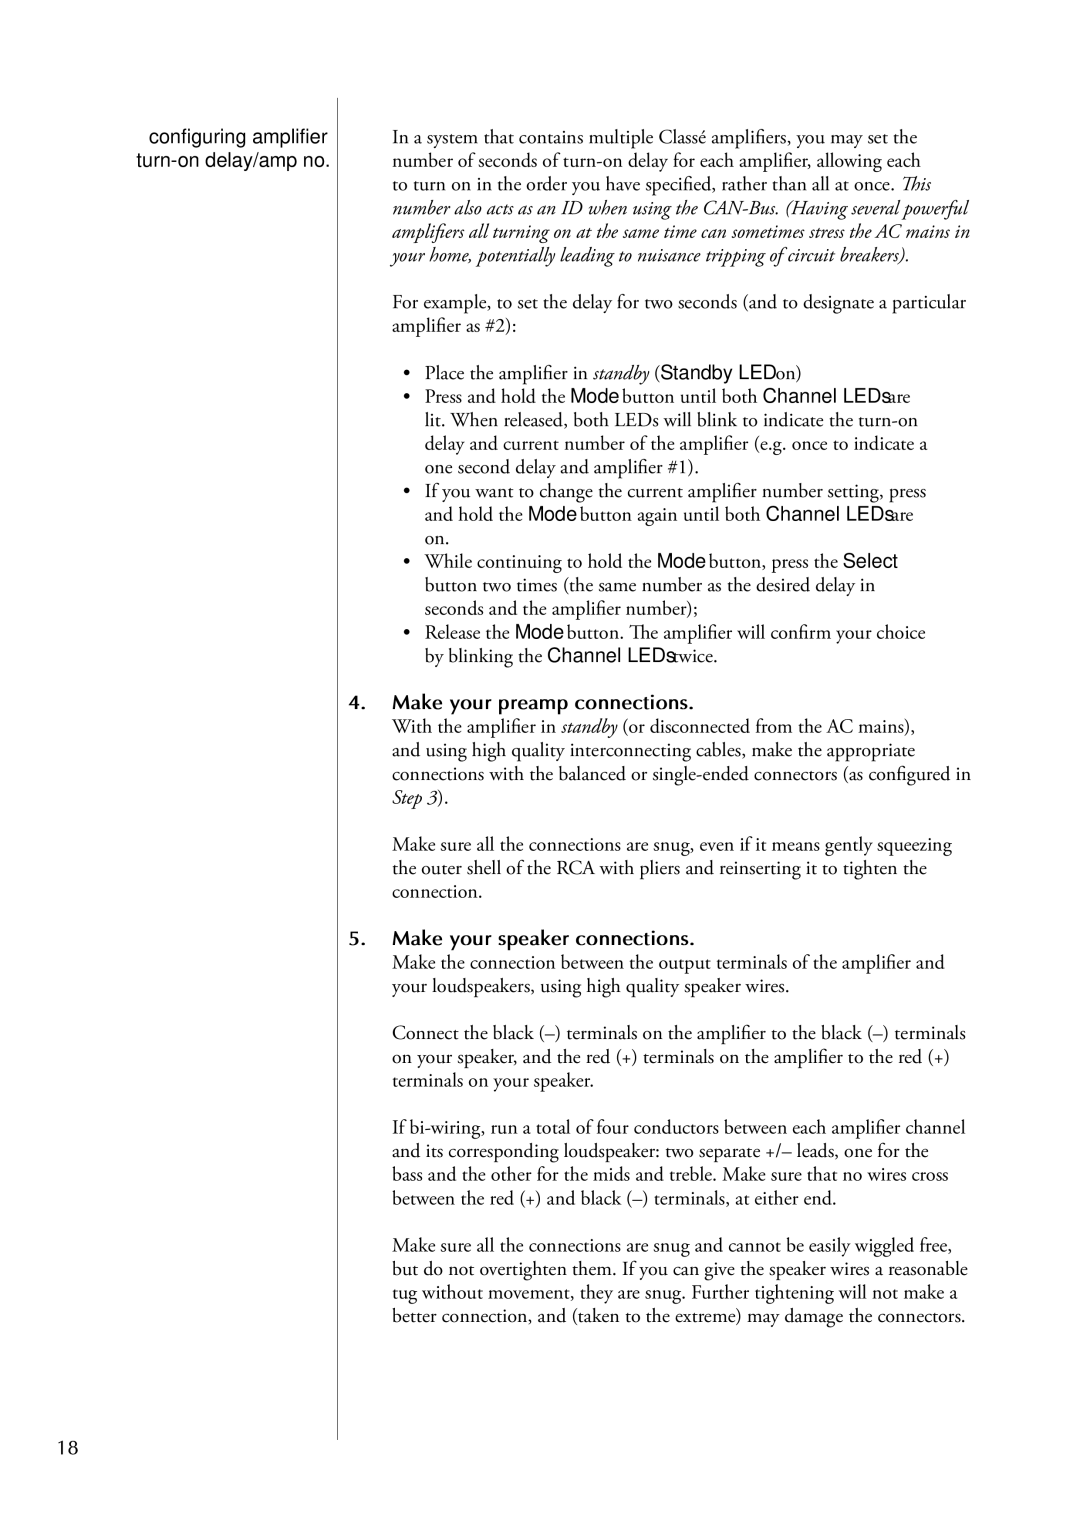
In terms of connectivity, the CA-5200 offers multiple input options, allowing for seamless integration into a variety of audio systems. The amplifier’s front panel is carefully designed, featuring easy-to-read indicators and user-friendly controls, making it simple to operate even in a complex setup.
Overall, the Classe Audio CA-5200 stands out as a powerful and versatile amplifier that marries technology with craftsmanship. Whether used in a dedicated two-channel audiophile setup or as part of an immersive home theater experience, the CA-5200 delivers the sonic performance that captivates and engages music and movie lovers alike.