Fixing a Fuel Leak
If you detect a leak:
1.Turn off the fuel supply. Push in and turn on control knobs to release pressure in hose, then return the control knobs to OFF.
2.Wash off soapy solutions with cold water and towel dry.
3.Stop a leak by tightening the loose joint, or by replacing the faulty part with a replacement part recommended by Coleman. DO NOT attempt to repair the cylinder valve if it should become damaged; the cylinder MUST be replaced.
4.If you are unable to stop a leak, shut off the gas supply at the cylinder valve. Remove the cylinder from the grill. Call a gas appliance serviceman or L.P. gas dealer. DO NOT use grill until the leak is corrected.
When to test for leaks:
1.Perform a leak test each time the gas supply cylinder is connected to the regulator. Leak test anytime a part of the gas system is replaced.
2.Perform a leak test at least once each year whether the L.P. gas supply cylinder has been disconnected or not.
3.Have a dealer check the cylinder for deterioration after 12 years, according to DOT regulations. Immediately replace cylinder if any deterioration is found
CAUTION
Inspect the gas supply hoses before each use. If there are cuts, damage, excessive abrasion or wear, replace the hoses prior to operating the appliance. During assembly of grill and when attaching or replacing the L. P. gas cylinder, insure that all gas supply hoses are free of kinks and/or damage and are at least 3" away from hot surfaces such as the grill housing. Use only hose replacements specified in the parts list.
Start-Up Check List
![]() WARNING
WARNING
Failure to follow these safety steps before using grill each time could result in a fire that could be hazardous to you, your appliance or property. It is especially important to observe these steps after the grill has been stored, moved or cleaned.
1. Inspect the gas supply hoses before each use. Hoses can be burned or chafed if they are routed improperly. See that hoses have no kinks, sharp bends or tension. Insure that hoses are at least 3 inches away from any hot surface. If it is evident that there is excessive abrasion or wear, or the hose is cut, it must be replaced prior to the grill being put into operation.
2. Use only the gas specified.
3. Keep the grill on a level surface and lock the castors.
4. Keep grease pans empty at start up.
5. Do not use charcoal or lighting fluid.
Lighting the Grill
![]() WARNING
WARNING
THE FOLLOWING RULES MUST ALWAYS BE FOLLOWED IN THIS ORDER :
1.Check that the Burner Control Knobs are turned to “OFF.”
2.Turn on fuel supply. For an L.P. gas cylinder, turn the top cylinder valve knob counterclockwise to open.
3.DO NOT stand with head or arms over grill.
![]() WARNING
WARNING
This procedure MUST be performed OUTDOORS only! Be sure L.P. cylinder valve is closed. Attach to Grill. Read and fol- low directions on the cylinder and fuel hose safety tags.
![]() CAUTION
CAUTION
In the connection process, the grill side of the connection will seal on the
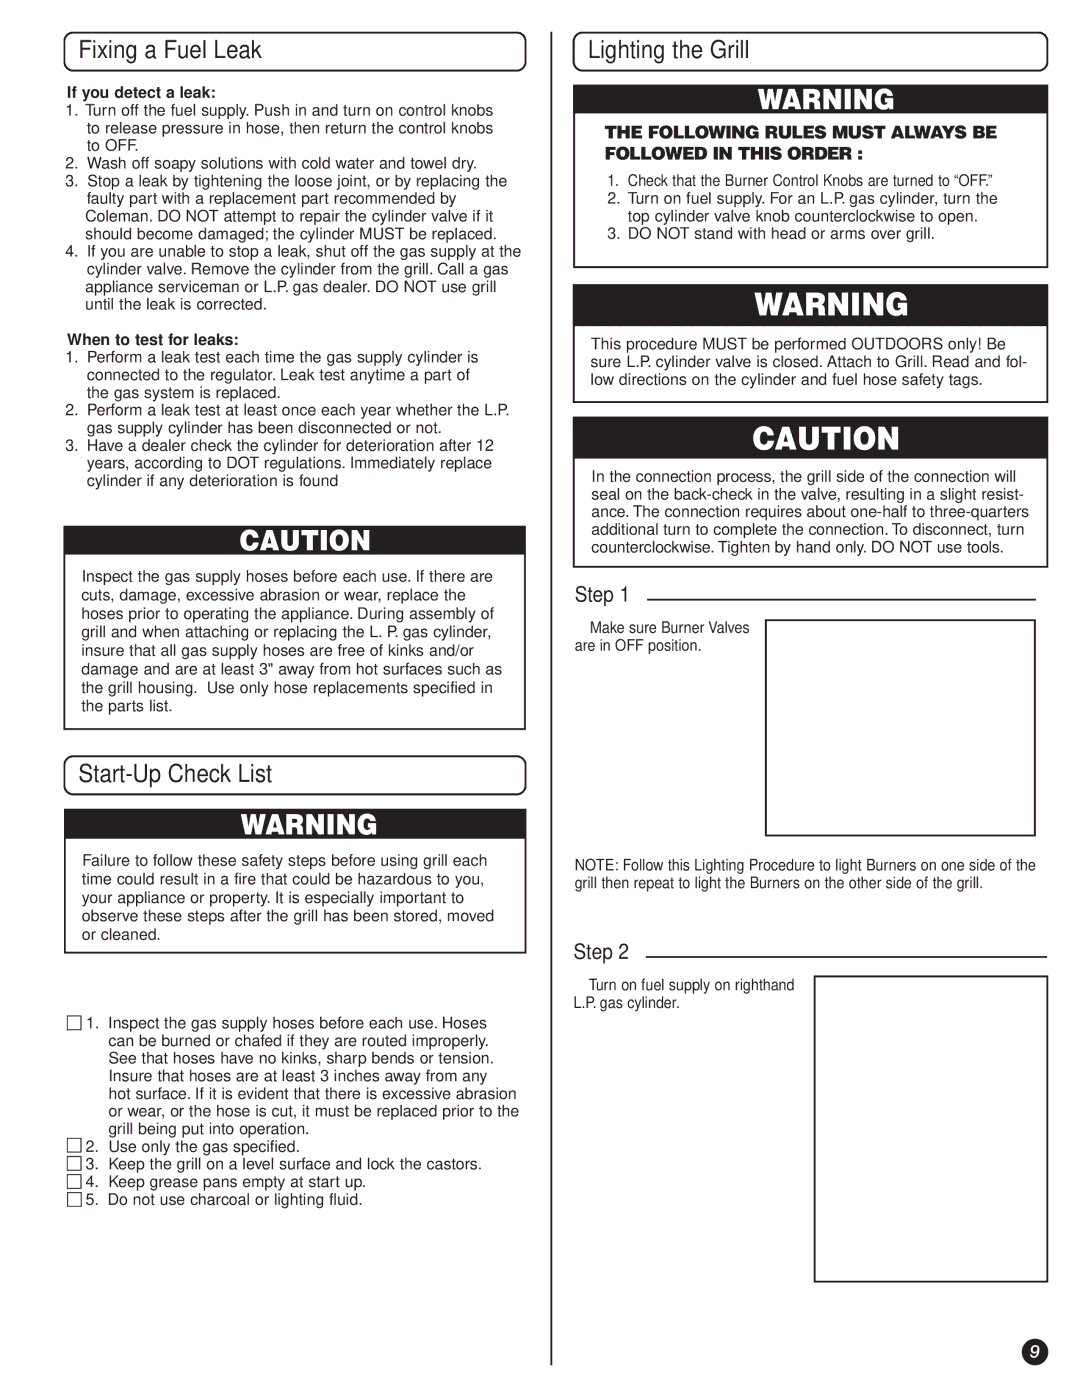
Step 1
■Make sure Burner Valves
are in OFF position.
NOTE: Follow this Lighting Procedure to light Burners on one side of the grill then repeat to light the Burners on the other side of the grill.
Step 2
■Turn on fuel supply on righthand L.P. gas cylinder.
9