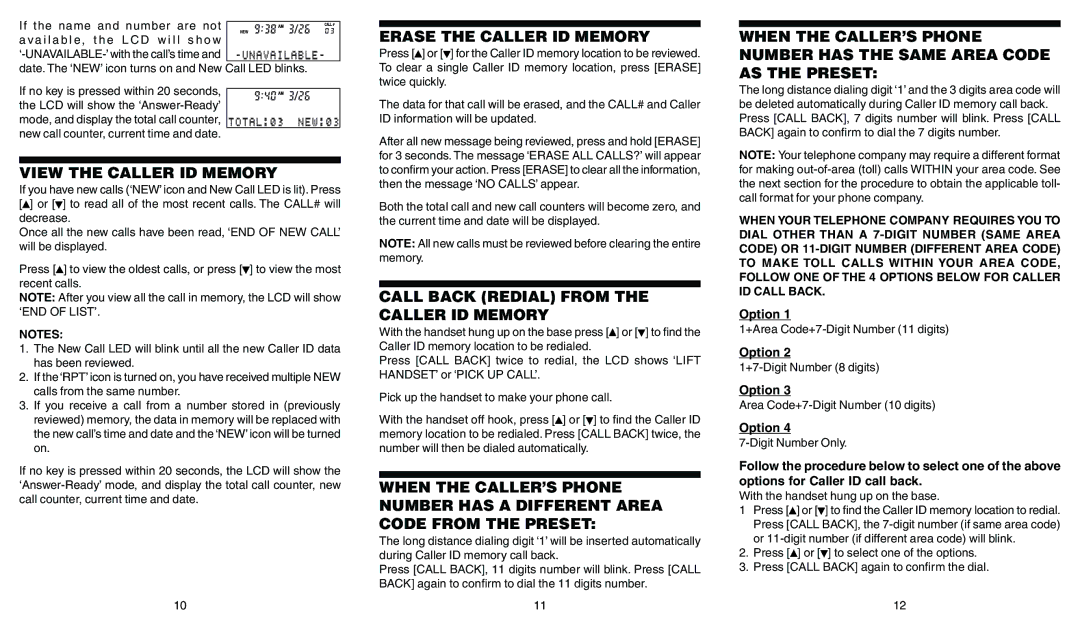
If the name and number are not ![]() a va i l a b l e, t h e L C D w i l l s h o w
a va i l a b l e, t h e L C D w i l l s h o w
date. The ‘NEW’ icon turns on and New Call LED blinks.
If no key is pressed within 20 seconds, ![]() the LCD will show the
the LCD will show the
mode, and display the total call counter, new call counter, current time and date.
VIEW THE CALLER ID MEMORY
If you have new calls (‘NEW’ icon and New Call LED is lit). Press [![]() ] or [
] or [![]() ] to read all of the most recent calls. The CALL# will decrease.
] to read all of the most recent calls. The CALL# will decrease.
Once all the new calls have been read, ‘END OF NEW CALL’ will be displayed.
Press [![]() ] to view the oldest calls, or press [
] to view the oldest calls, or press [![]() ] to view the most recent calls.
] to view the most recent calls.
NOTE: After you view all the call in memory, the LCD will show ‘END OF LIST’.
NOTES:
1.The New Call LED will blink until all the new Caller ID data has been reviewed.
2.If the ‘RPT’ icon is turned on, you have received multiple NEW calls from the same number.
3.If you receive a call from a number stored in (previously reviewed) memory, the data in memory will be replaced with the new call’s time and date and the ‘NEW’ icon will be turned on.
If no key is pressed within 20 seconds, the LCD will show the
10
ERASE THE CALLER ID MEMORY
Press [![]() ] or [
] or [![]() ] for the Caller ID memory location to be reviewed. To clear a single Caller ID memory location, press [ERASE] twice quickly.
] for the Caller ID memory location to be reviewed. To clear a single Caller ID memory location, press [ERASE] twice quickly.
The data for that call will be erased, and the CALL# and Caller ID information will be updated.
After all new message being reviewed, press and hold [ERASE] for 3 seconds. The message ‘ERASE ALL CALLS?’ will appear to confirm your action. Press [ERASE] to clear all the information, then the message ‘NO CALLS’ appear.
Both the total call and new call counters will become zero, and the current time and date will be displayed.
NOTE: All new calls must be reviewed before clearing the entire memory.
CALL BACK (REDIAL) FROM THE CALLER ID MEMORY
With the handset hung up on the base press [![]() ] or [
] or [![]() ] to find the Caller ID memory location to be redialed.
] to find the Caller ID memory location to be redialed.
Press [CALL BACK] twice to redial, the LCD shows ‘LIFT HANDSET’ or ‘PICK UP CALL’.
Pick up the handset to make your phone call.
With the handset off hook, press [![]() ] or [
] or [![]() ] to find the Caller ID memory location to be redialed. Press [CALL BACK] twice, the number will then be dialed automatically.
] to find the Caller ID memory location to be redialed. Press [CALL BACK] twice, the number will then be dialed automatically.
WHEN THE CALLER’S PHONE NUMBER HAS A DIFFERENT AREA CODE FROM THE PRESET:
The long distance dialing digit ‘1’ will be inserted automatically during Caller ID memory call back.
Press [CALL BACK], 11 digits number will blink. Press [CALL BACK] again to confirm to dial the 11 digits number.
11
WHEN THE CALLER’S PHONE NUMBER HAS THE SAME AREA CODE AS THE PRESET:
The long distance dialing digit ‘1’ and the 3 digits area code will be deleted automatically during Caller ID memory call back. Press [CALL BACK], 7 digits number will blink. Press [CALL BACK] again to confirm to dial the 7 digits number.
NOTE: Your telephone company may require a different format for making
WHEN YOUR TELEPHONE COMPANY REQUIRES YOU TO DIAL OTHER THAN A
Option 1
1+Area
Option 2
Option 3
Area
Option 4
Follow the procedure below to select one of the above options for Caller ID call back.
With the handset hung up on the base.
1Press [![]() ] or [
] or [![]() ] to find the Caller ID memory location to redial. Press [CALL BACK], the
] to find the Caller ID memory location to redial. Press [CALL BACK], the
or
2.Press [![]() ] or [
] or [![]() ] to select one of the options.
] to select one of the options.
3.Press [CALL BACK] again to confirm the dial.
12