.cafetera


la arruinar y permanentes daños ocasionar podría agua El .agua al control de


panel el sobrexponga No .impermeable es no control de panel El Advertencia:


.servicio necesitar de caso en autorizado


personal a Acuda . consumido por reparables

contieneel nopiezasproducto Este


CAFETERA

L DE LIMPIEZAA


.(OFF)


apagado de posición la a control el ajuste café, el servir de termine Cuando .9


.funcionamiento de ciclo medio a abrir


de debe se no colar de recipiente El Importante: .café el caliente conservar de fin


a calefactora placa la sobre jarra la mantener procure café, el servir de Después .8


.luz una


enciende se que observe y (ON) encendido de interruptor/botón el Presione .7


.cafetera la Enchufe .6


.cafetera la en jarra la Coloque .5


.colar de recipiente el bien cierre y pequeño mango el Sujete .4


.tazas) dos cada para llenas cucharadas dos recomienda (se ltrofi al


molido café agregue y colar de recipiente del adentro incluido permanente filtro el


Instale .recipiente el bien abra y colar de recipiente del pequeño mango el Sujete .3


.tanque del tapa la


Cierre .deseado nivel el hasta fría agua con tanque el llenar para jarra la Utilice .2


.tanque del tapa la Abra .1


CAFÉ DE ARACIÓN PRE

P

L


.jarra la de agua el


vacíe y usado filtro el deseche cafetera, la apague colado, de ciclo el finalizar Al .8


.(ON) encendido de


interruptor/botón el presione y cafetera la en tapa la y todo con jarra la Coloque .7


.cafetera la Enchufe .6


.recipiente


el bien cerrar para pequeño mango el por colar de recipiente el Sujete .5


.molido) café agregar (sin colar de recipiente el en estándar ltrofi un Coloque .4


.mismo del soporte el en colar de recipiente del giratoria barra la Inserte .3


.tanque del tapa la Cierre .2


.sobrellenar No .tazas


4 indica que llenado de nivel el hasta fría agua vierta y tanque del tapa la Abra .1


.sedimento cualquier eliminar


para solamente, agua con colado de ciclo un completar de debe cafetera La


USO PRIMER

DE ANTES IMPIEZAL


.lavaplatos máquina


la de superior bandeja la en lavar pueden se también piezas Estas .bien Enjuague


.jabonada


tibia agua con colar de recipiente el y jarra la de tapa la jarra, la Lave .2


.literatura y empaque de material calcomanía, toda Retire .1


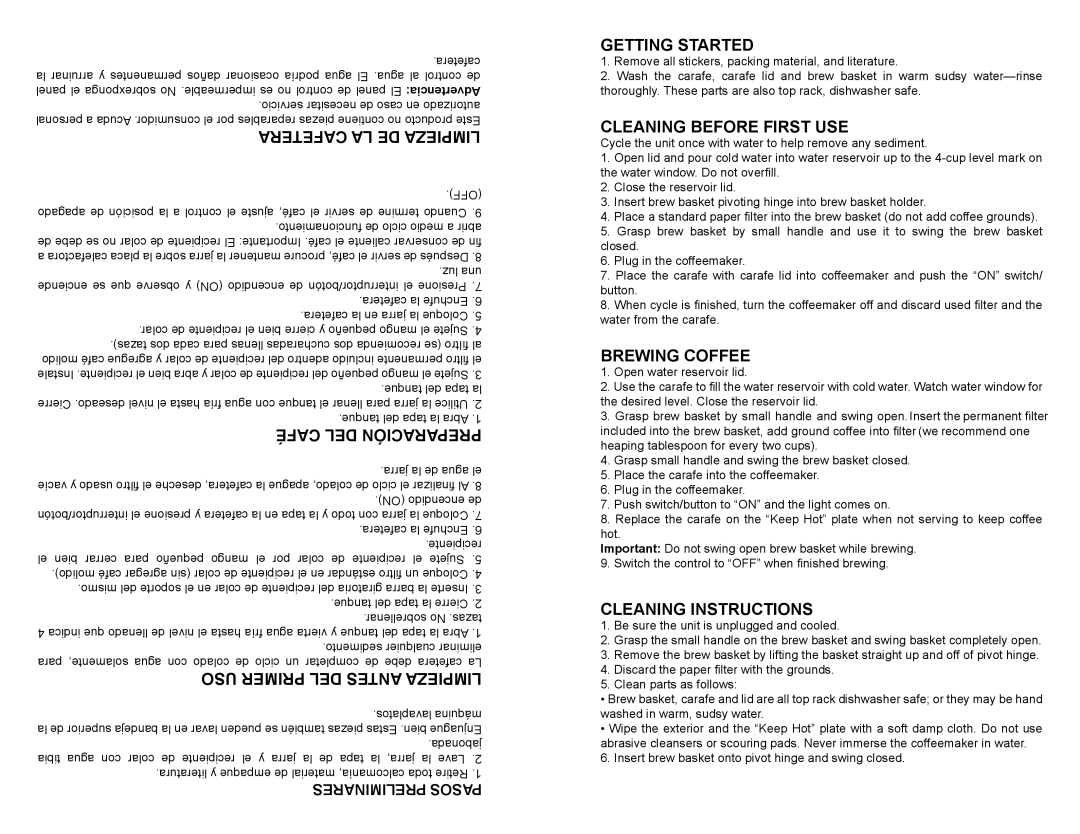
GETTING STARTED

1.Remove all stickers, packing material, and literature.

2.Wash the carafe, carafe lid and brew basket in warm sudsy water—rinse thoroughly. These parts are also top rack, dishwasher safe.

CLEANING BEFORE FIRST USE

Cycle the unit once with water to help remove any sediment.

1.Open lid and pour cold water into water reservoir up to the 4-cup level mark on the water window. Do not overfill.

2.Close the reservoir lid.

3.Insert brew basket pivoting hinge into brew basket holder.

4.Place a standard paper filter into the brew basket (do not add coffee grounds).

5.Grasp brew basket by small handle and use it to swing the brew basket closed.

6.Plug in the coffeemaker.

7.Place the carafe with carafe lid into coffeemaker and push the “ON” switch/ button.

8.When cycle is finished, turn the coffeemaker off and discard used filter and the water from the carafe.

BREWING COFFEE

1.Open water reservoir lid.

2.Use the carafe to fill the water reservoir with cold water. Watch water window for the desired level. Close the reservoir lid.

3.Grasp brew basket by small handle and swing open. Insert the permanent filter included into the brew basket, add ground coffee into filter (we recommend one heaping tablespoon for every two cups).

4.Grasp small handle and swing the brew basket closed.

5.Place the carafe into the coffeemaker.

6.Plug in the coffeemaker.

7.Push switch/button to “ON” and the light comes on.

8.Replace the carafe on the “Keep Hot” plate when not serving to keep coffee hot.

Important: Do not swing open brew basket while brewing.

9.Switch the control to “OFF” when finished brewing.

CLEANING INSTRUCTIONS

1.Be sure the unit is unplugged and cooled.

2.Grasp the small handle on the brew basket and swing basket completely open.

3.Remove the brew basket by lifting the basket straight up and off of pivot hinge.

4.Discard the paper filter with the grounds.

5.Clean parts as follows:

Brew basket, carafe and lid are all top rack dishwasher safe; or they may be hand washed in warm, sudsy water.

Wipe the exterior and the “Keep Hot” plate with a soft damp cloth. Do not use abrasive cleansers or scouring pads. Never immerse the coffeemaker in water. 6. Insert brew basket onto pivot hinge and swing closed.

PRELIMINARES PASOS

Page 3
Image 3
Continental Electric CP43659 Cafetera DE Limpiezaa, Café DE Aración PRE, USO Primer DE Antes Impiezal, Getting Started

CP43659 specifications

The Continental Electric CP43659 is a versatile and efficient kitchen appliance designed to simplify cooking tasks while enhancing flavor and texture. This electric skillet is ideal for home chefs looking to prepare a variety of meals with ease and precision. Its combination of advanced technology and user-friendly features makes it a standout option in the domain of electric cooking devices.

One of the key features of the Continental Electric CP43659 is its large cooking surface. With a generous capacity, this skillet allows for cooking multiple servings at once, making it perfect for family meals or gatherings. The spacious design also gives users ample room to sauté, fry, or simmer various ingredients simultaneously, ensuring that every dish is prepared to perfection.

The skillet boasts a non-stick cooking surface that ensures easy food release and simplifies the cleaning process. This feature makes it particularly appealing for those who appreciate hassle-free cooking and maintenance. The non-stick coating is designed to withstand high temperatures without compromising its durability, ensuring that users can enjoy delicious meals without the frustration of stuck-on food.

Another significant characteristic of the Continental Electric CP43659 is its adjustable temperature control. This feature enables precise cooking through customizable heat settings, allowing users to achieve perfect browning, searing, and even simmering. The intuitive dial makes it simple to select the desired temperature, ensuring that chefs can create their culinary masterpieces with confidence.

This electric skillet is also equipped with safety features, such as heat-resistant handles that remain cool to the touch, ensuring safe handling during cooking. An integrated safety mechanism prevents overheating, providing peace of mind for users during extended cooking sessions.

Moreover, the Continental Electric CP43659 is designed for versatility. It is suitable for a wide range of cooking methods, from frying and sautéing to steaming and grilling. This multifunctionality makes it an essential appliance in any kitchen, particularly for those who love experimenting with different recipes and cooking techniques.

Overall, the Continental Electric CP43659 stands out with its impressive features, durable construction, and user-centric design. It is an excellent investment for anyone looking to elevate their cooking experience while enjoying the convenience and efficiency of an electric skillet. Whether preparing breakfast, lunch, or dinner, this appliance promises to deliver delicious results every time.