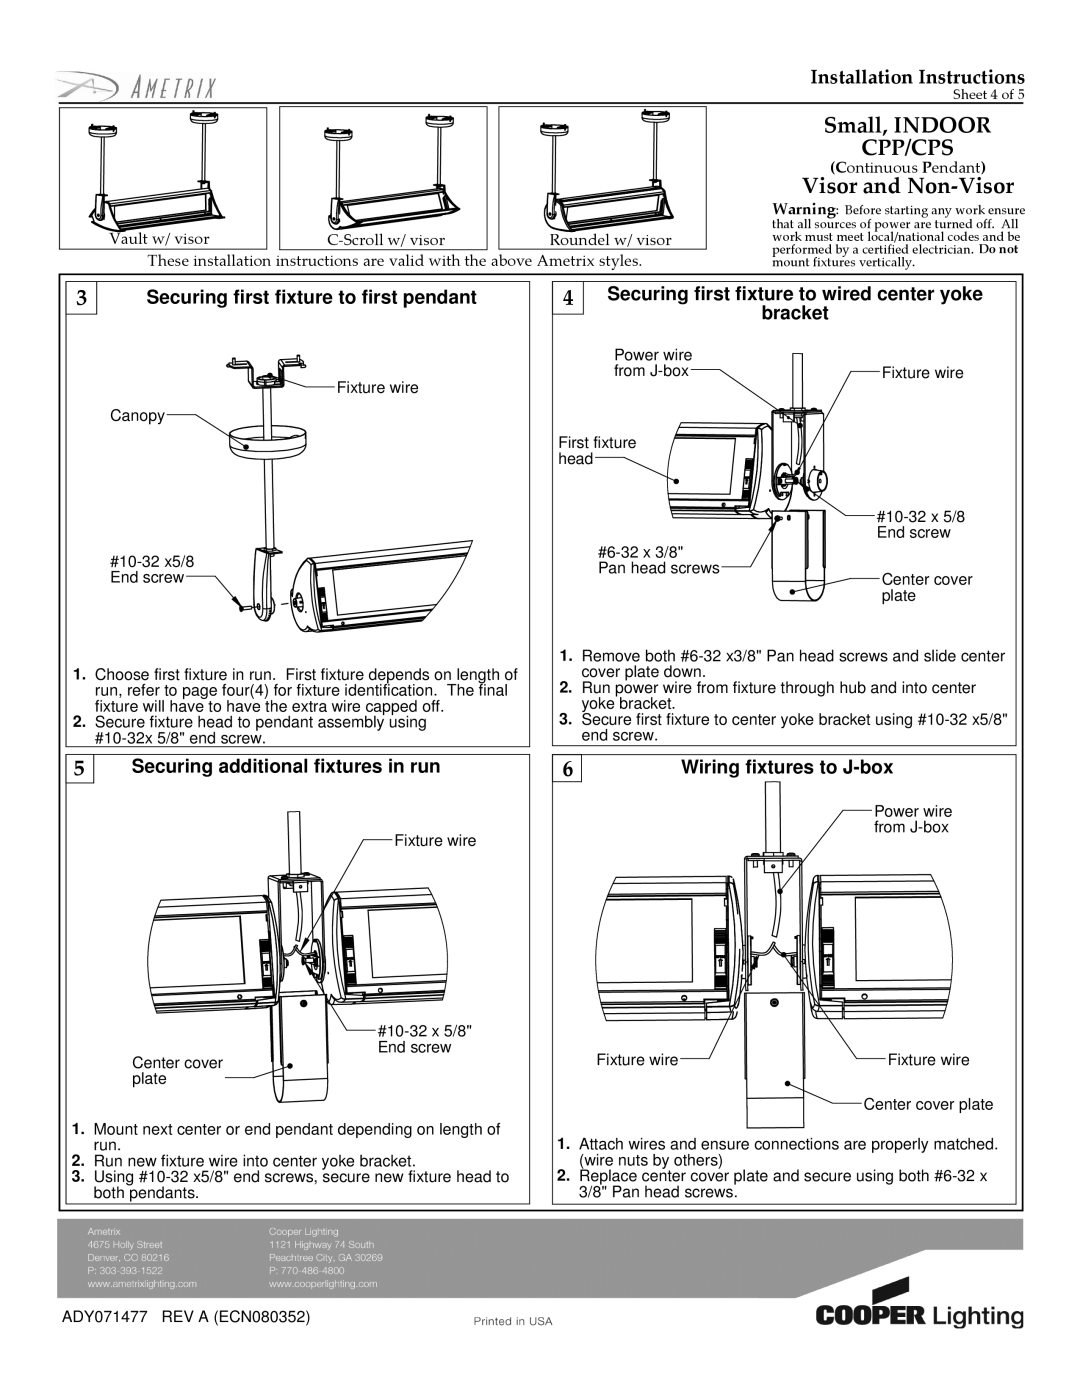
CPP/CPS specifications
Cooper Lighting's CPP/CPS (Compact Performance Series / Compact Performance Series Smart) represents a new benchmark in contemporary lighting solutions, designed with a focus on versatility and efficiency. These lighting fixtures are built particularly for commercial applications but can easily adapt to various environments, including retail spaces, office buildings, and educational institutions.One of the standout features of the CPP/CPS series is its compact design, which allows for flexible installation in tight spaces without compromising on output quality or performance. The fixtures come in various wattages and lumen outputs, making it possible to tailor the lighting solution to specific needs. This adaptability ensures optimal lighting conditions while enhancing energy efficiency.
The CPP/CPS employs advanced LED technology to deliver consistent and high-quality illumination. With a color temperature range that spans from warm white to daylight, users can create the desired ambiance to suit any setting. The fixtures also boast a high Color Rendering Index (CRI), which ensures that colors appear vibrant and true to life.
Another significant characteristic of the CPP/CPS series is its intelligent lighting controls. Optional features such as dimming capabilities and occupancy sensors allow for enhanced control over energy consumption and lighting levels. This smart technology not only leads to cost savings but also contributes to sustainability efforts by reducing energy wastage.
Durability is a key factor in the design of the CPP/CPS fixtures. Constructed with high-quality materials, these lights are built to withstand the demands of rigorous environments. They offer a long lifespan, further minimizing maintenance costs and disruptions.
The installation process is also streamlined, thanks to the fixture's design, which allows for easy and quick setup. Coupled with standard mounting options, the CPP/CPS series provides a hassle-free experience for contractors and end-users alike.
Overall, the Cooper Lighting CPP/CPS series is a cutting-edge lighting solution that harmonizes modern design with functionality. By incorporating advanced technologies, energy-efficient practices, and versatile features, Cooper Lighting has created fixtures that meet the needs of today's dynamic commercial environments while promoting sustainability and reducing operational costs.

