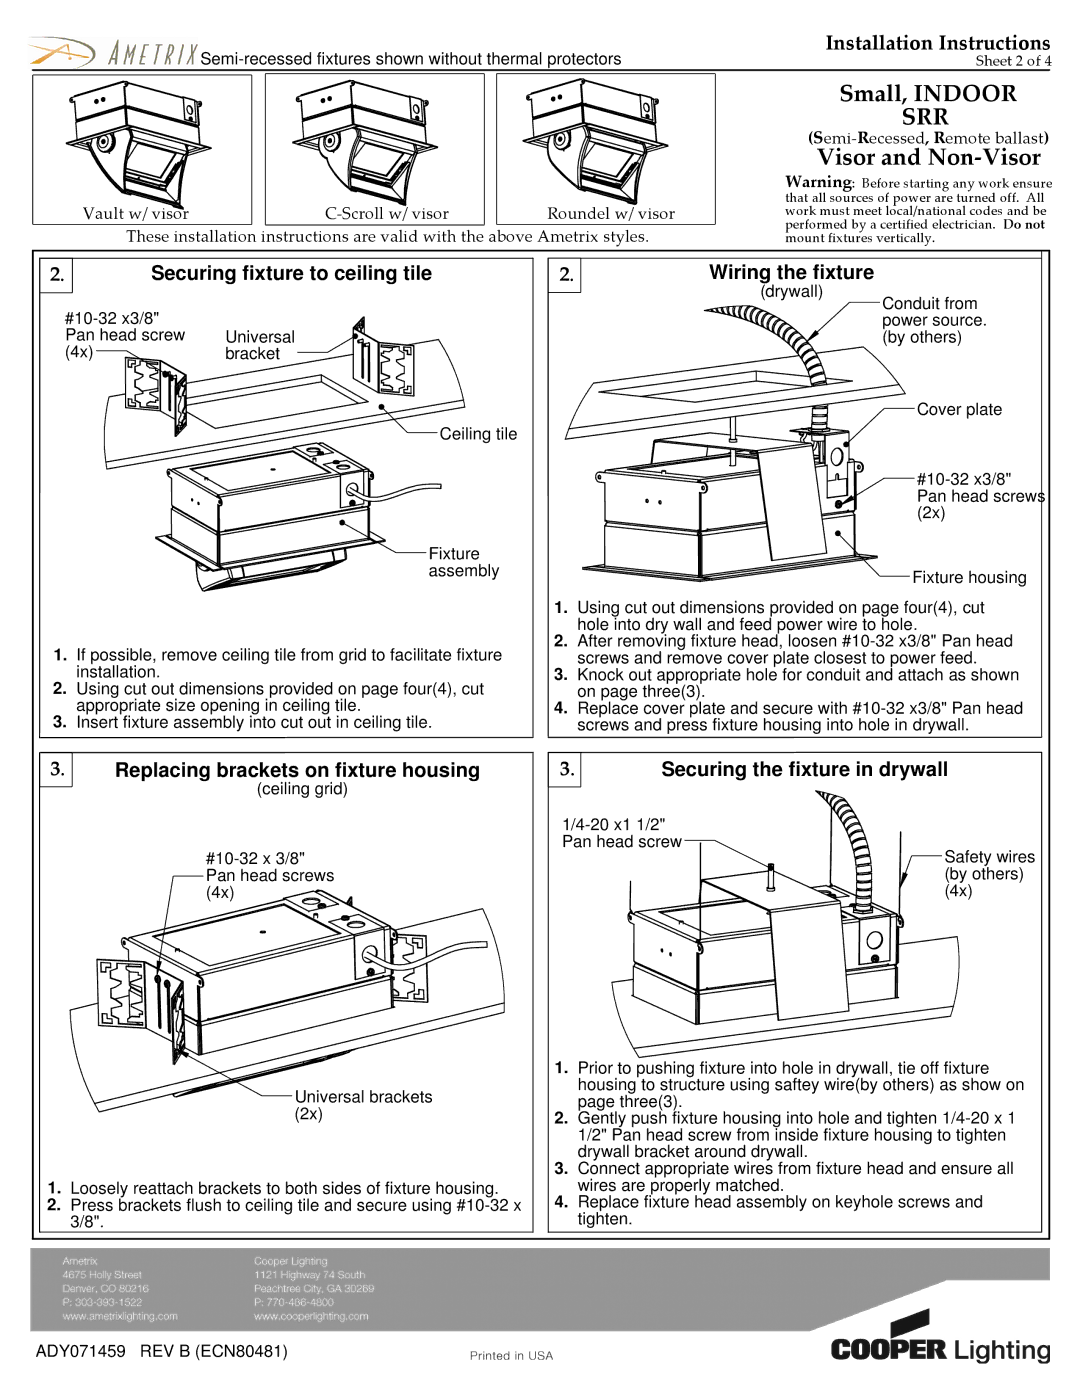
SRR specifications
Cooper Lighting, a leader in the lighting industry, has introduced the SRR (Smart Roadway and Rail) series, a cutting-edge solution designed to meet the demanding requirements of roadway and rail lighting applications. The SRR series combines advanced technologies with exceptional performance, making it an ideal choice for municipalities, transportation agencies, and other organizations aiming to enhance safety, efficiency, and sustainability in their outdoor lighting systems.One of the main features of Cooper Lighting's SRR series is its advanced LED technology. The use of high-efficiency LEDs not only provides bright illumination but also significantly reduces energy consumption compared to traditional lighting solutions. This energy efficiency translates to lower operational costs and extended lifespans for the fixtures, making the SRR series both eco-friendly and cost-effective.
Additionally, the SRR series integrates intelligent controls and smart lighting features. With capabilities such as adaptive dimming, occupancy sensing, and remote monitoring, these fixtures can be easily managed to optimize performance in response to varying environmental conditions and traffic patterns. This level of control enhances safety by ensuring adequate lighting when it's most needed while conserving energy during low-activity periods.
Durability is another hallmark of the SRR series. Designed with rugged materials and an IP66 rating, these fixtures can withstand harsh weather conditions, such as extreme temperatures, rain, and dust. This resilience ensures that the lighting system remains operational with minimal maintenance, reducing the need for frequent replacements and repairs.
The aesthetic design of the SRR fixtures also caters to modern urban environments. With a streamlined appearance and customizable options, the SRR series can seamlessly integrate into various architectural styles while providing effective lighting solutions.
Furthermore, the SRR series supports future-ready capabilities, such as being compatible with emerging smart city technologies and the Internet of Things (IoT). This adaptability allows municipalities to integrate their lighting systems with other urban infrastructure, enhancing overall city management and improving energy efficiency.
In conclusion, the Cooper Lighting SRR series stands out for its energy efficiency, intelligent controls, rugged durability, and modern aesthetics, making it a prime choice for effective and sustainable roadway and rail lighting solutions. With the increasing focus on smart technologies and environmental sustainability, the SRR series is poised to play a crucial role in the future of outdoor lighting.

