
316.350850 specifications
The Craftsman 316.350850 is a powerful and versatile tool that has gained popularity among DIY enthusiasts and professionals alike. Designed to cater to a variety of tasks, this product embodies a blend of efficiency, durability, and ease of use, making it a valuable addition to any tool collection.One of the standout features of the Craftsman 316.350850 is its robust motor, which delivers impressive performance for cutting, shaping, and finishing materials. With a high RPM rating, it effectively handles a diverse range of tasks, whether it’s woodworking, metalworking, or general maintenance projects. The tool's motor is engineered for longevity, ensuring that it can withstand regular use without compromising performance.
The ergonomic design of the Craftsman 316.350850 is another highlight. The handle is crafted to provide comfortable grip and control, allowing users to operate the tool for extended periods without experiencing fatigue. Additionally, the tool’s lightweight construction enhances maneuverability, allowing for precise cuts and actions, even in tight spaces.
Equipped with advanced technology, the Craftsman 316.350850 incorporates safety features that prioritize user protection. These include a safety switch that prevents accidental start-ups, reducing the risk of injury. Moreover, the tool has built-in overheating protection, which monitors the motor temperature and automatically shuts off to prevent damage.
Another key characteristic is the tool's versatility. It comes with a variety of attachments and accessories that can be easily swapped out to accommodate different tasks. Whether you're sanding, grinding, or polishing, the Craftsman 316.350850 adapts quickly to meet the demands of the job at hand.
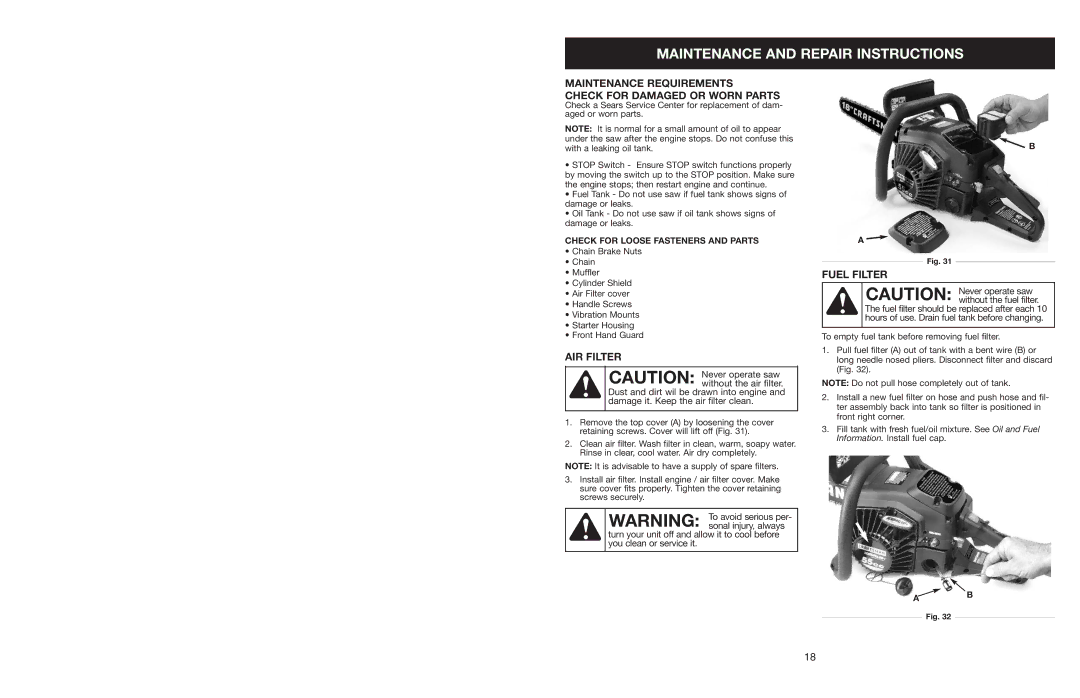
Maintenance of the Craftsman 316.350850 is hassle-free, thanks to its accessible design, which allows for easy cleaning and part replacement. The tool is also backed by a solid warranty, giving users confidence in their purchase and the assurance of support if issues arise.
In conclusion, the Craftsman 316.350850 stands out as a reliable, efficient, and user-friendly tool. Its powerful motor, ergonomic design, advanced safety features, and versatility make it a superb choice for anyone looking to tackle a range of projects with precision and ease. Whether for professional applications or home improvement tasks, this tool is designed to meet the challenges of modern craftsmanship.