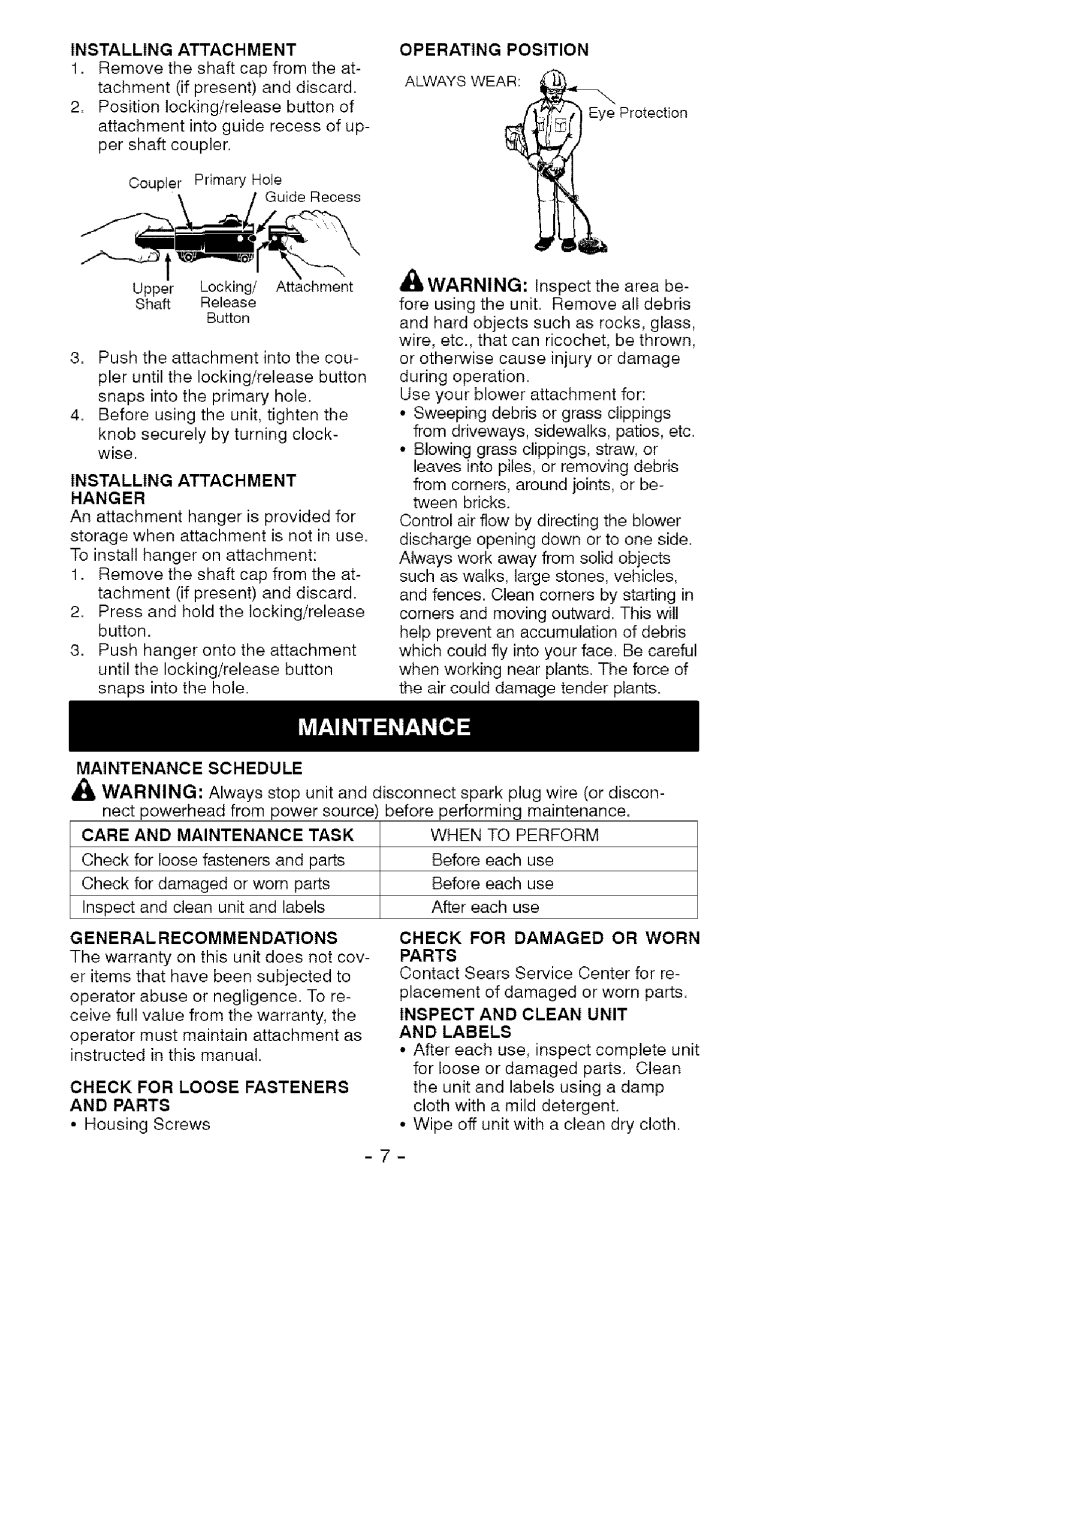
C944.511601, 944.511601 specifications
The Craftsman 944.511601, also known as C944.511601, is a highly regarded tool that exemplifies quality craftsmanship and innovative technology. This versatile tool is designed to meet a variety of needs for both professionals and DIY enthusiasts, making it a valuable addition to any toolbox.One of the standout features of the Craftsman 944.511601 is its robust construction. Made with durable materials, this tool is built to withstand heavy use while maintaining its performance over time. The ergonomic design ensures comfortable grip and handling, reducing fatigue during extended use. An essential aspect of any tool, the balance and weight distribution of the Craftsman 944.511601 allow for precision and control in various tasks.
Equipped with advanced technology, this model boasts optimized power delivery, enabling efficient operation across a range of applications. The motor is engineered for high performance while maintaining energy efficiency, ensuring you get the job done without excessive power consumption. Additionally, it offers a variable speed control feature, allowing users to customize the speed according to the specific requirements of the task at hand.
Ease of use is another fundamental characteristic of the Craftsman 944.511601. The simple assembly process and straightforward operation make it accessible for users of all skill levels. Safety features such as a protective guard and automatic shut-off mechanisms enhance user confidence, allowing you to focus on completing your projects without worry.
In terms of versatility, the Craftsman 944.511601 comes with multiple attachments and accessories, enabling it to tackle a wide range of tasks—from cutting and shaping to grinding and polishing. This adaptability makes it an ideal choice for various projects, whether you’re working on woodworking, metalworking, or home improvement tasks.
Moreover, the Craftsman brand is renowned for its commitment to customer satisfaction and support. The 944.511601 model is no exception, with a warranty that provides peace of mind, ensuring you’re covered in case of any manufacturing defects.
In summary, the Craftsman 944.511601, C944.511601 is a powerful and versatile tool that combines durability, advanced technology, and user-friendly features. Perfect for both seasoned professionals and novice DIYers, it is designed to make any project easier and more efficient, thereby cementing its place as a must-have in any toolkit.

