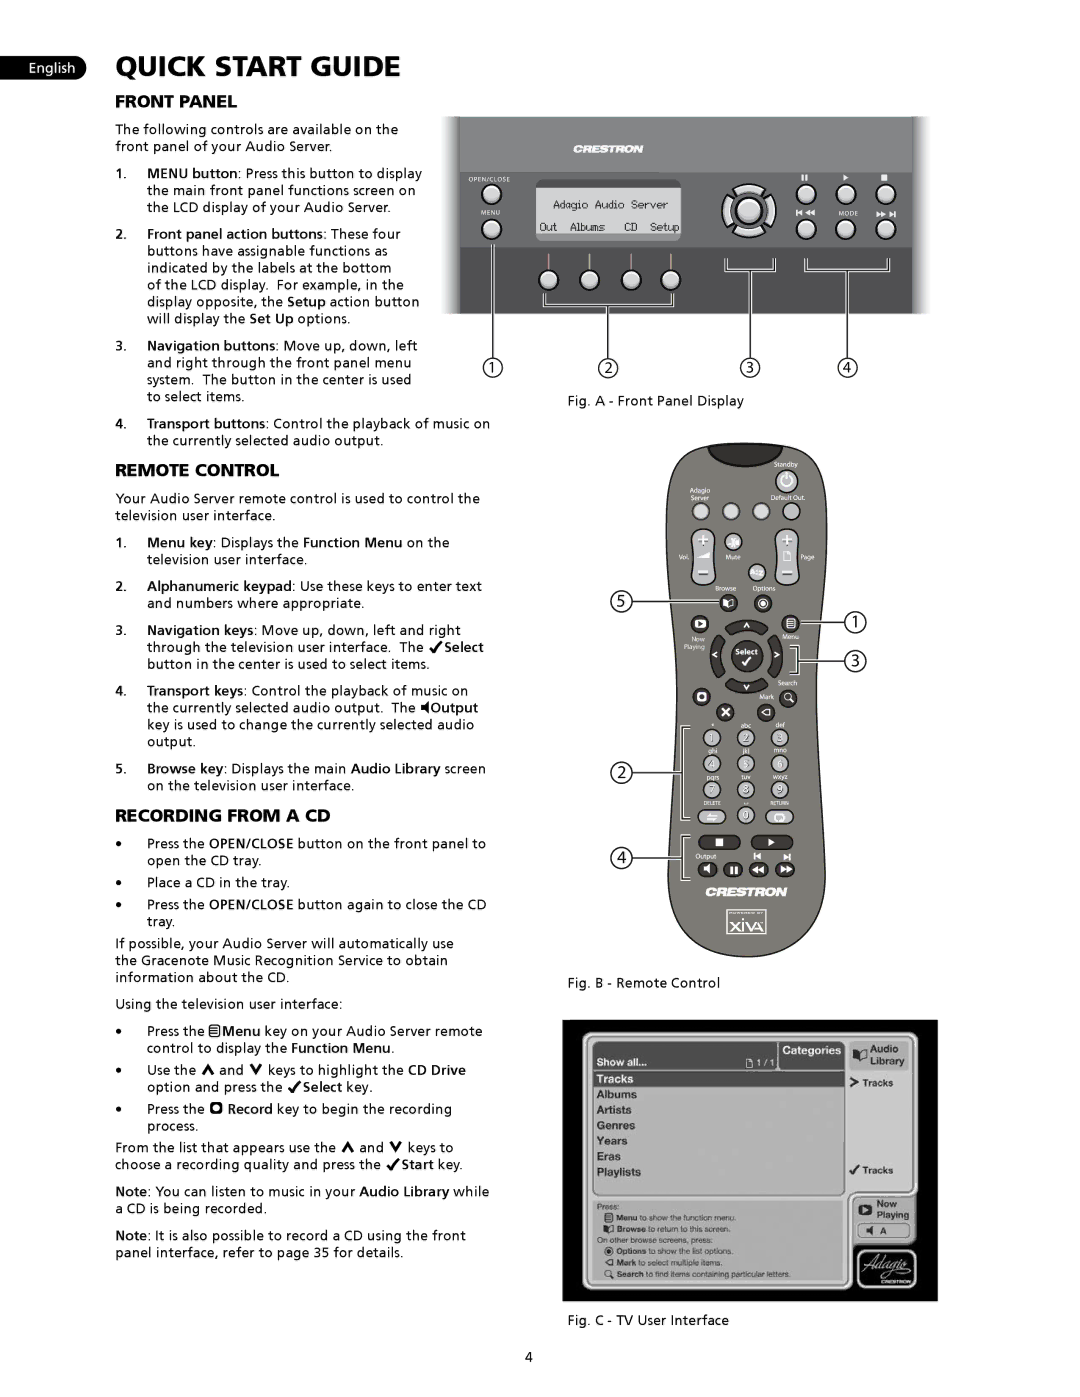
AAS-4, AAS-1/2/4, AAS-1, AAS-2 specifications
Crestron is a leading provider of advanced control and automation solutions for various applications, including residential, commercial, and educational environments. Among its impressive line of products are the AAS-2, AAS-1, AAS-1/2/4, and AAS-4, which are designed to enhance audio amplification and distribution across multiple zones.The AAS-2 is a two-channel audio amplifier designed for applications that require compact and efficient audio distribution. It delivers high-quality sound performance with its robust power output, making it ideal for smaller spaces or specific audio zones within larger systems. This model features advanced thermal management technology, ensuring it operates efficiently without overheating, even during intensive use.
Next, the AAS-1 is a single-channel amplifier that emphasizes performance and reliability. With a sleek design, it can easily integrate into existing setups. The AAS-1 supports both low-impedance and high-impedance speaker configurations, giving users flexibility in designing their audio systems. Additionally, it leverages Crestron’s proprietary Digital Signal Processing (DSP) technology, allowing for precise tuning and enhanced audio quality.
The AAS-1/2/4 model is a versatile solution designed to cater to varying audio distribution needs. This amplifier can be configured to provide one, two, or four output channels, depending on system requirements. With its multi-channel capability, it allows for simultaneous audio rendering across different rooms or areas, making it a favorable choice for larger installations. The built-in DSP ensures that sound quality remains consistent, and each channel can be independently adjusted for optimal listening experiences.
Lastly, the AAS-4 model is a four-channel amplifier that stands out in larger audio installations. It features advanced connectivity options, including networked control, enabling seamless integration into Crestron’s broader automation ecosystem. The AAS-4 is engineered for high power output and efficiency, ensuring it can handle demanding audio applications. Its rugged design and installation-friendly features make it suitable for both permanent and temporary setups.
All of these amplifiers share Crestron’s commitment to quality, reliability, and user-friendliness. With features such as thermal protection, network integration, and flexible configuration options, these models cater to a wide array of audio needs, reinforcing Crestron’s stance as a trusted provider in the audio control landscape. Whether used in homes, offices, or educational institutions, the AAS series amplifiers deliver exceptional sound quality and operational efficiency.

