180MAx specifications
Crown Audio has consistently set benchmarks in the audio amplification industry, providing innovative solutions that cater to both live sound and installed audio applications. One of their notable products is the Crown Audio 180MAx. This versatile amplifier is specifically designed for delivering high-performance audio in various settings, making it a perfect choice for musicians, sound engineers, and audio professionals alike.The Crown 180MAx boasts an impressive power output, capable of delivering 180 watts per channel into 4 ohms. This ensures that even in larger venues, the audio remains powerful and clear, meeting the demands of live performances and installations. A key characteristic of the 180MAx is its ability to provide consistent performance even under heavy load conditions, a hallmark of Crown's engineering excellence.
One of the standout features of the 180MAx is its advanced circuitry that provides exceptional audio fidelity. Featuring a low-frequency roll-off option, it can be tailored to reduce unwanted bass frequencies, allowing for a cleaner output in environments where echo and acoustics can impact sound quality. The amplifier supports a wide frequency response, ensuring that all nuances of music and vocals are captured crisply.
In terms of connectivity, the Crown 180MAx offers a variety of input options, including balanced XLR and Euroblock terminals. This flexibility allows for easy integration with various audio sources, from professional mixing consoles to simpler audio playback devices. Furthermore, its built-in protection circuitry prevents overheating and short circuits, thus ensuring reliability and longevity of the amplifier in any application.
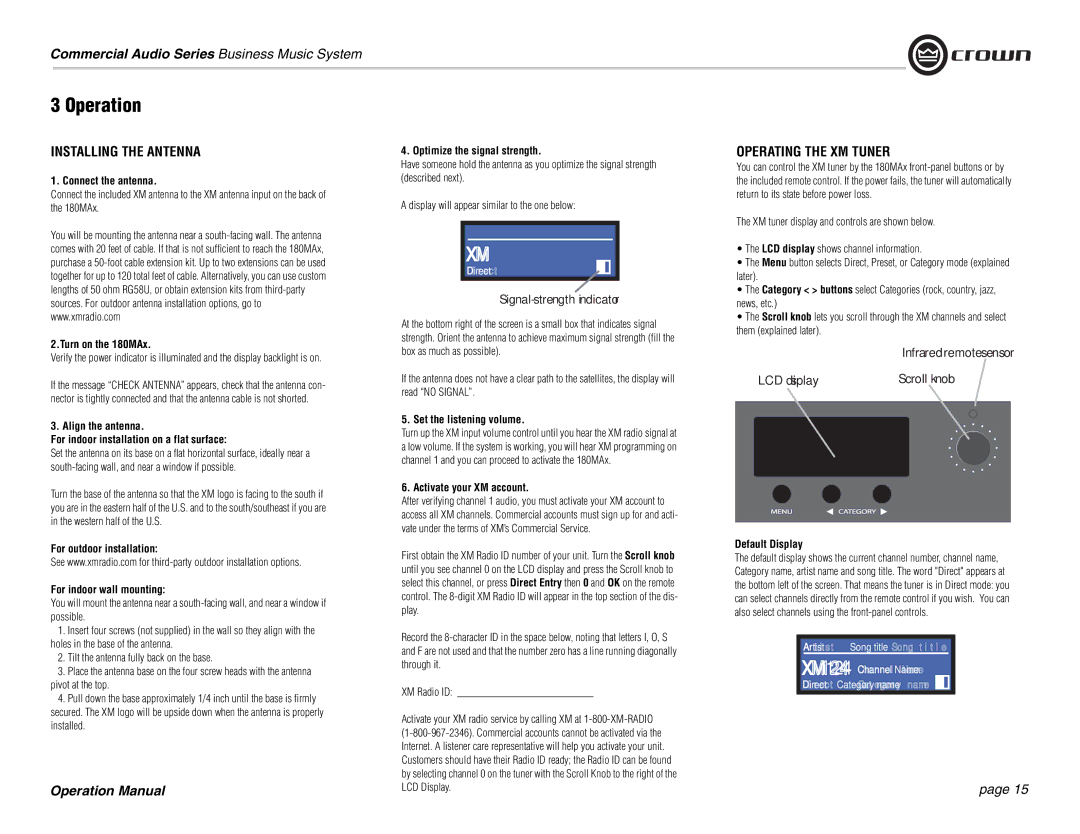
Crown Audio emphasizes user-friendliness in the design of the 180MAx. The front panel features LED indicators for power, signal, and clipping, providing immediate feedback on the amplifier’s status. The lightweight yet robust construction makes it easy to transport and install, whether in a mobile setup or a permanent venue installation.
The 180MAx also embraces modern technology with its efficient Class D amplifier architecture, which not only reduces power consumption but also minimizes heat generation. This design maximizes performance while maintaining compact dimensions, making it suitable for both rack-mounted and standalone applications.
In conclusion, the Crown Audio 180MAx synthesizes power, reliability, and user-friendly features, making it an exceptional choice for anyone seeking a high-quality audio amplification solution. Its combination of advanced technology, flexibility, and durable design makes it a standout option in the competitive audio market. Whether for live sound reinforcement or fixed installations, the 180MAx continues to deliver superior performance that audio professionals can trust.

