You can also check the adjustment as follows: |
| 5 | |
1. | With the snow thrower tipped forward (be certain to |
| |
| drain gasoline or place plastic film under the gas cap if |
| |
| the snow thrower has already been operated), remove |
| |
| the frame cover underneath the snow thrower by |
| |
| removing the |
| |
| in Maintenance section. |
| Making |
2. | With the drive control released, there must be 1/8" |
| |
| Adjustments | ||
| clearance between the friction wheel and the drive |
| |
| pulley in all positions of the shift lever. |
|
|
3. | With the drive control engaged, the friction wheel |
|
|
| must contact the drive pulley. Refer to Figure 24 in |
|
|
| Maintenance section. |
|
|
4. | If adjustment is necessary, loosen the lower hex nut |
|
|
| on the drive cable index bracket and pivot the bracket |
|
|
| upward or downward as necessary. Refer to Figure |
|
|
| 16. Tighten the lower hex nut to secure the bracket | Figure 17 |
|
| when correct adjustment is reached. | IMPORTANT: It is not | |
|
| ||
5. | Reassemble the frame cover and turn the unit back to |
| recommended that you |
| operate this snow thrower | ||
| its operating position. |
| |
|
| on gravel as loose gravel | |
|
|
| |
NOTE: If you placed plastic under the gas cap, be certain |
| can be easily picked up | |
| and thrown by the auger | ||
to remove it now. |
| ||
| causing personal injury | ||
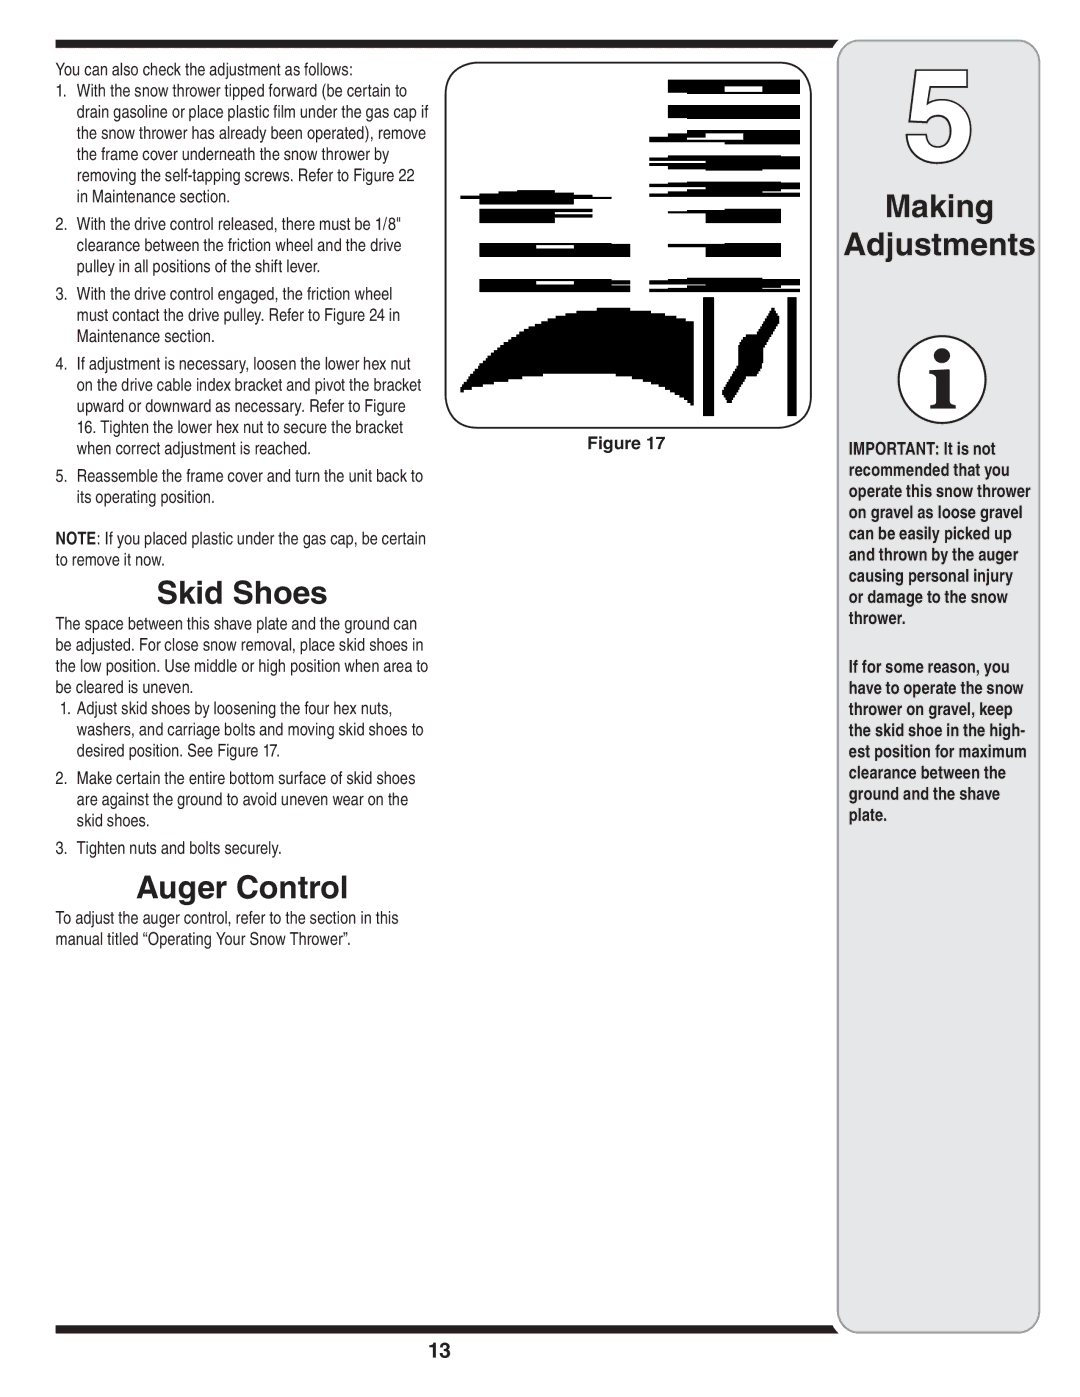
| Skid Shoes |
| |
|
| or damage to the snow | |
The space between this shave plate and the ground can |
| thrower. | |
|
| ||
be adjusted. For close snow removal, place skid shoes in |
|
| |
the low position. Use middle or high position when area to |
| If for some reason, you | |
be cleared is uneven. |
| have to operate the snow | |
1. | Adjust skid shoes by loosening the four hex nuts, |
| thrower on gravel, keep |
| washers, and carriage bolts and moving skid shoes to |
| the skid shoe in the high- |
| desired position. See Figure 17. |
| est position for maximum |
2. | Make certain the entire bottom surface of skid shoes |
| clearance between the |
| ground and the shave | ||
| are against the ground to avoid uneven wear on the |
| |
|
| plate. | |
| skid shoes. |
| |
|
|
| |
3. | Tighten nuts and bolts securely. |
|
|
Auger Control
To adjust the auger control, refer to the section in this manual titled “Operating Your Snow Thrower”.
13