
DGB-900, DGB-900BC specifications
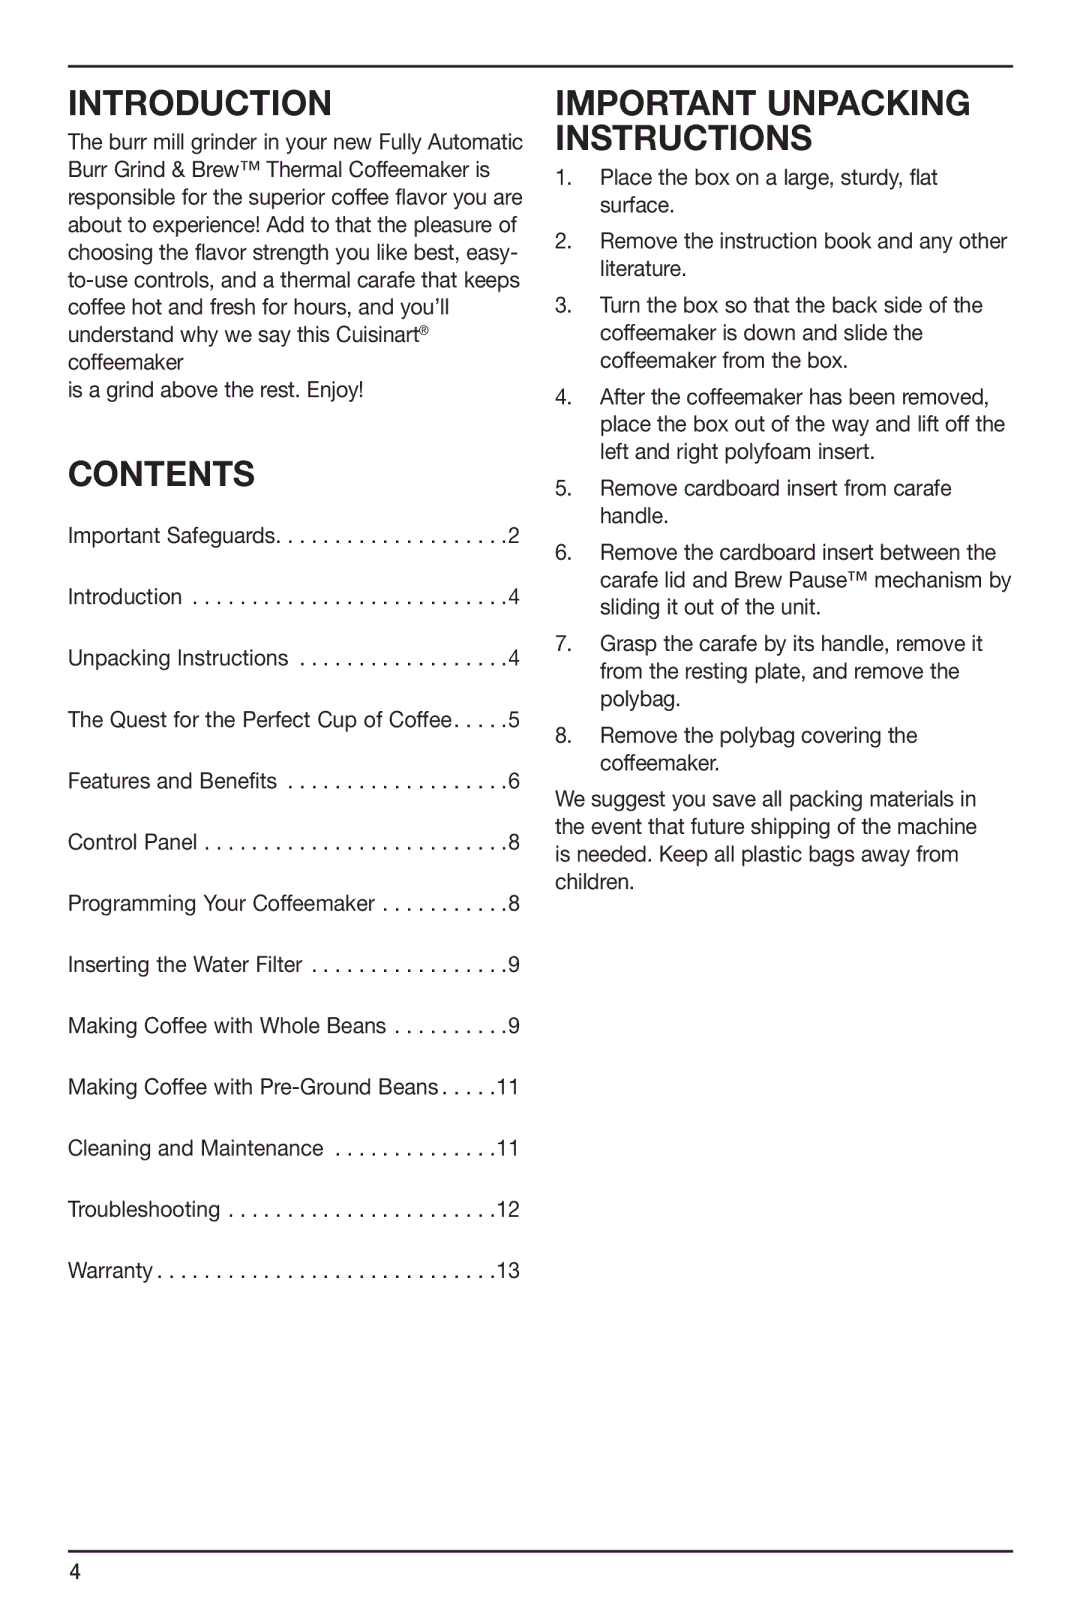
The Cuisinart DGB-900BC Grind & Brew 12-Cup Automatic Coffeemaker is a quintessential kitchen appliance for coffee aficionados. This machine simplifies the coffee brewing process by combining the grinder and coffee maker into a single unit, providing an unparalleled experience from bean to brew.One of the main features of the DGB-900BC is its built-in burr grinder. This grinder is designed to deliver consistent, uniform coffee grounds, which promotes optimal extraction and enhances flavor. The ability to choose between different grind settings allows users to customize their coffee experience, whether they prefer a coarse grind for French press or a fine grind for espresso.
The DGB-900BC allows for programmable brewing, featuring a 24-hour digital timer that ensures you wake up to the delightful aroma of freshly brewed coffee. With its 12-cup capacity, this machine is perfect for entertaining guests or keeping you fueled throughout the day. Furthermore, the Brew Pause feature allows you to pour a cup mid-cycle, without making a mess, which is ideal for those with a busy morning routine.
The machine also boasts a double-wall insulated carafe, which keeps coffee hot for an extended period, ensuring each cup retains its optimal temperature. The sleek stainless steel design not only adds a touch of elegance to your kitchen but is also durable and easy to clean.
In terms of technological innovations, the Cuisinart DGB-900BC includes a grind-off feature, enabling you to brew pre-ground coffee if desired. This flexibility accommodates different preferences and a diverse range of coffee options. The integrated filter holder is another significant advantage, as it accommodates standard paper filters, ensuring the brewing process is straightforward and efficient.
Maintenance is made easy with the removable grinder, which simplifies cleaning and ensures longevity. Cuisinart has also included a charcoal water filter that purifies water, enhancing the overall flavor of your coffee.
Overall, the Cuisinart DGB-900BC Grind & Brew 12-Cup Automatic Coffeemaker stands out due to its advanced features, user-friendly design, and commitment to quality coffee brewing. Whether you're brewing for one or a crowd, this machine delivers consistently delicious coffee tailored to your taste.