
SC-400 specifications
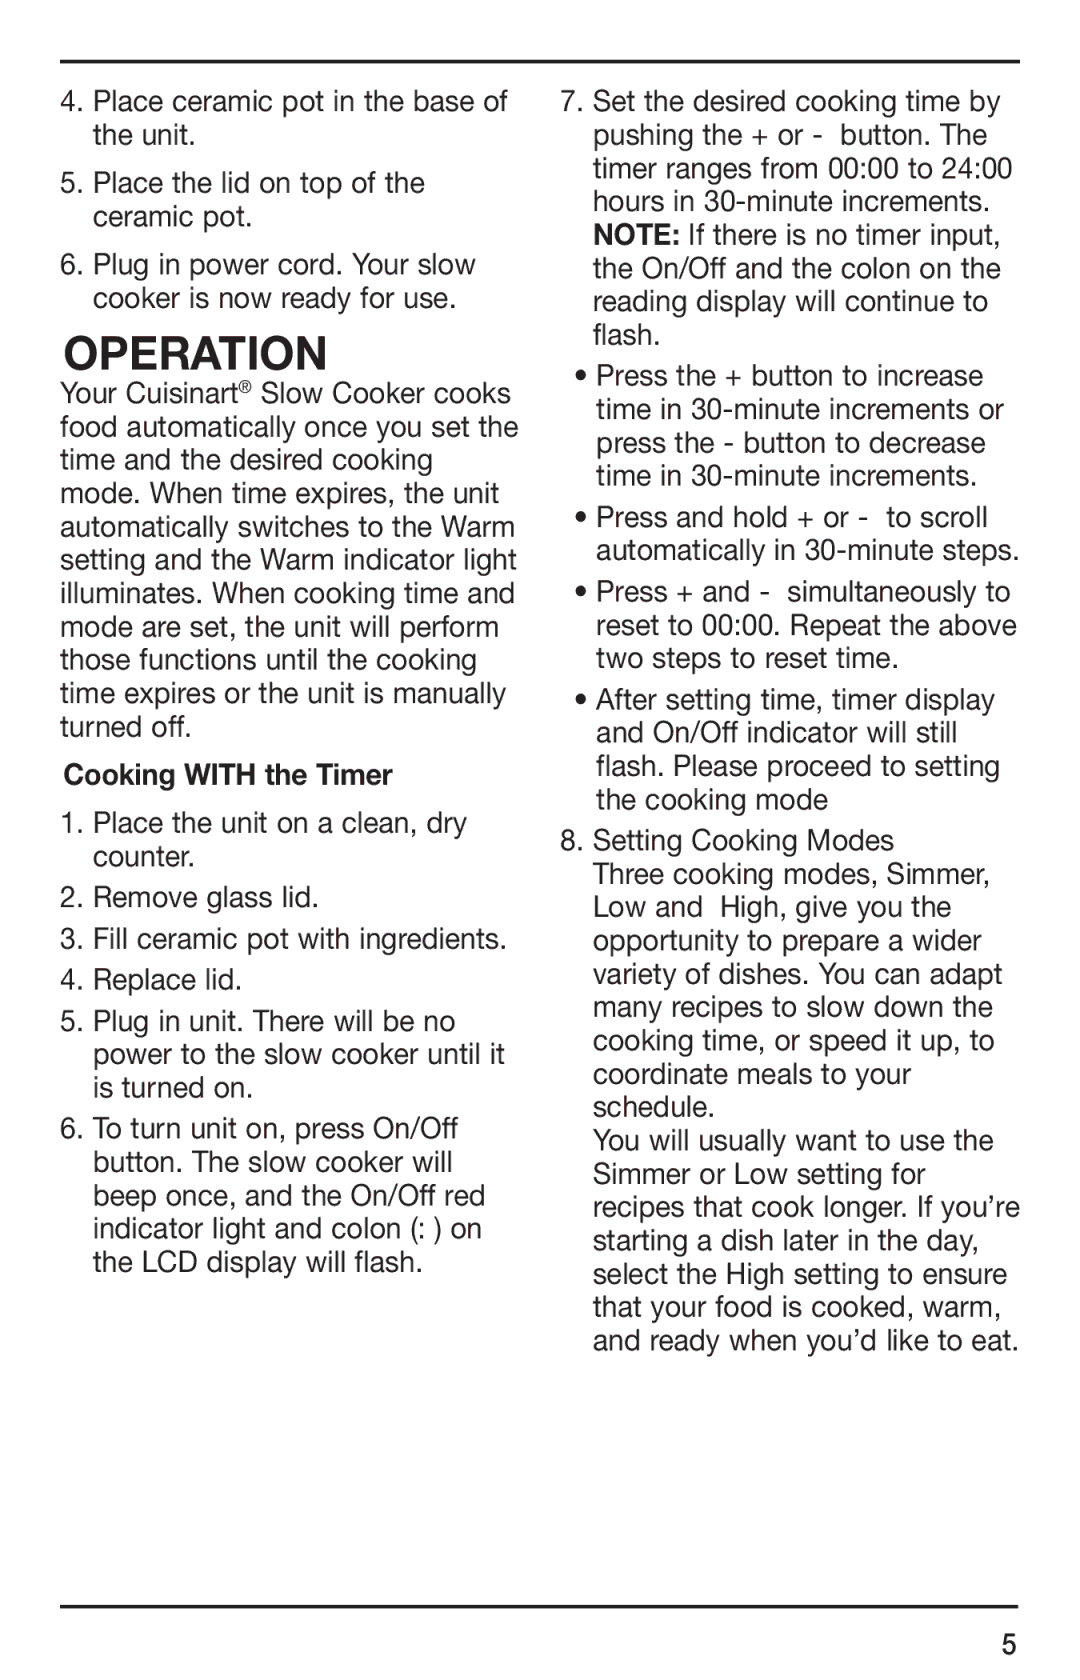
The Cuisinart SC-400 is a top-tier slow cooker designed to cater to the culinary needs of both beginners and seasoned chefs. Its captivating combination of modern technology and classic cooking techniques makes it an essential addition to any kitchen arsenal.One of the main features of the Cuisinart SC-400 is its programmable capabilities. This function allows users to set specific cooking times and temperatures, giving greater control over the cooking process. The user-friendly digital display conveniently shows the current cooking time, which can be adjusted with ease.
Equipped with a versatile cooking range, the Cuisinart SC-400 offers several temperature settings including low, high, and keep-warm options. This flexibility enables users to craft a variety of dishes, from tender pot roasts to flavorful stews, while retaining the natural essence of the ingredients.
Another notable characteristic is its innovative glass lid that allows users to monitor the cooking process without releasing heat or moisture. This feature ensures that the flavors and nutrients are preserved, resulting in a wholesome meal. The lid is also easy to clean, further enhancing the convenience of this kitchen appliance.
Durability is a key component of the Cuisinart SC-400's design. Made from high-quality materials, including a sturdy stainless-steel housing, this slow cooker is built to withstand the test of time. Additionally, the removable ceramic insert is oven-safe, allowing users to sear meats and sauté vegetables directly in the insert before slow cooking, thus maximizing flavor.
Safety has not been overlooked in the design of the Cuisinart SC-400. The unit is equipped with a safety lid lock, which prevents accidental spills during transportation. Moreover, its cool-touch handles offer a secure grip, ensuring that users can safely move the appliance without risk of burns.
In summary, the Cuisinart SC-400 is a remarkable slow cooker that combines versatility, efficiency, and safety. With its programmable features, durable construction, and thoughtful design, it stands out as a valuable tool in the kitchen, perfect for cooking delicious meals with ease. Whether you are preparing a family dinner or meal prepping for the week, the Cuisinart SC-400 is sure to deliver satisfying results.