INTRODUCTION
Get ready for more of a good thing with the Cuisinart®
1.
2.
6. | 4. |
6. | 3. |
5. |
PARTS AND FEATURES
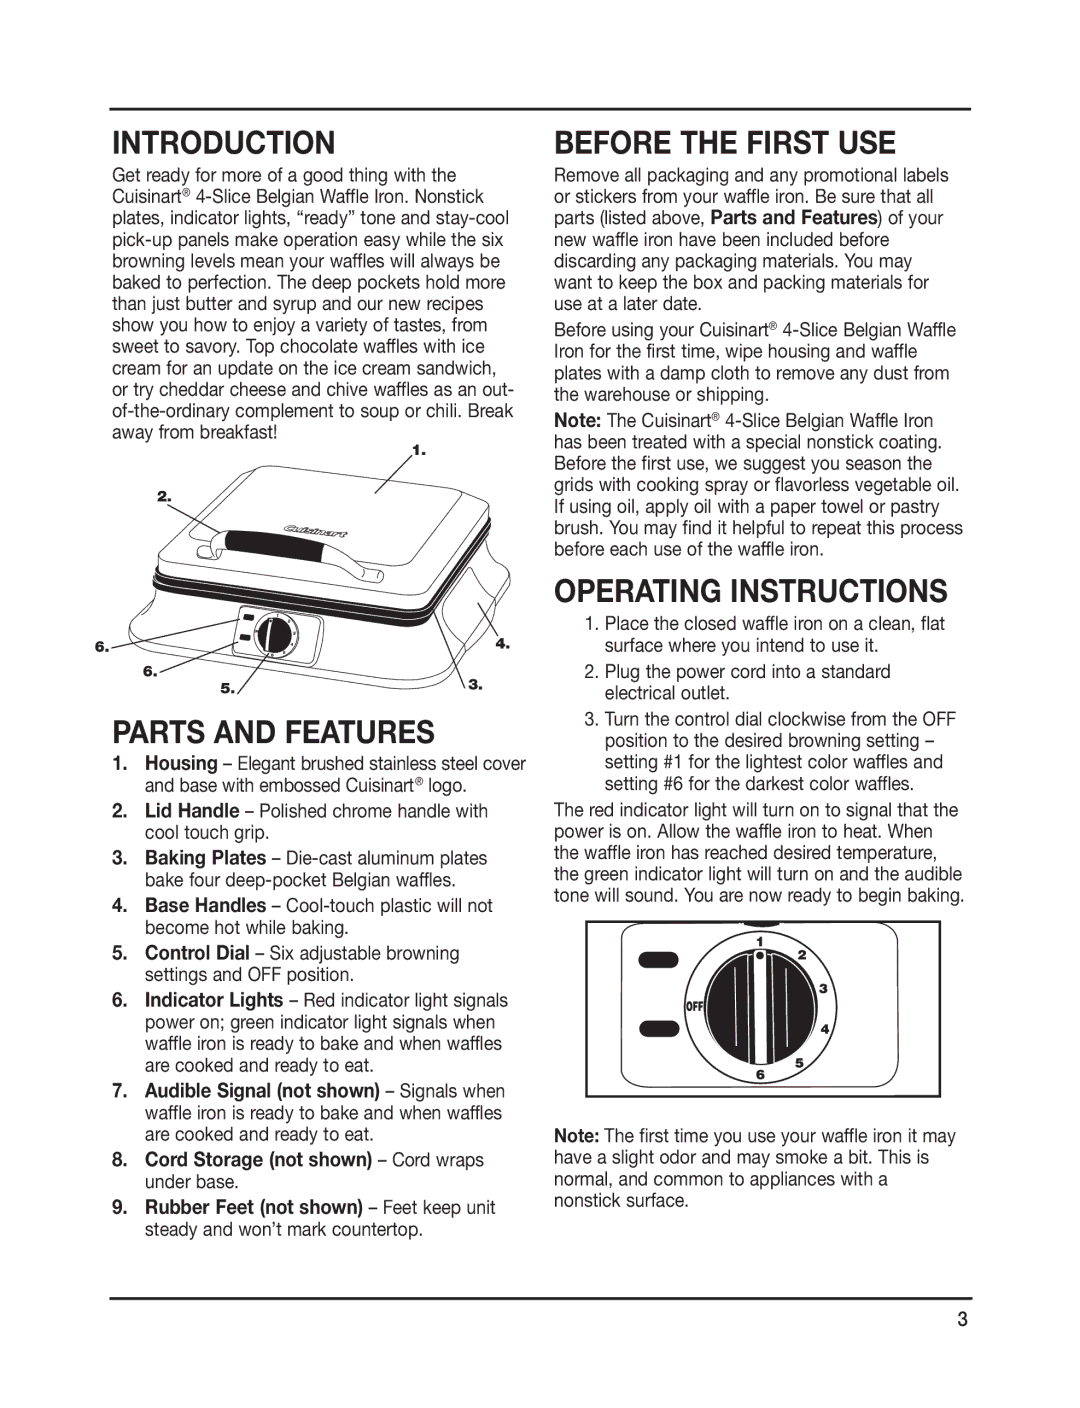
1.Housing – Elegant brushed stainless steel cover and base with embossed Cuisinart® logo.
2.Lid Handle – Polished chrome handle with cool touch grip.
3.Baking Plates –
4.Base Handles –
5.Control Dial – Six adjustable browning settings and OFF position.
6.Indicator Lights – Red indicator light signals power on; green indicator light signals when waffle iron is ready to bake and when waffles are cooked and ready to eat.
7.Audible Signal (not shown) – Signals when waffle iron is ready to bake and when waffles are cooked and ready to eat.
8.Cord Storage (not shown) – Cord wraps under base.
9.Rubber Feet (not shown) – Feet keep unit steady and won’t mark countertop.
BEFORE THE FIRST USE
Remove all packaging and any promotional labels or stickers from your waffle iron. Be sure that all parts (listed above, Parts and Features) of your new waffle iron have been included before discarding any packaging materials. You may want to keep the box and packing materials for use at a later date.
Before using your Cuisinart®
Note: The Cuisinart®
OPERATING INSTRUCTIONS
1.Place the closed waffle iron on a clean, flat surface where you intend to use it.
2.Plug the power cord into a standard electrical outlet.
3.Turn the control dial clockwise from the OFF position to the desired browning setting – setting #1 for the lightest color waffles and setting #6 for the darkest color waffles.
The red indicator light will turn on to signal that the power is on. Allow the waffle iron to heat. When the waffle iron has reached desired temperature, the green indicator light will turn on and the audible tone will sound. You are now ready to begin baking.
Note: The first time you use your waffle iron it may have a slight odor and may smoke a bit. This is normal, and common to appliances with a nonstick surface.
3
